
At a glance
A mirror shows coverage, but the interview frame shows what matters on the call. Keep equipment fit, makeup changes and camera changes separate. Then practise one practical reset and a wearing order you can repeat without rushing.
Start your interview headset complexion rehearsal with the contact points
Find what touches your cheeks before changing coverage
An ear cushion may sit on the ear, around it or close to the upper cheek. A microphone boom can cross the lower cheek in the camera view without touching it. Separate these situations before treating every dark patch as makeup failure. With the headset off, inspect both cheeks in your usual light. Put it on gently and speak normally. Notice actual contact, visible shadows and any urge to keep adjusting the position.
Hair shape belongs in this check because side pieces can sit between a cushion and your face. OwnStrand, which shares BigDeal's owner, offers related selection reading on pixie wigs. Its guide compares fringe, ear coverage, crown and nape rather than treating short length as a fit guarantee. If you wear a wig, compare those details with your headset in place. A neat silhouette alone cannot establish whether the two items work together.
Choose a normal interview frame rather than examining your face only in an enlarged preview. Include the shoulders and enough headroom to see the headset band. Check straight ahead, then turn towards the position where your notes will sit. A cheek mark visible only in a close mirror inspection may not need extra coverage. Conversely, a small microphone shadow can look stronger on screen. Record what you actually see before adding product.
Your brief to a makeup artist should describe the call, not simply request a flawless finish. Say whether the headset stays on throughout, whether glasses are needed and whether the interview is recorded. Reading about a makeup artist for corporate video can help frame a separate filming enquiry. For an interview, request cheek coverage that suits the final camera view. Also ask for a reset you can manage yourself.
Build the rehearsal around your own equipment
An interview headset complexion rehearsal needs a repeatable setup
Read your headset's wearing instructions before moving its cushions or microphone for appearance. Jabra's Evolve2 65 manual directs users to adjust the headband comfortably and keep the microphone close to the mouth. That guidance applies to that model, not every headset. Use the instructions for yours, then check your voice through the interview software. A microphone position that clears your cheek but loses clear speech is not a useful cosmetic improvement. [1]
The National Careers Service recommends an eye-level camera, good natural light or a lamp, and recorded practice reviewed afterwards. Establish that setup before judging makeup. Use the same chair and screen position you expect on the day. Save a short recording rather than relying on a moving preview. For this rehearsal, keep the light in the same place between comparisons. Otherwise, a changed shadow can be mistaken for a change in coverage. [2]
Bring the headset, glasses and any wig you plan to wear, not a similar item borrowed for the appointment. Include the cable or adapter needed for your computer. Have your usual skin preparation and complexion products available if you already use them comfortably. A small mirror, clean tissue and your chosen application tool are enough for a basic reset practice. Follow the headset maker's cleaning directions; cosmetic remover is not automatically suitable for cushions.
Speak through an answer of ordinary length, then look at your notes and return to the lens. Repeat the movement that usually makes you touch the headset, such as reaching for its mute control. Wear it long enough to notice practical problems without pushing through discomfort. Record the rehearsal duration and any adjustments you made. A brief successful check is useful information, but it does not prove comfortable wear for a longer interview.
Tell a makeup mark from movement or shadow
Change one cause at a time around the upper cheek
Remove the headset by lifting it clear rather than sliding the cushion across the cheek. Compare the skin with your starting view. A rubbed patch stays visible without the headset, while a microphone shadow disappears when its position changes. If your hairline has moved too, check the wearing arrangement before repairing the face. Keep these observations separate. Adding foundation over a mechanical problem may leave heavier coverage while the same contact continues during the next answer.
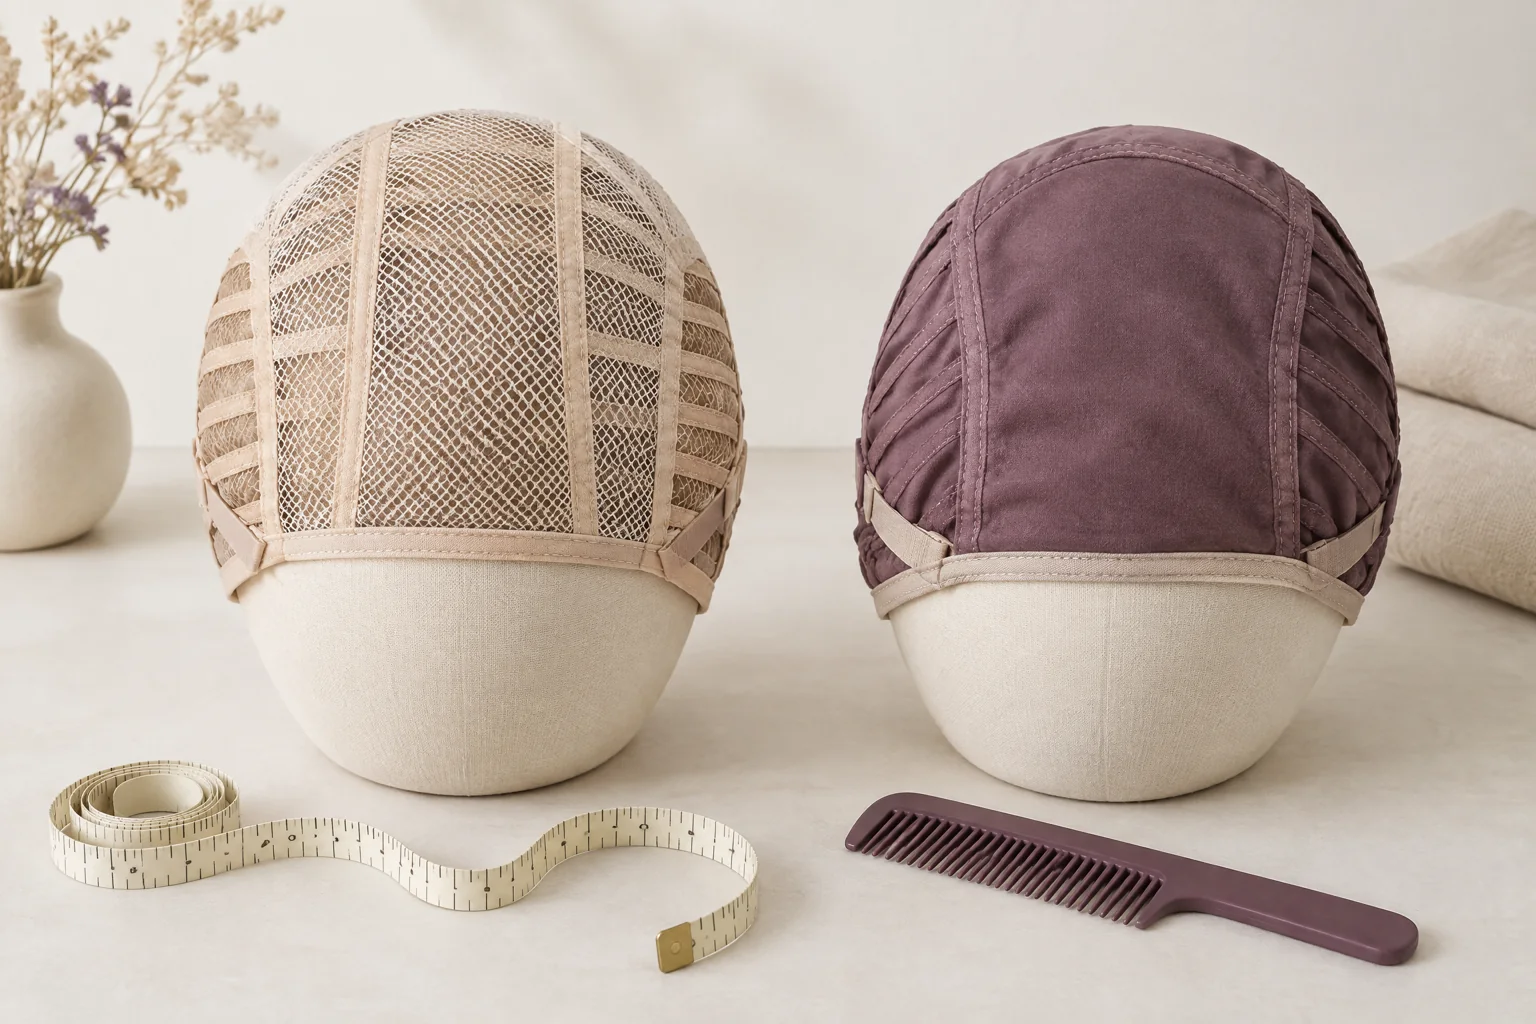
If a wig shifts as you remove the headset, review its own fitting steps separately from your makeup routine. The OwnStrand glueless wig guide explains that adhesive-free wear does not guarantee a no-slip fit. Holding and adjustment features vary by style. Check which features your piece actually has and how its instructions use them. Avoid adding glue or tape as an improvised headset fix. A changed wearing method needs its own appropriate guidance.
For a rubbed area, compare a thinner application with your original finish during a fresh test. Use products you already tolerate and follow their directions. More powder is not an automatic answer. Inspect whether the area looks textured or noticeably different from the other cheek. Keep blush placement under review where the cushion sits. The goal is balanced colour in the call frame. It is not matching both cheeks through increasingly heavy layers of product.
Glasses add another contact point, especially when their arms sit beneath or beside the cushions. Rehearse with them if you need them to read. Remove and replace the headset without dragging the glasses forward. If the arrangement feels tight, stop and reconsider the equipment fit rather than hiding the pressure with makeup. Keep earrings in the trial only if you intend to wear them. Their placement can affect both visible framing and practical handling.
Choose between leaving it, resetting it and changing the setup
Make the decision in the final interview frame
Use the comparison below after one speaking test, not after every glance at your preview. A faint mark outside the visible frame may be worth leaving alone. A visible rubbed patch calls for a small repair. Repeated disturbance asks a different question: can the permitted wearing arrangement change? If alternative audio is allowed, test it before the day. Keep the recruiter's equipment requirements in view rather than replacing a required headset just for appearance.
For a local reset, remove the headset and identify the smallest affected area in a mirror. If there is moisture, gently blot rather than rub. Lift away loose or uneven product with a suitable clean tool, following the product's directions. Apply a small amount of your familiar complexion product only where coverage is missing. Blend its edge into the surrounding cheek. Recheck on camera before adding powder, blush or another layer across the whole face.
A still photograph and a moving interview need different checks. Reading about business headshot makeup may help if you also need a profile photograph. For the interview, inspect a speaking clip with the headset visible instead of judging only a posed image. Check the repaired cheek as you smile and turn slightly. If the repair looks acceptable at normal viewing size, leave it. Repeated close inspection can distract from the answer you are preparing.
When testing a camera change, leave your makeup and headset position untouched. Raise the camera or adjust the light, then record another short clip. Compare it with the previous one at the same playback size. If the apparent patch changes with lighting but the skin looks unchanged, address the setup first. Keep a simple note of the successful position. It saves you from recreating the lighting by guesswork immediately before joining the interview.
| What you observe | Next step | Check before continuing |
|---|---|---|
| Faint mark outside the visible frame | Leave the finish alone | Normal playback still looks balanced |
| Visible rubbed cheek patch | Reset only that area | Blend the edge and record again |
| Dark patch only with the boom in place | Review camera and light | Speech remains clear |
| Repeated hair or cap movement | Review the wearing arrangement | Follow the specific item's fitting instructions |
| Pressure, pain or irritation | Stop the contact test | Address the item before cosmetic repairs |
Practise the wearing order you will use on the day
Protect the finished cheeks without treating fit as a makeup task
Start with a fit check before applying finished cheek coverage. Follow your wig's instructions if you wear one, then try the headset with your glasses. Once the arrangement is workable, remove the headset for makeup where practical. Finish clothing changes that might pass over the head before the final cheek check. Put the headset back on by lifting it into place. This sequence is a rehearsal starting point; adapt it to your own item's instructions.
Tell the artist which adjustments you are happy to make yourself and which you prefer to leave untouched. You can request a private discussion about hair coverage without explaining a personal reason. Wearing a wig, choosing visible ears or keeping a fringe are appearance preferences. None needs to become a requirement for looking professional. Ask before anyone repositions your piece or changes its styling. Agree how the headset will be removed during any planned local repair.
If you travel through warm conditions before the call, include an arrival check in the wearing order. The OwnStrand guide to a wig for hot humid weather compares fibre, weight, coverage and personal fit. It does not promise that a breathable label will keep every wearer cool. Allow yourself time to settle indoors before judging the cheeks. Then inspect the actual arrangement and use the wig's own care guidance if it needs attention.
Choose a top you can put on without disturbing the finished face, or dress before the final makeup stage. Place water and notes within easy reach so you need fewer large turns. Keep the touch-up items beside the workstation but outside the camera frame. Rehearse picking up each one without pulling the headset cable. If the headset must stay on between interview stages, wait for a permitted break. Plan a reset without repeated removal.
Set a final check and know when to stop
A useful plan leaves attention for the interview
Stop the cosmetic test if the arrangement causes pain, irritation or distracting pressure. Remove the item causing contact and review its fit or instructions before continuing. Makeup cannot correct that problem. If symptoms persist, seek appropriate professional advice rather than trying another product layer. Also pause when clear audio fails after a visual adjustment. Restore the working microphone position and test again. Comfort, readable speech and your own preferences take priority over hiding every visible contact point.
Write down the final wearing order and the one repair you successfully practised. Record which cheek needed attention, what you used and when you removed the headset. Keep a reference screenshot only for your own setup comparison, with private information out of view. If you change the headset, wig or glasses afterwards, repeat the affected contact check. An old screenshot cannot show how a different cushion shape will sit against your finished makeup.
If the interview preparation later becomes a separate promotional shoot, send a new brief rather than reusing this routine unchanged. The commercial advertising makeup service is relevant to that different enquiry. Explain the filming equipment and planned removal breaks for that shoot. For the interview itself, keep the scope smaller: your actual headset, a natural complexion finish and a repeatable local reset. A change of production purpose can alter what needs testing and who handles adjustments.
On the day, check the selected microphone, camera height and final cheek view once before joining. Keep the headset in the tested position and put the repair tools aside. During the conversation, focus on the interviewer instead of monitoring your complexion continuously. If a break is offered, use the mirror for a specific concern rather than starting the whole routine again. A workable rehearsal should reduce last-minute decisions, not create another task throughout every answer.
- Pain or irritation: stop contact and review the item.
- Lost audio: restore the tested microphone position.
- Different equipment: repeat the relevant contact check.
Key takeaway
Keep a usable headset position even if its cushion is not cosmetically untouched. Judge the visible cheek in the real frame, then repair only what needs attention. If movement or pressure is the cause, change the wearing arrangement rather than increasing coverage.
Practical checklist
- Bring the actual headset, glasses and any chosen wig.
- Check fit before finishing cheek coverage.
- Record speech at the final camera height.
- Identify contact separately from shadows and movement.
- Practise one local reset and note the wearing order.
Frequently asked questions
Should I wear the headset before or after makeup?
Check its fit before finished cheek coverage, then remove it for makeup where practical. Put it back on gently for the final speaking test. Your wig's instructions and clothing changes may alter the order. Rehearse that actual sequence rather than adopting a fixed rule.
Does makeup on an ear cushion mean I need a new foundation?
Not necessarily. Inspect the cheek and the normal camera view first. Transfer on a cushion does not tell you how visible the face looks. If coverage is disturbed, compare a thinner application and a small repair. Clean the cushion only as its manufacturer directs.
Can I move the microphone away from my cheek?
Use the permitted adjustment for your headset and test recorded speech afterwards. A boom may cast a shadow without touching the skin. Check camera position and lighting separately before changing makeup. Keep the microphone position that meets your model's instructions and gives clear speech.
Will a short wig work better with a headset?
Length alone cannot answer that. Check side coverage, cushion contact, cap fit and the removal movement together. A short outline may expose the ears, but individual styles differ. Use the specific wig's wearing guidance and compare it with your actual equipment before deciding.
What should I send BigDeal when asking about interview makeup?
Send the interview format, planned headset and whether you wear glasses or a wig. A photograph of your equipment can help describe contact points. Mention whether you can remove it during breaks. Ask about complexion preparation and a local reset, not wig supply or equipment certification.
Sources
| Source | What it supports |
|---|---|
| Jabra Evolve2 65 User Manual, Rev. D | For this model, Jabra directs users to adjust the headband comfortably and position the microphone close to the mouth. Other models need their own instructions. |
| National Careers Service: Video interview tips | The service recommends an eye-level camera, good natural light or a lamp, and recording practice runs for review. |
Discuss your own makeup plans
For BigDeal Make Up complexion preparation enquiries, WhatsApp +852 6918 3153. Share your interview format and your own headset or hairpiece photographs to discuss makeup arrangements. This number is for BigDeal makeup enquiries, not OwnStrand wig sales or bookings.
Ask on WhatsApp +852 6918 3153