
At a glance
A useful wedding morning plan names the person handling sound, the areas they may touch, and the dressing sequence. It also leaves room for a seated test and a small appearance check. If you wear a hairpiece, describe its fastening instructions before anyone proposes a route near your head. The simplest solution may be keeping your hairstyle untouched and changing the microphone position instead.
Your groom microphone dressing hair access plan
Decide where hands and cables can go
Start with the outfit you will actually wear for the ceremony, not a similar shirt from your wardrobe. Identify the tie, jacket lapel and possible place for the wireless transmitter pack. The pack carries the microphone signal and needs an agreed wearing position. Tell the sound technician which clothing areas you can manage yourself. A private dressing corner makes this conversation easier than a crowded hotel room.
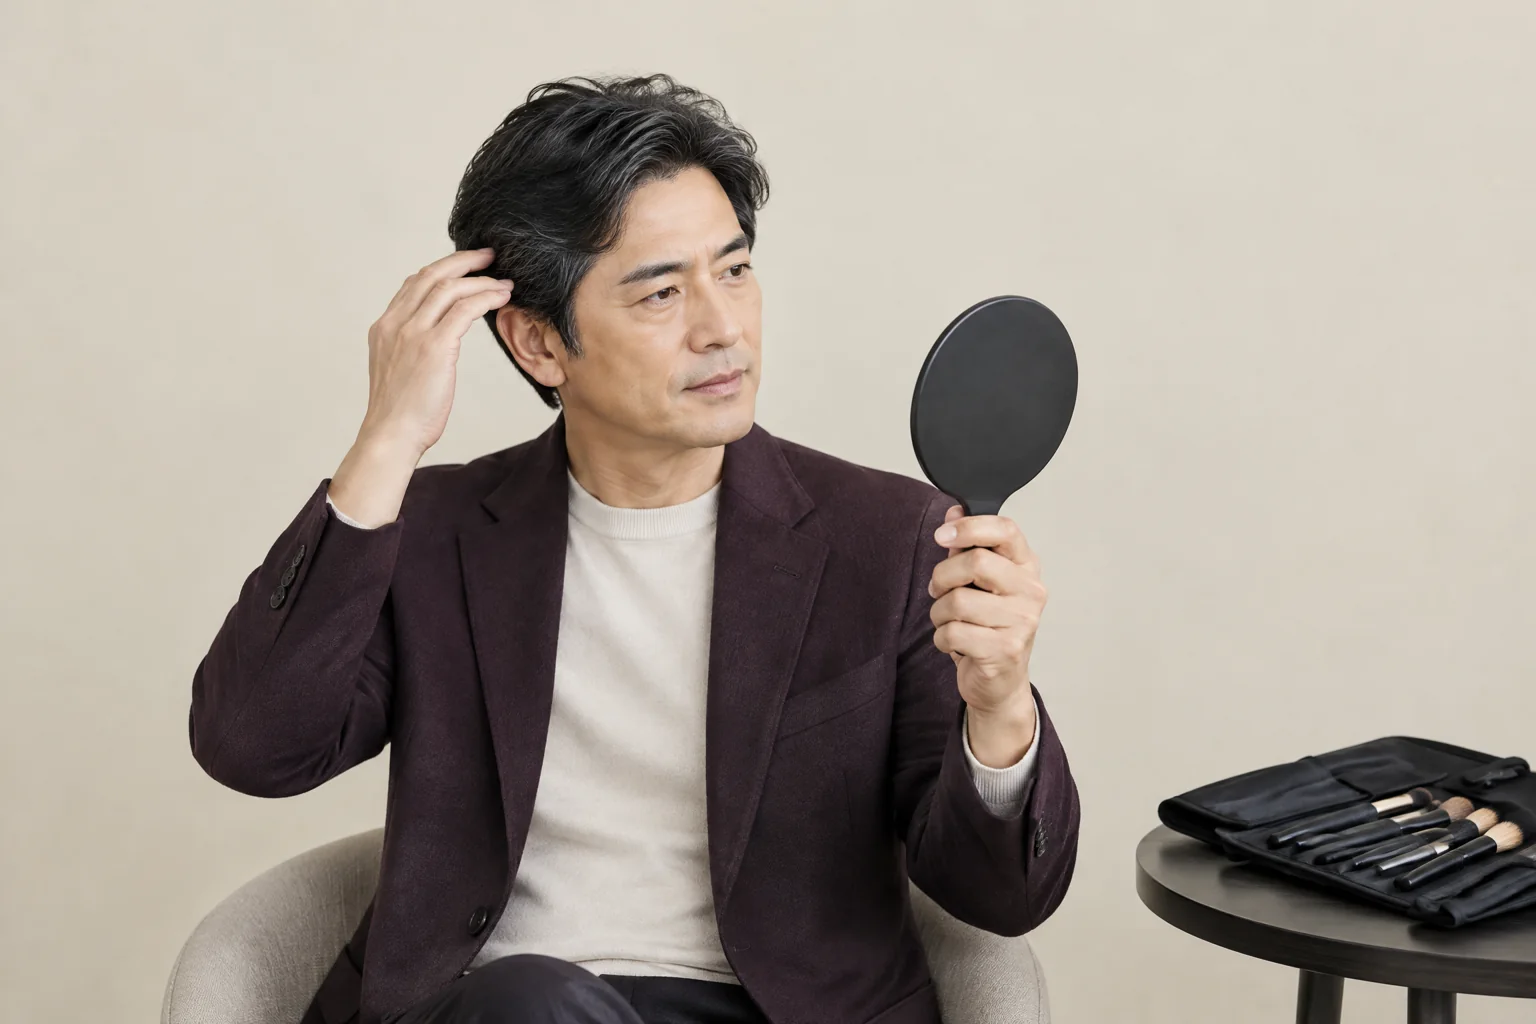
Head access is a separate question from clipping a microphone onto a jacket. Explain whether your style includes your own hair, a full wig or a smaller hairpiece. You need not share why you wear it. Describe the areas that should remain untouched, especially around fasteners or edges. Then ask whether the proposed audio arrangement can stay entirely on clothing, away from the finished hair.
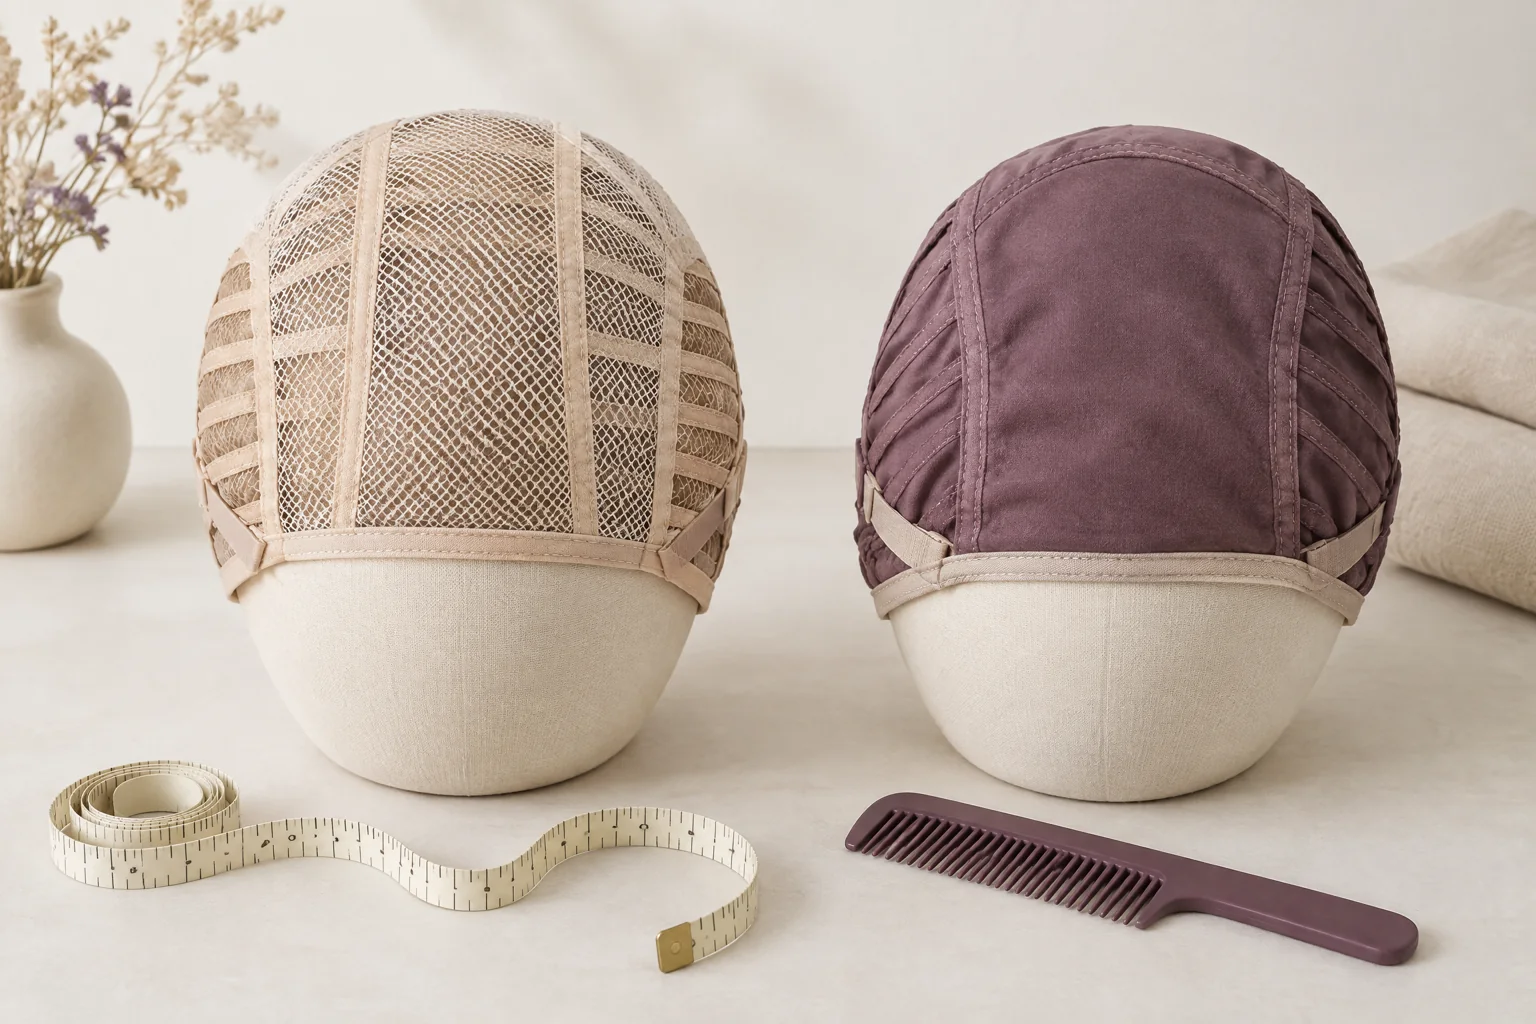
OwnStrand, which shares BigDeal's owner, provides removable vs bonded hair system for men reading for comparing attachment routines. A removable design supports its stated fastening method; clips require a suitable base. A bonded design follows compatible tape or adhesive instructions. Neither label tells the sound technician where to place a microphone. Share the directions for your actual piece, rather than treating this comparison as permission to alter it.
When arranging groom makeup, describe the microphone plan alongside your preferred finish and ceremony clothes. Mention any head area that needs protection from routine styling. Ask which appearance checks fit the booked arrangement, and who will handle sound equipment separately. That gives the makeup team something practical to prepare for. It also avoids expecting a makeup appointment to include transmitter fitting or hairpiece bonding by default.
Rehearse the shirt, tie and jacket together
Give the real outfit a movement test
Bring your ceremony shirt and tie to a rehearsal whenever the sound arrangement allows one. A tight collar, textured tie or overlapping jacket can change the space available around a microphone. Include the waistcoat if you plan to wear it. Let the technician inspect the complete outfit rather than suggesting a hidden route from photographs alone. A visible clip may be a reasonable choice if concealment complicates access.
Shure describes tie mounting above the sternum, with the cable behind the tie, among its common clothing placements. Its guidance also explains that clothing and production requirements affect the chosen position. Treat that as a starting point for your technician, not an instruction to fit equipment yourself. Try the actual microphone in the actual outfit. A neat-looking placement still needs a listening check before you settle on it. [1]
Rehearse the movements you expect, rather than standing still and saying one word. Turn towards your partner and look down at your vows. Sit, stand and offer the sort of greeting you feel comfortable practising. If your schedule includes a tea ceremony, discuss the seated or kneeling movements involved. Tell the technician when something feels tight, or when a cable seems to pull as you move.
Try the jacket both open and closed if you expect to use both looks. Add your boutonniere in its intended place, without letting someone shift the microphone for the photograph unannounced. Ask the technician to review any contact between the flower, fabric and equipment. Afterwards, have the appearance team check the lapel and collar. This separates a sound adjustment from straightening clothes, so each person knows what changed.
Hand over sound without restarting the hairstyle
Listen first, then check the camera view
Choose one sound contact who can say when the equipment is ready for your next activity. The photographer can assess visibility, while the makeup team checks the surrounding finish. Avoid having all three people adjust the same area at once. Once a route is agreed, tell the others where it runs. If the photographer wants a cleaner collar, the sound contact can decide whether moving anything requires another test.
Bubblebee's mounting guide separates clothing friction from cable noise. It describes microphone-specific mounts that lift fabric away from the capsule, alongside a cable accessory providing strain relief. Those examples explain why hiding the capsule is only part of the task. Ask your technician to identify the source of any rustle. They can assess suitable equipment, rather than someone adding makeup tape or padding around an unfamiliar microphone. [2]
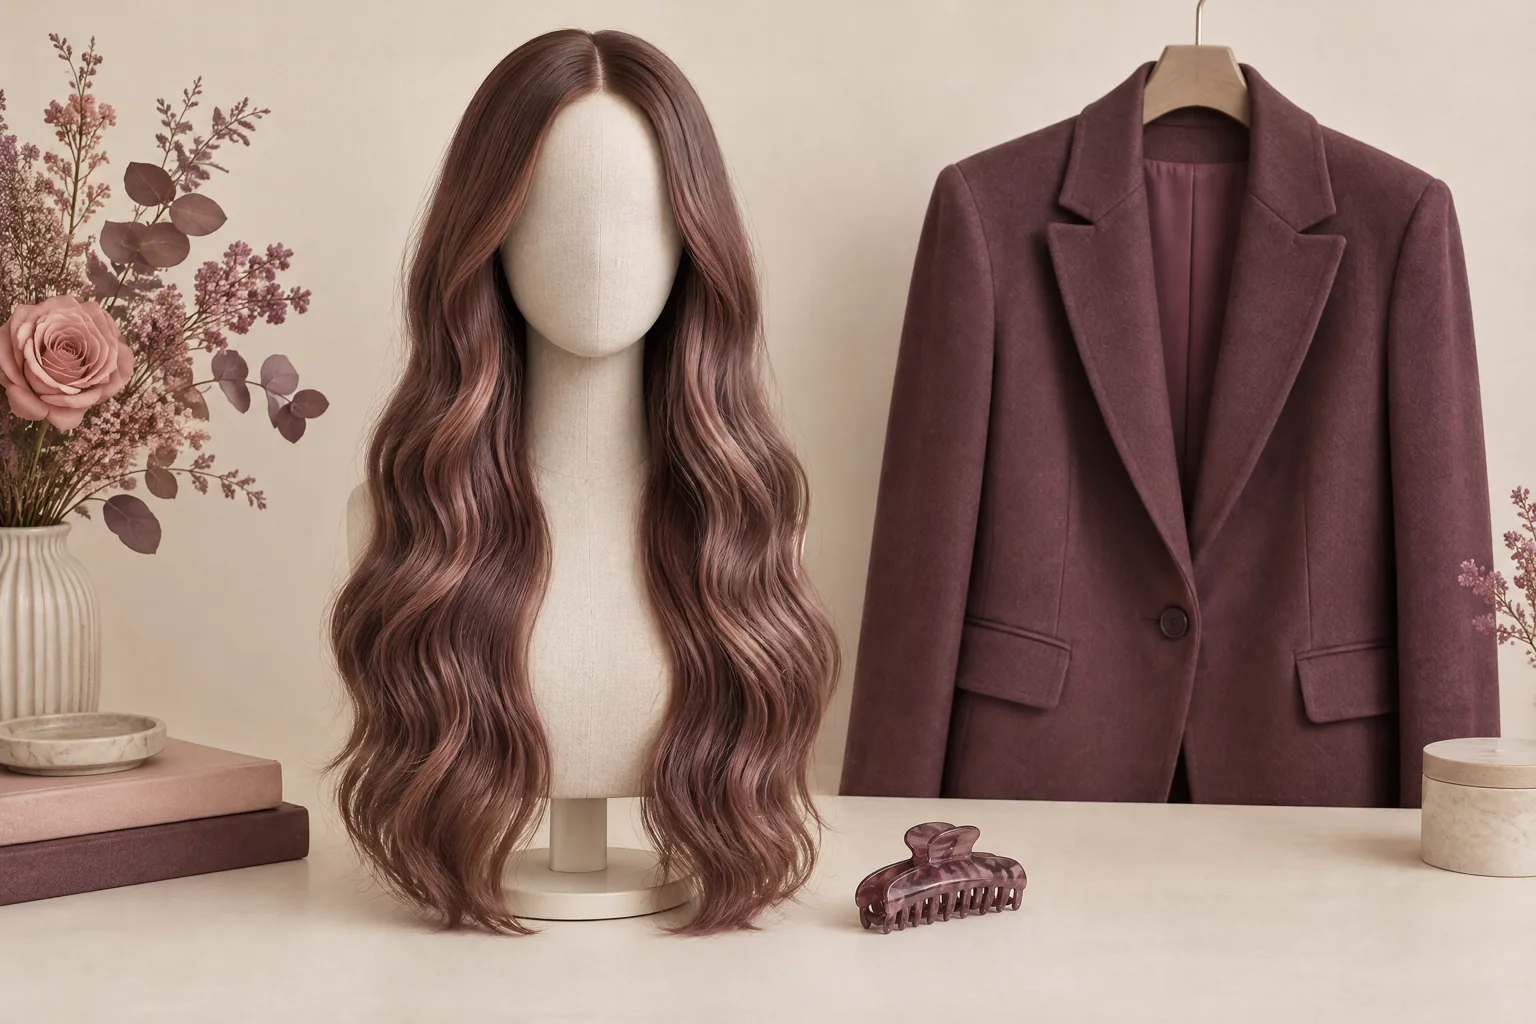
For coverage decisions, OwnStrand's hair system page treats the category as a cosmetic hairpiece option. The label does not specify a particular base, material or attachment. That matters when somebody suggests placing equipment near the crown or hairline. Describe the actual construction and wearing instructions instead. The category page does not confirm installation services. A sound handover is not the moment to experiment with a fastening method.
For Hong Kong bridal party makeup arrangements, allow separate sound checks for everyone who needs one. Ask your planner to keep the groom's check separate from another person's final touch-up. Give the technician a clear place to work, without squeezing between styling chairs. A named handover time tells everyone when the groom can leave for photographs. This avoids repeated calls for unfinished tasks.
Keep the hair, reset one area or change the route?
Choose the smallest change that solves the problem
Keeping the finished hairstyle is often the first option worth discussing when a microphone issue appears around the collar. Ask whether the equipment can move on clothing before considering head access. This is a planning preference, not a promise that every microphone placement will work. The technician still needs to hear the result. You still need to approve how the clip or cable looks with your chosen outfit.
A local appearance reset means correcting a small area without disturbing the whole style. For example, the makeup team might review a collar mark after the sound technician finishes routing the cable. Agree the exact area before anyone begins. With a hairpiece, surface styling and attachment work are different tasks. A loose edge or uncertain fastener needs the relevant product guidance, not an improvised adjustment disguised as a quick tidy.
Changing the workflow can be better than changing your hair. You could put on a button-front shirt before final styling, then add the tie and jacket afterwards. If equipment must be fitted beneath layers, discuss how the technician will reach that area. Avoid pulling a fully dressed neckline over your finished hair just to hide a cable. Choose a sequence that allows access without repeatedly undoing your clothes.
Removing a piece is a separate decision, even when its design is described as removable. You must be comfortable following its documented steps, with somewhere suitable to place it. A bonded piece calls for its specified release process, not pulling because the schedule feels tight. If attachment work is necessary, arrange the appropriate help separately. A clothing-based microphone route may remain an alternative, subject to the technician's sound check.
| Option | What it preserves | What needs agreement |
|---|---|---|
| Keep hair untouched | The hairstyle and its existing attachment | A clothing route and listening test |
| Reset one small area | Most of the approved appearance | The exact area and the person handling it |
| Change dressing order | Access without repeated undressing | Which layers go on before final styling |
| Remove or refit a piece | An opportunity to follow its own routine | Product instructions, appropriate help and separate time |
Dress in an order that respects your choices
Agree access before the room gets busy
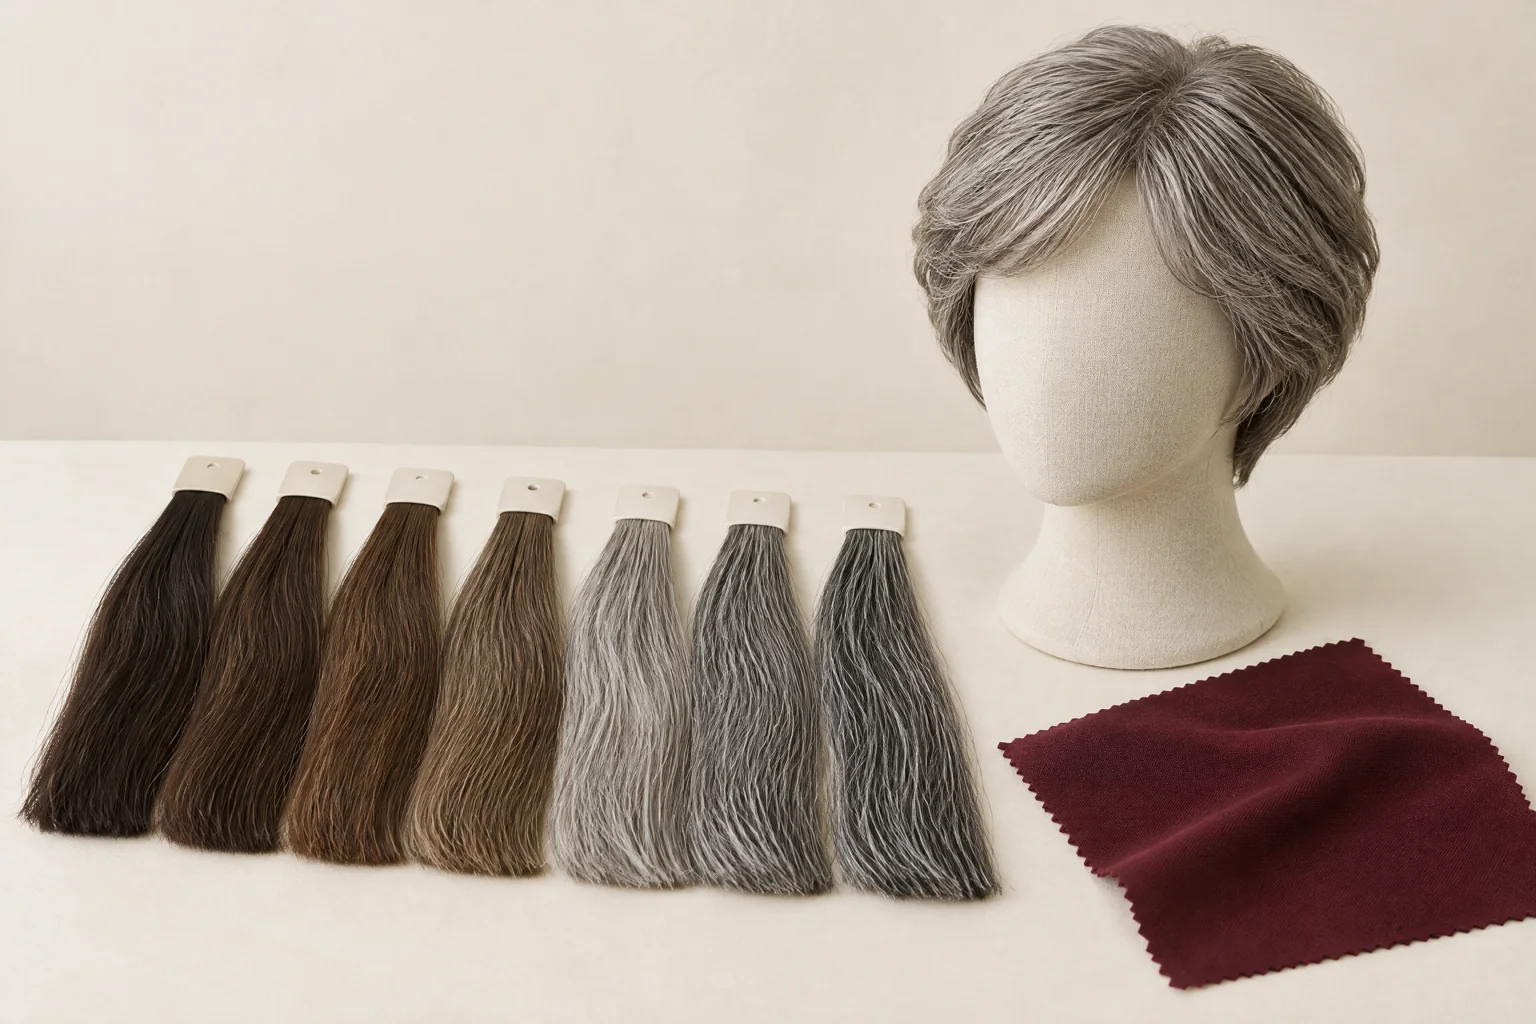
Begin with anything that must pass over your head, before the hairstyle reaches its final shape. Then follow the agreed sequence for the shirt, microphone routing and finishing layers. The exact order depends on where the technician needs access. Leave the final collar and lapel appearance check until equipment is in place. That way, a later cable adjustment does not quietly undo the finish you have just approved.
Permission should be specific enough to use during the morning. You might welcome a clip adjustment on your tie but prefer to handle your waistband yourself. You may decline any contact around the hairline. Say so before the technician approaches, and ask for a pause if the plan changes. A groomsman can help manage the room, but cannot give permission for someone else to touch your head or clothing.
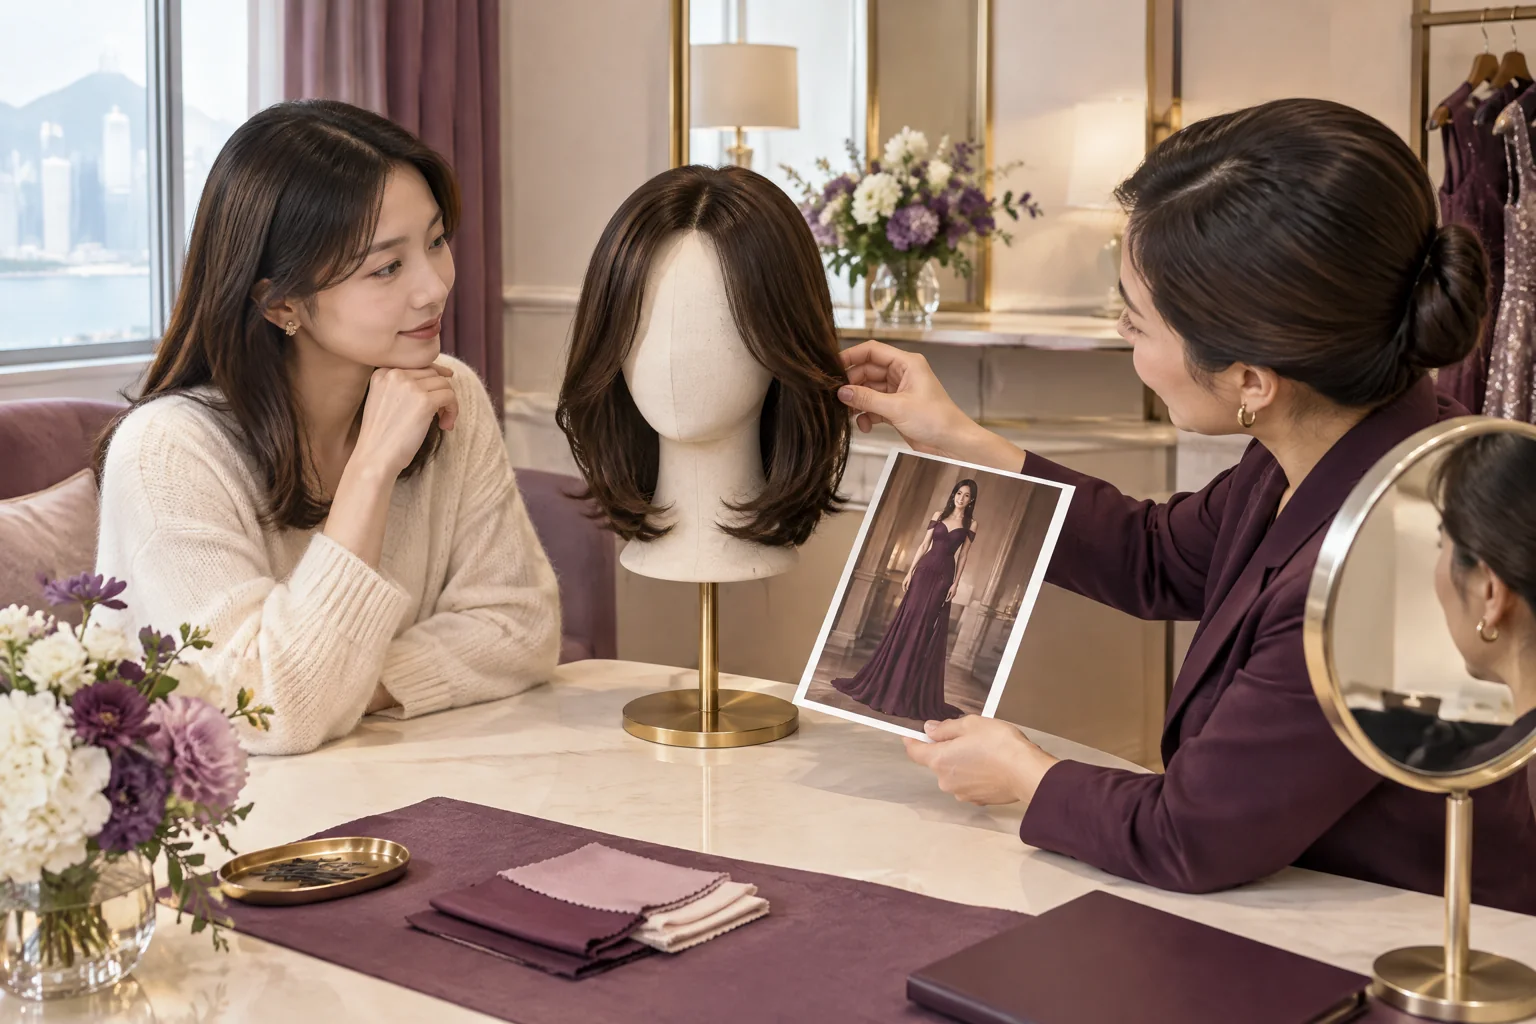
Before choosing a piece, read OwnStrand's custom wig consultation Hong Kong information to prepare questions about your preferred outline. Its custom human-hair enquiries can cover sample viewing and measurement arrangements at the private Kwun Tong salon. Confirm which samples and visit arrangements apply before travelling. Bring your clothing-access questions into that discussion, but keep microphone fitting separate. Viewing a sample does not establish that it suits a particular audio route.
For a hotel preparation room, discuss access and timing when enquiring about a Hong Kong mobile wedding makeup artist. Explain when the sound technician expects to arrive and which clothes need to be on beforehand. Ask about the makeup team's booked responsibilities and finishing checks. Your planner can then coordinate the separate suppliers. A shared timetable helps, but each service and any additional task still needs its own agreement.
Know when to pause before leaving the room
A final groom microphone dressing hair access check
Pause if a cable pulls, a clip catches or someone proposes touching an attachment outside the agreed area. Tell the sound contact exactly what you felt or noticed. Keep your hands away from an unfamiliar fastening while they assess the equipment. If the issue concerns the hairpiece itself, use its instructions and the appropriate fitting contact. Pressure from the running order is not a reason to force an uncertain adjustment.
After the last clothing change, repeat the relevant movement and listening checks. Speak a short passage at the volume you expect to use for your vows or speech. Include the language you will actually speak, so the rehearsal feels familiar. Ask the technician whether the signal and placement are ready for that activity. Then review the visible clip, collar and hairstyle from the camera angle you expect to use.
Agree what happens between photographs, private conversation and the next ceremony segment. Ask the sound contact who handles muting, restarting and any equipment removal. Make sure you know whom to call if you need a private break or clothing change. Your helper should pass on the request rather than guessing at transmitter controls. Include collection after the final recorded activity, so the equipment does not become an unresolved dressing task.
Keep a short note of the agreed route and the areas nobody should touch. Update it if the jacket changes, a different microphone arrives or you choose another hairstyle. Share the change with the people who need it, without circulating personal hairpiece details unnecessarily. The note should make the next handover easier. It is not a substitute for your permission, or for hearing the microphone after a meaningful adjustment.
- Name the sound contact for each venue.
- Repeat checks after equipment or clothing changes.
- Keep hairpiece details within the agreed team.

Key takeaway
The useful trade-off is not invisible equipment at any cost. It is a microphone arrangement that works with your clothes, respects your hair choices and passes the sound team's checks. Keep the finished style when a clothing change solves the issue. Reserve attachment work for the piece's own instructions and appropriate help. Agree who handles each task, so your wedding morning does not depend on improvised access.
Practical checklist
- Bring the actual shirt, tie, jacket and boutonniere plan.
- Describe hair areas and clothing access you accept.
- Confirm who fits, tests, mutes and collects the microphone.
- Rehearse speech, sitting and the planned ceremony movements.
- Leave a final appearance check after equipment adjustments.
Frequently asked questions
Does my microphone need to go near my hairpiece?
Not necessarily. Ask the sound technician whether a clothing-based route suits the outfit and recording setup. Explain which head areas must stay untouched before discussing alternatives. A hair or wig placement used elsewhere does not make it appropriate for your piece. If head access is proposed, consider the actual attachment instructions and your permission separately from the desired camera appearance.
Is a removable piece automatically easier for wedding dressing?
Its removal routine may fit your preferences, but the label alone does not settle the morning plan. Check the specific fasteners and the documented handling steps. Consider whether you want to take it off between dressing stages at all. You may prefer to keep it in place and adjust the clothing sequence. Bonded options likewise need their own compatible care and removal instructions.
Can the makeup team fix a noisy lapel microphone?
Give the sound technician responsibility for diagnosing the noise and handling the equipment. The makeup team can discuss an appearance check within the booked service after that work finishes. Moving a microphone, packing material around it or changing cable tension can require another listening test. Tell both teams what changed, instead of treating a sound problem as another small makeup touch-up.
What should I send before the wedding morning?
Send photographs of the ceremony outfit and the hairstyle you plan to wear, using a private channel you trust. Describe the relevant wearing instructions if a hairpiece affects access. Include the sound contact, preparation location and expected clothing changes. You can share only the details needed for coordination. Product selection questions belong with the supplier, while makeup arrangements belong with BigDeal.
What if a second jacket changes the microphone position?
Tell the sound contact before you change, and ask how they want to manage the equipment. Leave room to test the new jacket while speaking and moving normally. Have the appearance team review the new collar and lapel afterwards. Carry forward your agreed limits around hair access. Approval for the first outfit does not automatically cover a different route under the second one.
Sources
| Source | What it supports |
|---|---|
| How to Choose the Best Lavalier Microphone | Shure describes a tie mount above the sternum with the cable behind the tie, and explains that clothing and production requirements affect placement. This supports using the actual outfit as the starting point for the technician's test, not a guaranteed universal position. |
| How to stop unwanted noise when hiding a Lav Mic | Bubblebee describes clothing friction, cable noise, microphone-specific fabric-separating mounts and cable strain relief. These examples support asking the sound technician to identify the noise source and select suitable equipment, without asserting universal accessory compatibility. |
Discuss your own makeup plans
For BigDeal Make Up wedding makeup arrangements, WhatsApp +852 6918 3153. Share your outfit, chosen hairpiece or hairstyle photographs, and the proposed sound handover time. This number is for BigDeal makeup enquiries, not OwnStrand product orders or microphone installation.
Ask on WhatsApp +852 6918 3153