
BigDeal Make Up · Hong Kong
Makeup For Combination Skin And Makeup For Textured Skin
If your skin is a mix of oily and dry areas or has visible texture, a zone-by-zone approach works better than treating the face as a single surface. Match hydration to dry patches, control shine where oil gathers and choose base textures that sit well over raised pores or faint scarring. This guide gives pragmatic, temporary techniques for makeup for combination skin and makeup for textured skin that you can use before an event or in your daily routine.
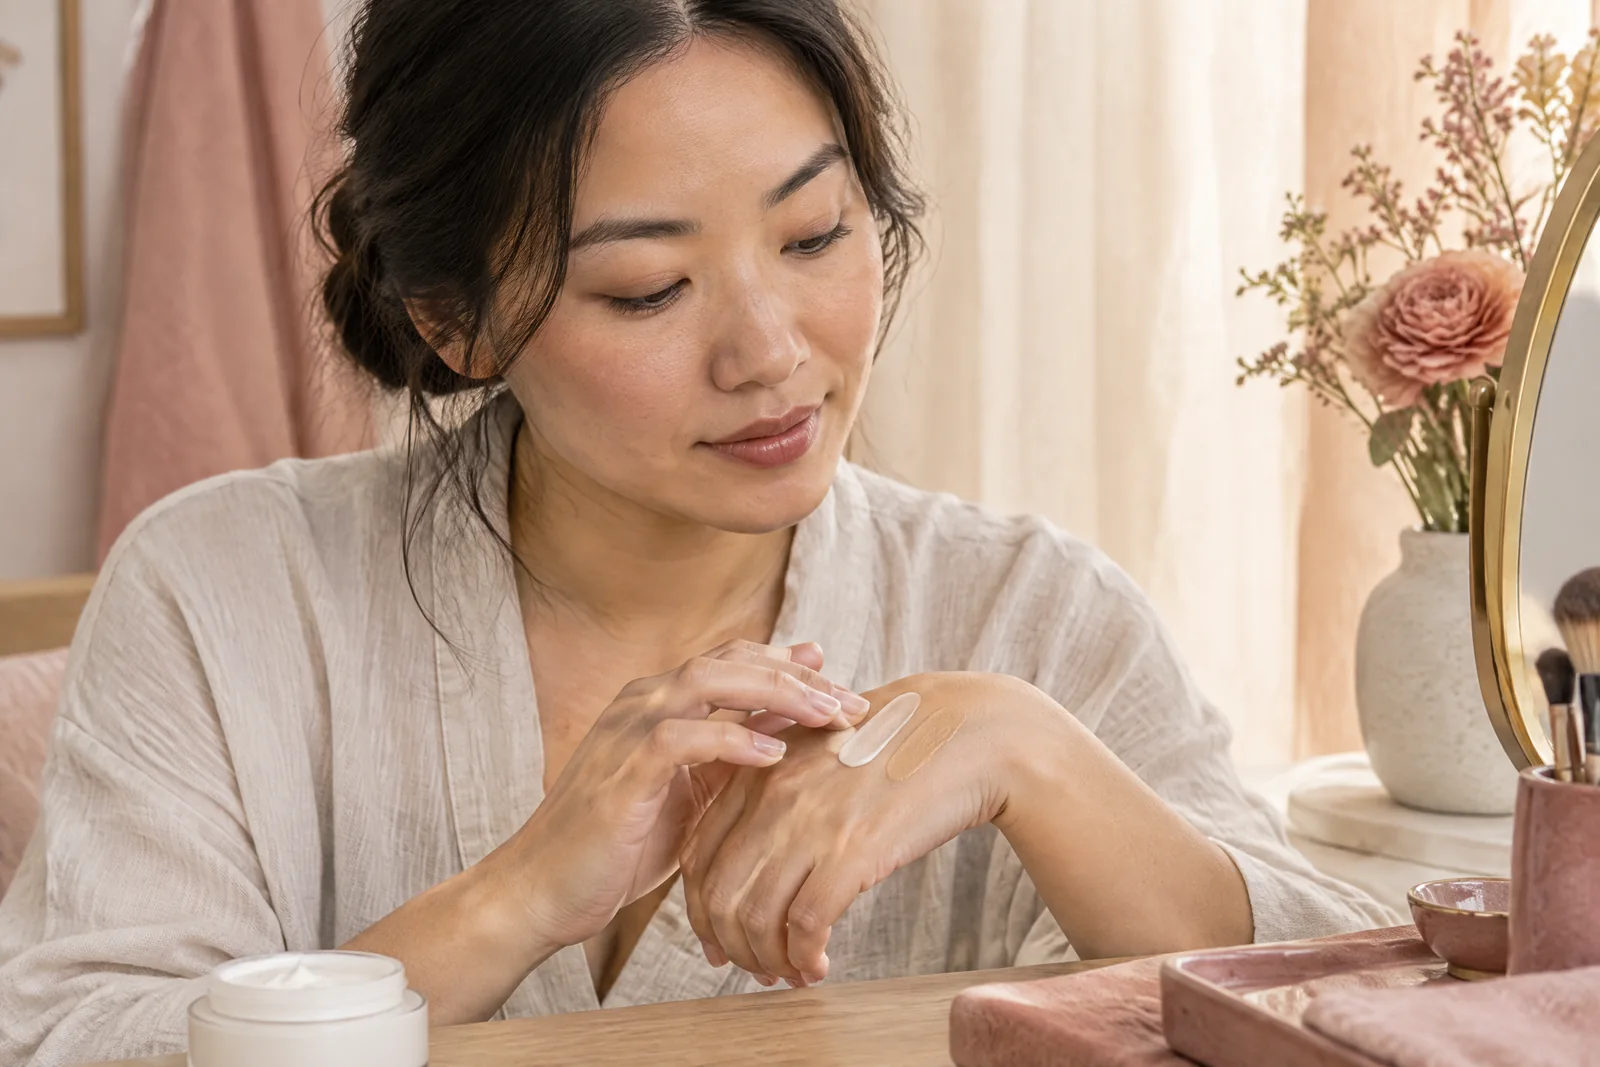
At a glance
makeup for combination skin
Quick answer: map oil-prone zones and dry patches, use lightweight hydrators where skin flakes and slightly richer moisturisers on dry areas, then layer thin bases — matte where texture shows and luminous where the surface is even. Skin prep before makeup is about comfort and letting products settle so layers sit together. Use the zone-by-zone checklist below to plan application and product choices for a refined, natural finish.
01
A practical guide to makeup for combination skin
Practical considerations when preparing makeup for combination skin
Start with a quick map: note where the forehead, nose and chin feel slick within two hours of washing, and where the cheeks and temples feel tight or flaky. Makeup for combination skin benefits from treating these zones differently at the prep stage so primers, serums and moisturisers won’t fight each other through the day.
Pick a base hydration strategy: a water-based gel or lightweight lotion across the whole face can be combined with a richer cream spot-applied to dry patches. This avoids sliding on oily areas while preventing foundation from clinging to scaly spots — a common trap when one product is applied everywhere.
When you move to colour base, use thinner layers over oil-prone zones and slightly more coverage where texture is stable but visible. For combination skin, mixing two formulas (a long-wear matte for the T-zone and a skin-like luminous for the cheeks) achieves balance without excess product build-up.
For a closer comparison, consider dry skin makeup
02
A practical guide to makeup for textured skin
Practical considerations when preparing makeup for textured skin
Textured skin needs strategies rather than fixes. Makeup for textured skin aims to reduce contrast between raised and recessed areas: soft-focus products, light-diffusing primers and whipped or skincare-infused tinted bases can reduce emphasis on texture without manufacturing a smoothness that isn’t there.
Avoid heavy, thick concealers applied straight from the pot onto textured areas. Use sheer-to-medium, buildable formulas applied in very thin layers and stippled rather than dragged to prevent product from piling into depressions or accentuating peaks.
Selective placement is key: allow a slightly dewier finish where the surface already looks even to catch light, and choose velvety, lower-shine products over the most textured zones. That contrast draws the eye to the best-refined areas and makes the overall complexion read as more polished.
Match your plans with foundation shade matching
03
A practical guide to skincare prep for makeup
Practical steps to prepare skin before makeup
Skin prep before makeup should be treated as a settling plan. Apply active or scented skincare well in advance if you’re sensitive to reactions, and give hydrating layers time to absorb so they don’t sit on the surface and slide foundation. An ordinary morning routine may need an extra five to ten minutes for best results.
Prioritise comfort: if skin feels taut, use a humectant-rich serum followed by a light, emollient-touch moisturiser only on dry patches. Over-oiling the T-zone to address dry cheeks will create a trade-off that makes foundation separate; zone-specific application avoids that compromise.
Primers are tools not panaceas. Use silicone-based blurring primers sparingly on enlarged pores or uneven texture to create a smoother makeup canvas, while avoiding them where your skin already sits well. For makeup for textured skin, light-reflecting primers can help but don’t use strong shimmer on raised areas.
You may also find it useful to compare makeup for mature skin
04
How to adapt the technique to your features and occasion
A realistic way to assess your finished look
Assessing finished looks begins with distance and lighting. Check your makeup in natural light, and step back to see how the texture reads from an arm’s length and a few metres away. A technique that looks heavy close-up may be perfectly appropriate for stage, photography or evening events where camera lights and flash behave differently.
For daytime and office settings, aim for skin-like finishes and softer coverage that won’t shift across the T-zone. Use powder only where necessary — a light dusting across problem zones rather than a full-face bake helps control shine without enhancing texture when skin flexes during speaking or masks.
Evening or photographic occasions allow you to add more structure. Use slightly stronger setting products and controlled contouring, applying mattifying products on the most textured zones and luminous touches on smoother areas to sculpt the face while keeping the emphasis away from texture.
For another approach, explore oily skin makeup
05
Map dry-feeling and oil-prone zones before applying one product everywhere
Build your skincare prep around comfort and settling time
A simple pre-application checklist saves time: blot the face lightly with tissue to identify oil-prone areas, press fingertips to locate dry patches, and note any reactive zones. Makeup for combination skin becomes much more predictable when you have this map rather than relying on trial-and-error during application.
Once you know the zones, consider the order of application: lightweight, fast-absorbing hydrators, spot-applying thicker products to dry patches, then an appropriate primer only to the zones that benefit from it. This staged approach reduces the need to correct or powder off excess product later.
Allow products time to settle: immediate heavy powdering can trap moisture and create cakey texture. A few minutes of settling lets emulsions merge with skin and form an even base, which is especially important for textured skin where product migration highlights surface irregularities.
Before deciding, take a look at Makeup Techniques
06
Choose different base textures for different facial areas
Set only the zones where you need more control
Mixing formulas is not cheating — it’s intentional tailoring. Use a velvety matte foundation where texture is most visible and a thinner, glossier tint on flatter cheek planes. Apply each formula in thin layers and blend edges carefully so the transitions read natural rather than patchy.
For under-eye and small blemish coverage, prefer lightly hydrating concealers applied with a damp sponge or fingertip tapping. Heavy creams here tend to emphasise creases and surface irregularities; thin, buildable options allow control without texture inflation.
Finish by setting selectively: a micro-fine translucent powder applied with a light hand over the T-zone and textured areas can reduce shine and offer longevity, while leaving or barely dusting smoother areas preserves natural light and avoids flattening your features.
Style references
Related makeup style illustrations
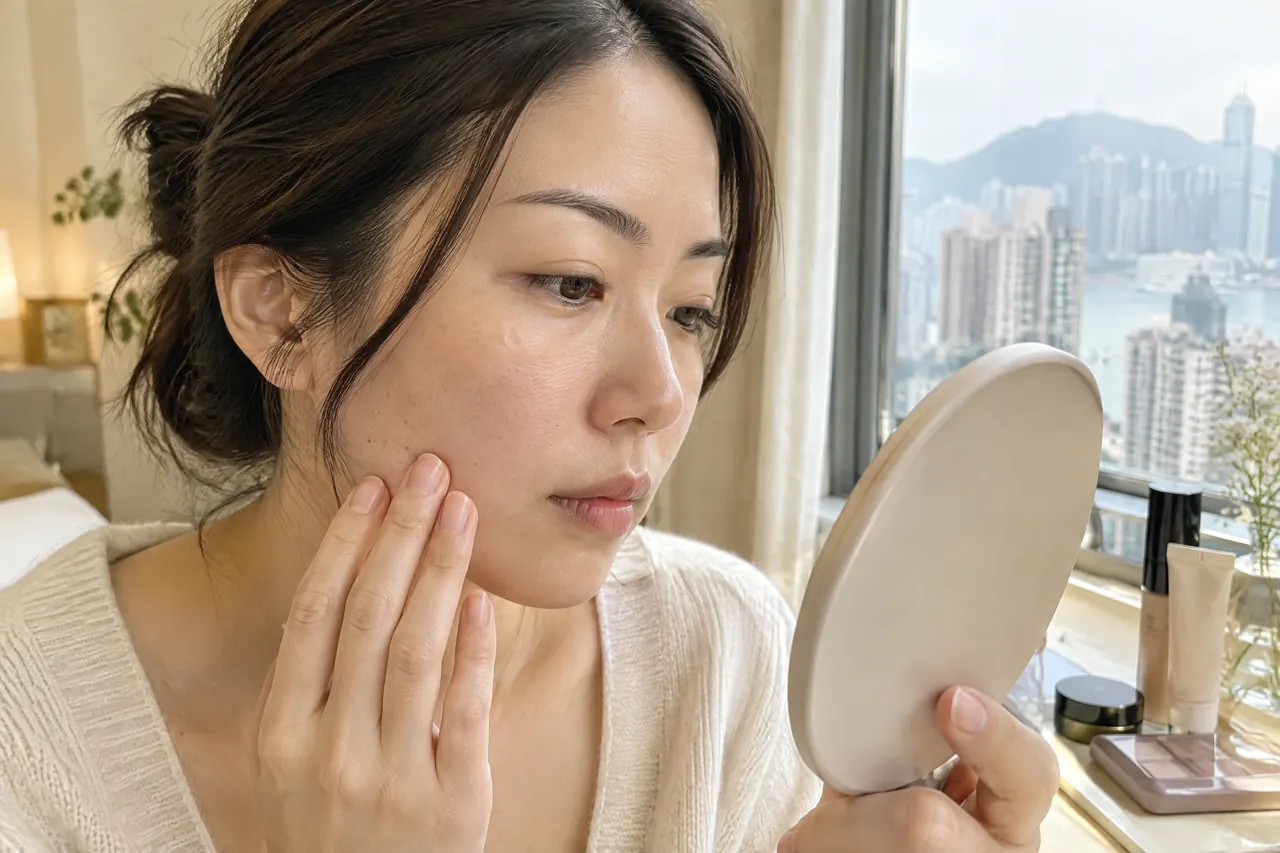
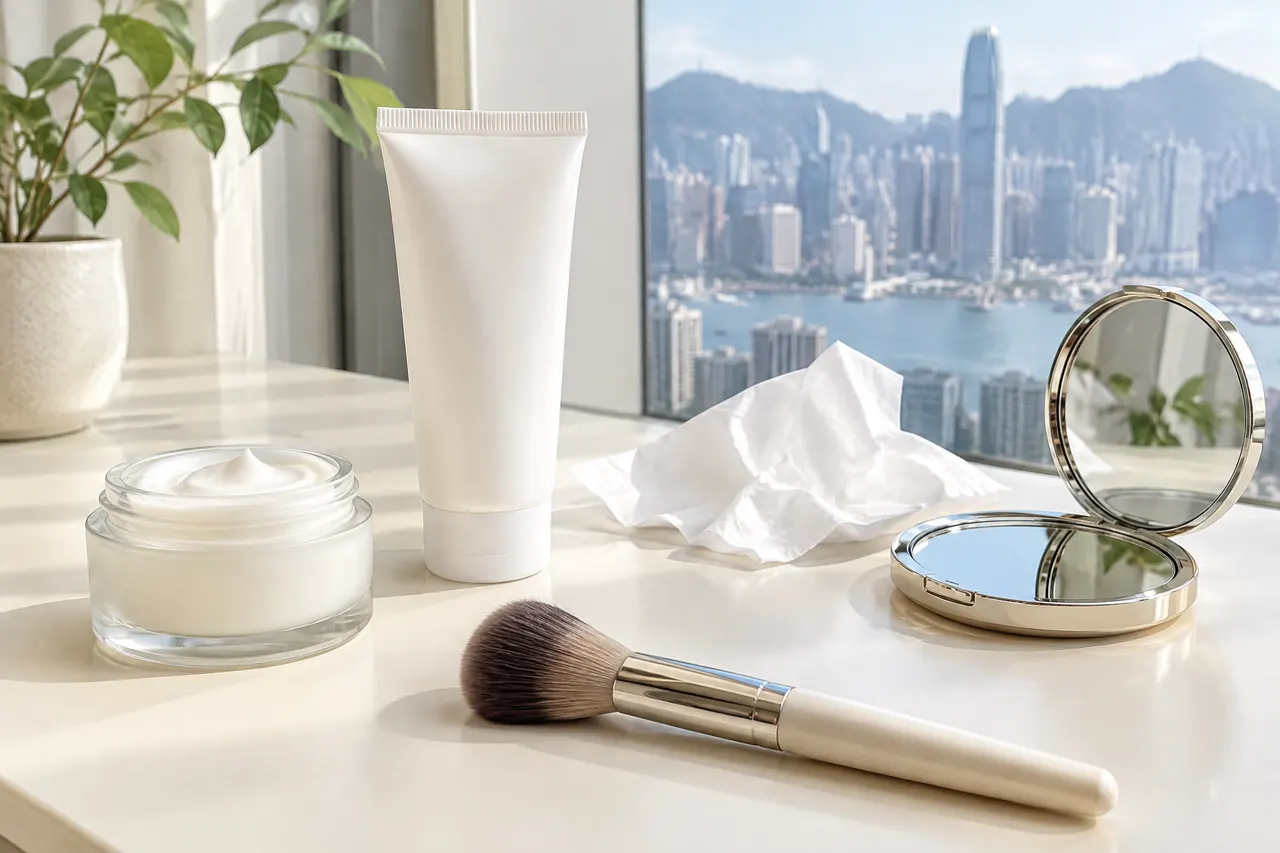
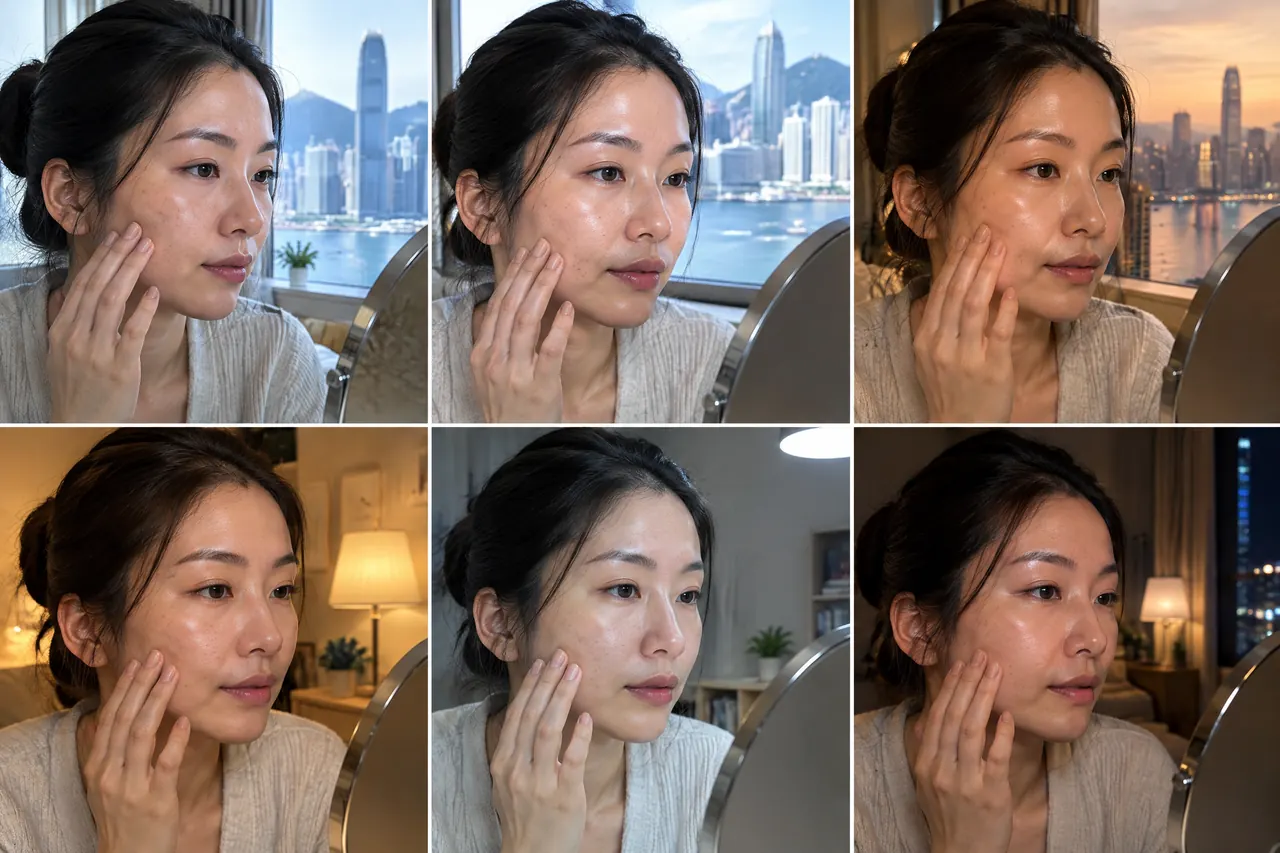
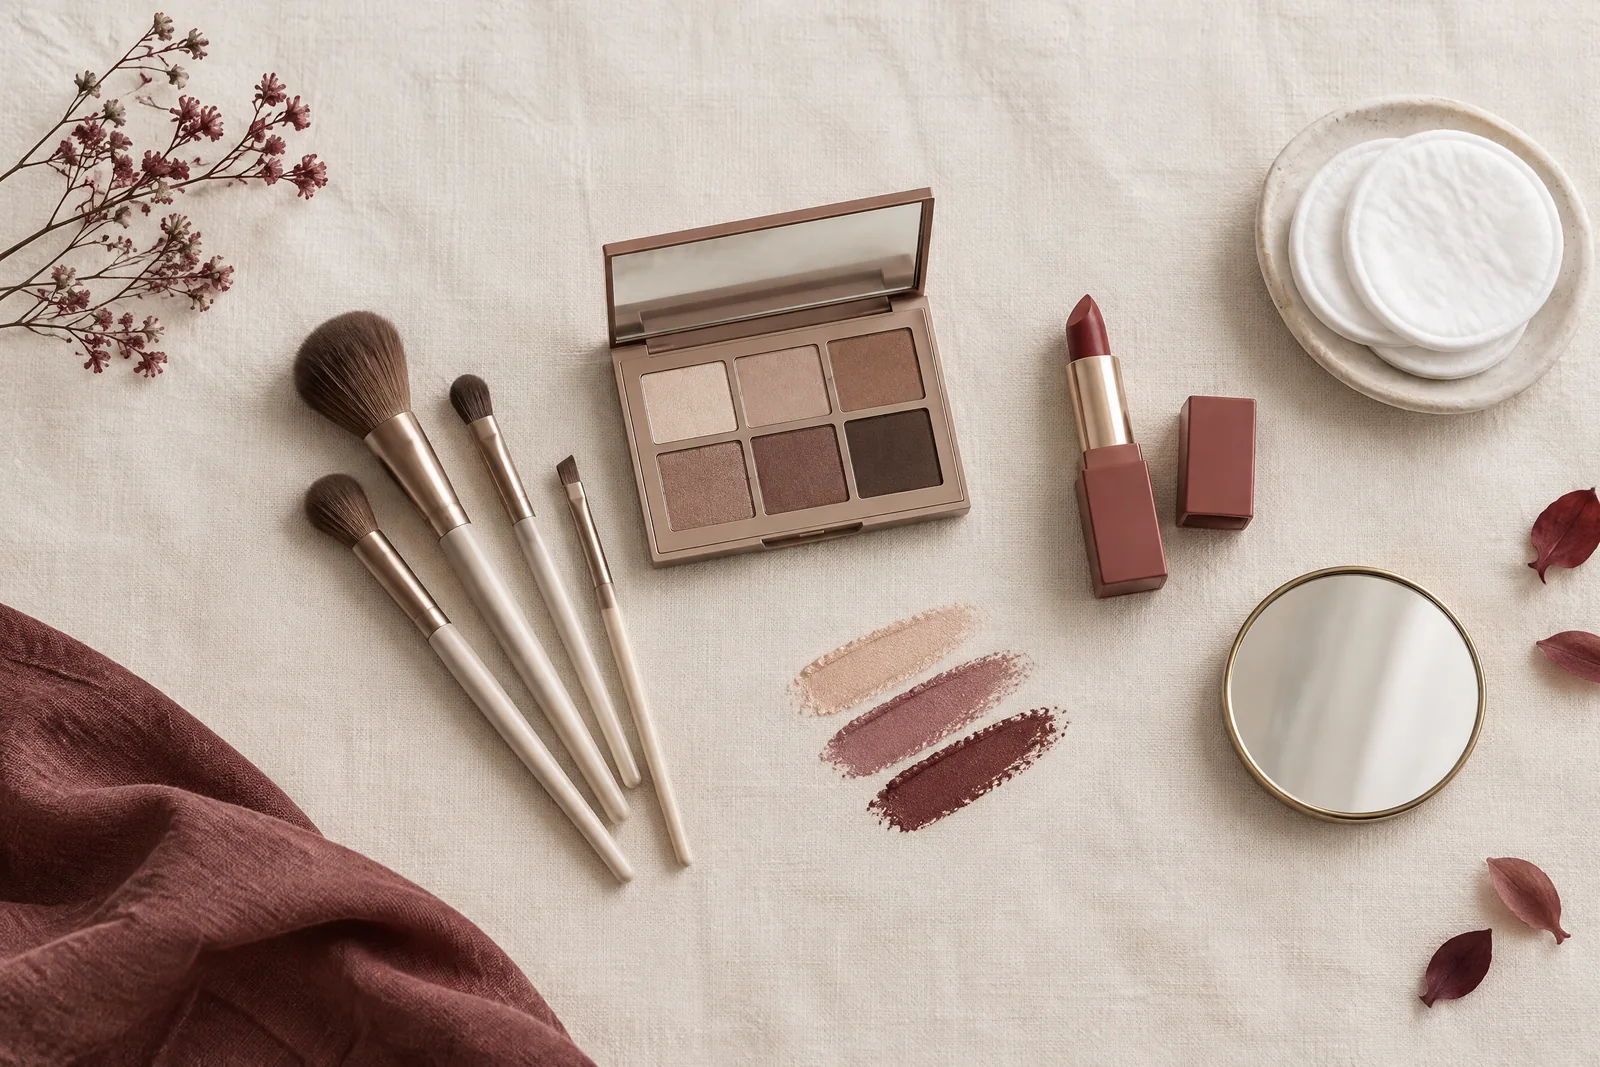
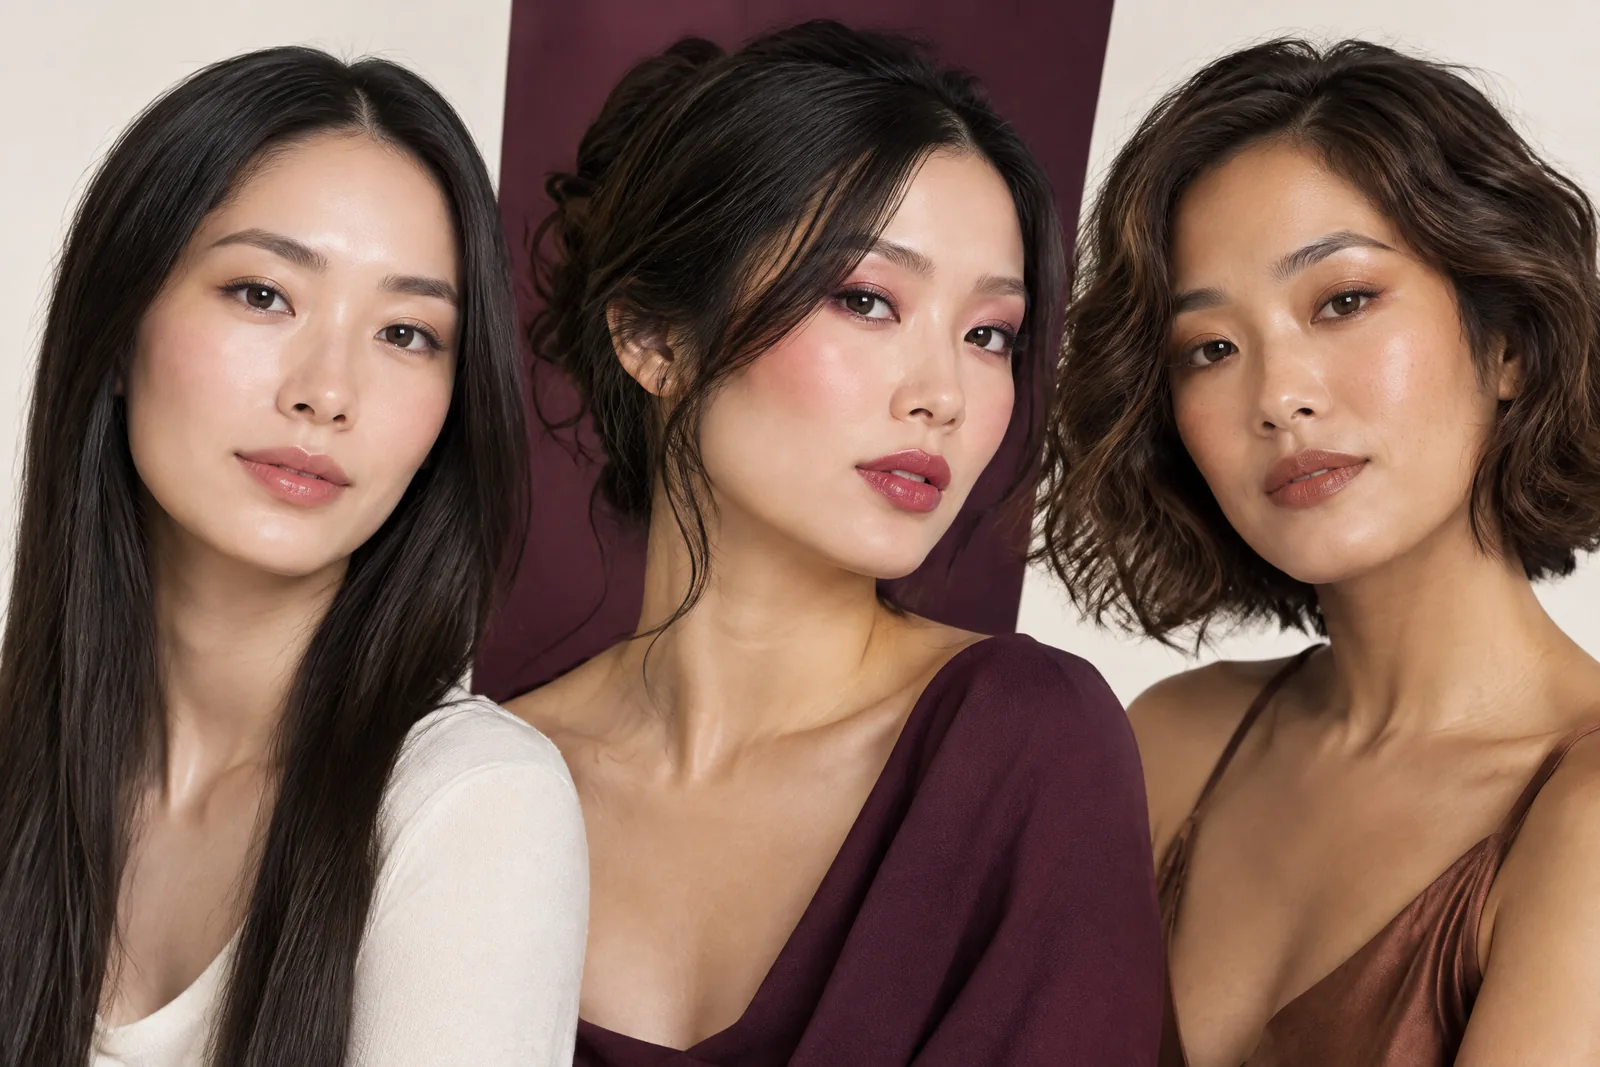

Zone-by-zone product choices for makeup for combination skin and makeup for textured skin
| Face Zone | Prep product suggestion | Base texture & finish | Application tip |
|---|---|---|---|
| Forehead (oil-prone) | Light gel hydrator or mattifying serum | Thin long-wear matte foundation | Apply with brush, thin layers; blot after 5–10 minutes if needed |
| Nose and central T-zone | Oil-control primer on enlarged pores | Velvety, low-shine foundation | Stipple with damp sponge to avoid dragging into pores |
| Cheeks (dry or textured) | Humectant serum + richer cream on dry patches | Skin-like luminous or skin tint | Use fingertips to press product for natural finish |
| Under-eye and small blemishes | Light eye cream, wait to absorb | Thin, buildable concealer | Tap in small amounts; set sparingly with micro-powder |
| Jawline and neck | Light moisturiser; match hydration across edges | Sheer coverage that matches face finish | Blend downwards and check in natural light |
| Areas with raised texture/scarring | Silicone-based blurring primer (sparingly) | Velvet-finish foundation or micro-blurring tinted balm | Apply very thin layers and avoid heavy powdering |
Helpful answers
Frequently asked questions
Can makeup for textured skin make pores or scarring invisible?
Makeup for textured skin can reduce the appearance of pores and scarring by softening shadows and contrast, but it does not erase texture. Techniques like blurring primers, thin layering and strategic finishes help the surface read smoother in photos and at normal conversational distance. For permanent concerns you should consult a dermatologist rather than rely on cosmetic coverage alone.
How long should I let skin prep before applying foundation?
Give hydrating serums and moisturisers about three to five minutes to absorb and slightly longer for richer creams—around five to ten minutes—so they aren’t sitting on the surface. Primers usually need under a minute to level, but if you press or blot after applying moisturiser, allow an additional moment for the skin to regain its natural texture before foundation.
Should I use powder all over if I have a combination skin type?
No. For combination skin, set only the zones that need oil control. A light dusting across the T-zone and textured areas is usually sufficient. Over-powdering the cheeks where skin is drier can make texture worse and flatten the look. Use micro-fine translucent powders and apply with a soft brush for controlled placement.
Which tools work best for applying makeup for combination skin?
A small range of tools covers most needs: a dense buffing brush or short-haired foundation brush for mattes, a damp sponge for sheerer, skin-like finishes, and a soft stippling brush for blending edges between formulas. Fingers are excellent for warmth and pushing products into dry patches. Clean tools regularly to avoid product build-up that can emphasise texture.
Are primers necessary when preparing textured skin before makeup?
Primers are optional tools. Silicone-based blur primers can temporarily reduce the look of enlarged pores and surface irregularities, while light-reflecting primers can soften a dull complexion. Use these selectively on the most textured zones rather than applying a single primer across the entire face to prevent creating uneven finishes.
Ready to discuss it?
Request personalised product and prep advice
Tell us what you are planning, and we will help clarify the service or lesson details that matter for your enquiry.
From the makeup blog