
At a glance
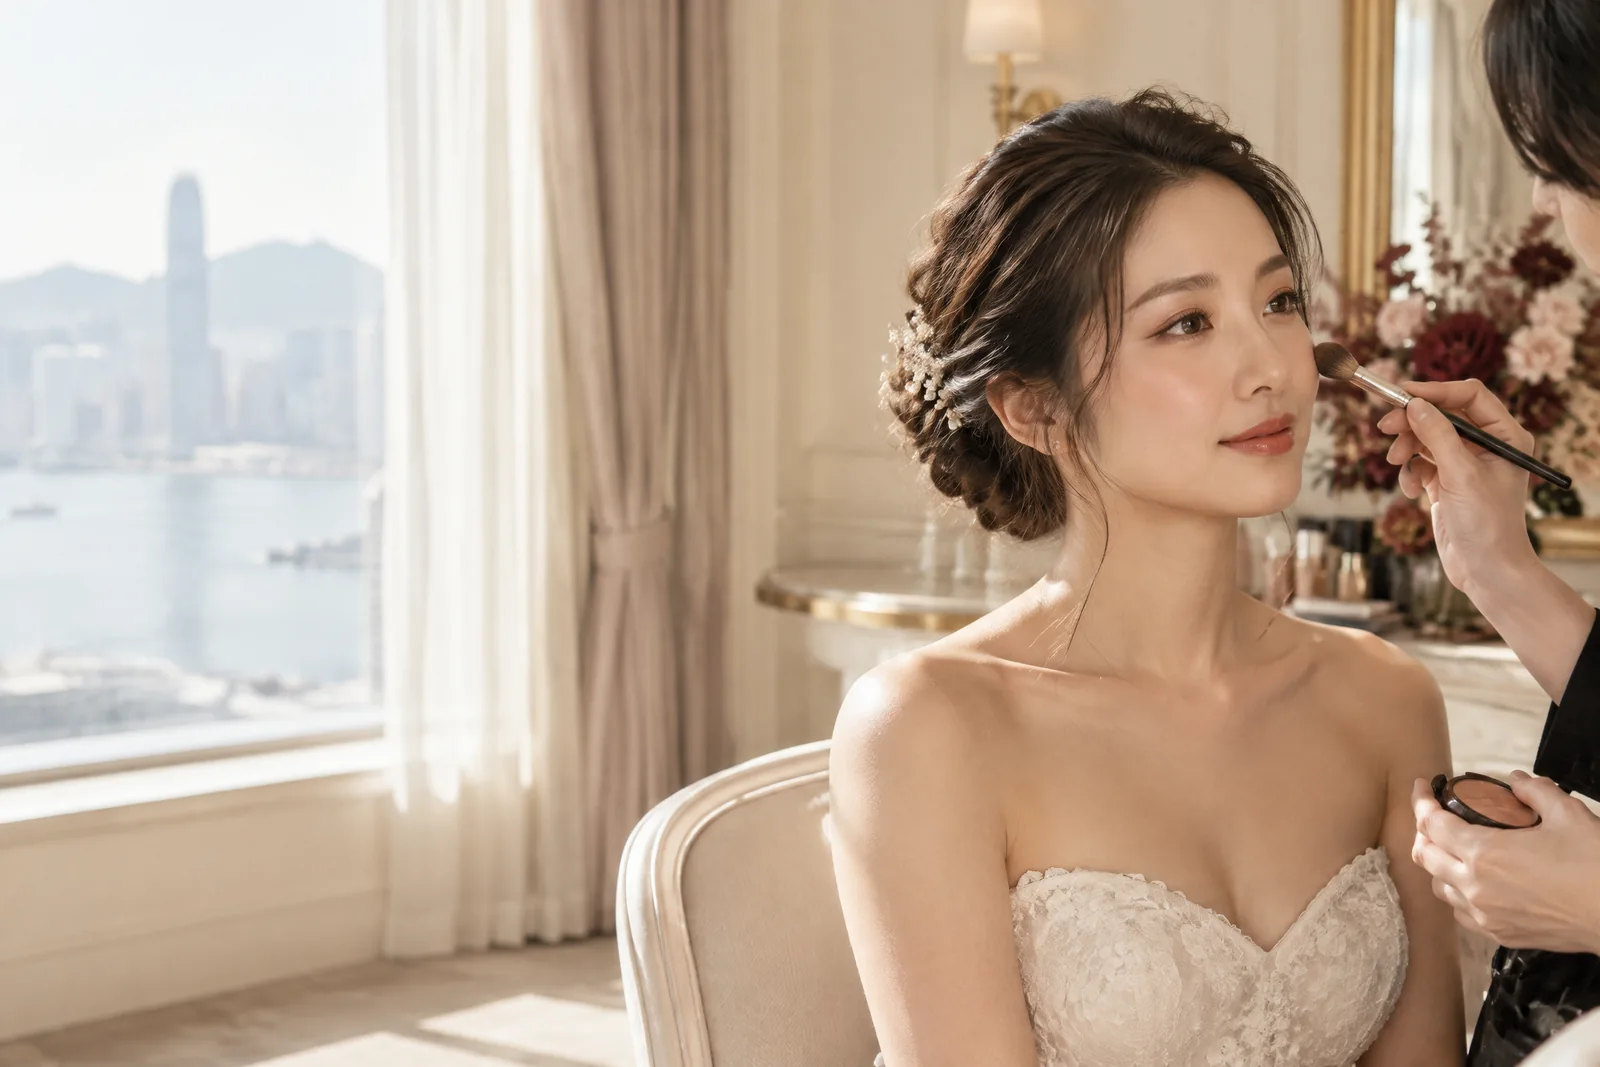
Treat the topper as one moving part of the look, not a last-minute cover-up. A written order, a clean station and short checks after each change help the makeup, hairline, wardrobe and lens work together without guessing.
Start with the clip-in topper shoot prep brief
Make the clip-in topper shoot prep decision before makeup
Before a multi-look day, name the purpose of every change. One look may need crown coverage, another a different parting, and a third only polished volume. Put those needs beside the outfit order and reference images. This stops the team from treating one topper as a universal answer. It also gives the makeup artist a clear sequence for complexion, hairline work, accessories and touch-ups.
Share the look order at the same time as the makeup brief. For a bridal makeup pre-wedding shoot, note which portraits are close, which are outdoor, and when veils or jewellery enter. A front-facing close-up needs a different hairline check from a wide walking frame. Leave a few minutes between looks for a mirror check. A rushed change often creates more visible disruption than a planned, modest adjustment.
Set up one clean area for face tools and another for hair handling. The American Academy of Dermatology advises regular brush washing and says not to share makeup brushes. Bring freshly cleaned brushes, disposable applicators and a clean towel for the station. Keep powders, clips and hairpieces away from open liquids. This is practical changing-room housekeeping, not a promise that any item is sterile or suitable for every skin concern. [1]
- Write the look order beside each outfit and location.
- Mark close portraits, movement shots and accessory changes.
- Keep makeup tools and topper handling in separate zones.
Choose a format by the task, not the label
Separate attachment, fibre and base questions
If removability is the priority, begin with the stated fastening rather than a photograph. The assigned clip-in hair topper guide explains that clips, base, coverage, material and care are separate details. For the shoot, ask what the exact item says about placement and removal. Do not assume every category item has the same clips. A listing is also not proof of current supply, fit or a finished colour match.
If the look calls for a human-hair option, the useful comparison remains product specific. The human hair topper guide recommends checking the stated hair type, base construction, dimensions, attachment and coverage. It also says Remy status, colour suitability and heat suitability need confirmation for the exact style. Put only confirmed care instructions on the run sheet. Do not plan colouring, hot tools or a dramatic reshape around a broad fibre label.
A synthetic option deserves its own column on the run sheet. The synthetic hair topper guide says finish, base, attachment and care vary by item. This remains true within the same fibre category. Treat heat-friendly wording as an item-specific claim, not blanket permission. Record the supplied styling guidance and the expected shape for each look. If guidance is absent, use a lower-risk alternative. Ask before the shoot rather than testing heat in the changing room.
Build the look order around real change time
Give every look one clear styling job
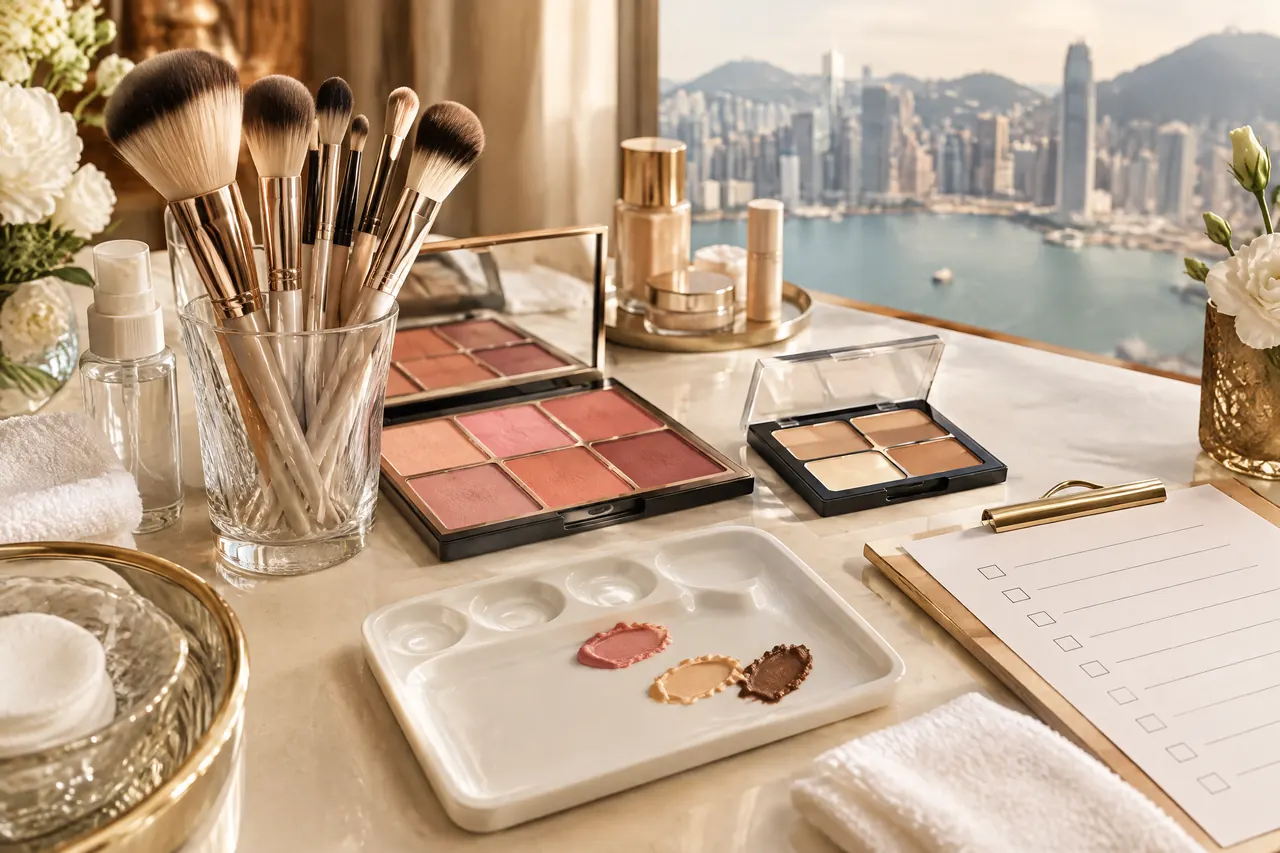
Arrange the shoot from the least demanding hair change to the most demanding one when the schedule allows. Start with the look that uses your natural parting and needs the fewest accessories. Then move to the look requiring more lift, coverage or a different silhouette. This preserves patience for the later checks. It also makes it easier to identify whether a camera difference comes from the topper, makeup, lighting or wardrobe.
Do one full practice change before the shoot day. Time the removal, the tidy-up of your own hair, the new placement, and the makeup touch-up around the hairline. Include the moment when earrings, a collar or a veil might catch. Keep the practice result as a range rather than a promise. Studio access, humidity, fabric and the number of hands available can all alter the actual pace.
Assign one person to hold the look card while another makes the change. The wearer should not need to remember every step under bright lights. A simple card can list placement, parting direction, accessories, hairline touch-up and the final mirror angle. When the team agrees on that card, it becomes easier to reverse a change cleanly. It also limits repeated handling while makeup is already finished.
| Decision point | What to check | What to do next |
|---|---|---|
| Attachment | The exact fastening, placement and removal guidance are confirmed. | Practise once before makeup, then record the comfortable position. |
| Coverage | The stated base area suits the parting or crown needed for this look. | Use the look card to match coverage with the camera angle. |
| Fibre care | The exact item has clear styling and care directions. | Avoid unconfirmed heat, washing or reshaping during the shoot. |
| Timing | The change fits between wardrobe, makeup and photography calls. | Choose a simpler backup look if the schedule becomes tight. |
Test the hairline under each lens and light
Comfort is a decision point, not a finishing detail
Check the attachment in a seated mirror, then with the head turning and looking down. The American Academy of Dermatology warns that repeated pulling can damage hair over time. It advises changing a style that causes pain, stinging or irritation. For a photo day, discomfort is enough reason to pause. Remove the piece and reassess the plan rather than tightening it further. Ongoing scalp or hair-loss concerns deserve advice from an appropriate clinician. [2]
Use the intended camera distance for the first review. Stand near a window for daylight when that matches the set. Then take a phone image under studio or venue lighting. Compare the parting, edge blend, shine and visible base in each image. A topper that reads well in a mirror may need a small placement change on camera. Do not interpret one favourable frame as proof that the fit will remain unchanged all day.
Ask the photographer which angles are scheduled before you add spray or accessories. Side light may show texture differently from front light, while a moving shot tests stability more than a seated portrait. Keep correction language specific: move the parting, soften a visible line, or simplify the accessory. Vague requests can lead to unnecessary repeated touching. Protect the approved makeup by solving one visual issue at a time.
Time makeup changes around the topper
Protect the makeup before touching the base
Plan hair handling before any detailed work close to the temples whenever possible. If the look changes after makeup, use a clean hand position. Keep fingers away from finished brows, foundation and concealer. For humidity planning, long-lasting makeup Hong Kong guidance can help frame the base and touch-up conversation. It does not replace a hairpiece check. Decide who will protect the complexion while another person manages the change.
Place a clean tissue or towel where the hairpiece will rest during the transition. Do not set it beside loose pigment, hairspray residue or an open drink. Keep a small lint-free cloth for a quick visual tidy. Follow the specific product care directions for any actual cleaning. The changing room is not the place to invent a wash routine. When a care instruction is uncertain, leave the item alone and use the planned backup look.
After placement, allow the wearer to settle before the final powder or setting step. Ask about pressure, pulling and whether the parting still feels natural. Then take one reference image before the photographer begins. This reference helps the team see later changes without relying on memory. It also separates a makeup issue from a topper adjustment, which makes a short touch-up more efficient and less disruptive.
Pack the changing-room kit by function
Keep tools, product and notes apart
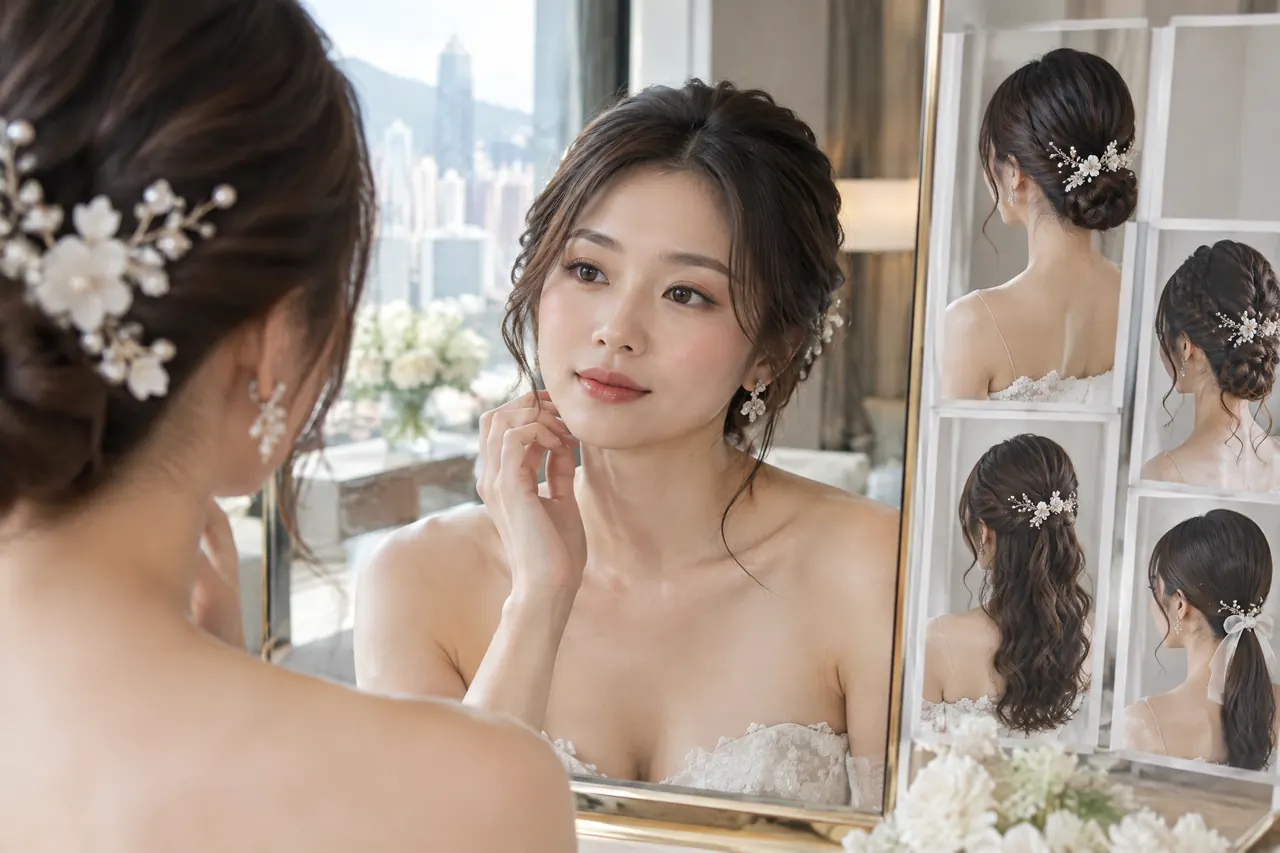
Pack the kit in three labelled groups: makeup touch-up, hair handling and documentation. The makeup pouch can hold the agreed lip, blotting materials and clean applicators. The hair pouch can hold the topper case and only the tools permitted by its care guidance. The note pouch holds look cards and references. For travel or a venue change, ask a home makeup artist Hong Kong about the practical brief early.
Bring a backup that changes the plan, not merely the quantity of products. A simple alternate parting, accessory-free option or natural-hair look can rescue a delayed change without forcing an uncomfortable attachment. Tell the photographer which alternative still meets the mood board. This avoids a corridor debate when the next location is waiting. Keep the backup visual language close to the intended story, rather than adding a completely unrelated style.
Give every small item a return place before the first look. A labelled pouch or tray reduces the chance that clips, pins or a comb disappear under wardrobe bags. Photograph the open kit at call time if several people will handle it. That picture is not a product inventory or condition report. It is simply a visual reminder of where clean tools and the changing sequence begin.
- Makeup pouch: agreed lip colour, blotting materials and clean applicators.
- Hair pouch: labelled case, permitted tools and the look card.
- Backup pouch: one simpler approved look and its matching accessory.
Review after every look, not only at wrap
Make the next decision from evidence
At the end of each look, take thirty seconds for a repeatable check. Ask if the attachment still feels comfortable. Check if the hairline reads cleanly and the temple makeup needs attention. Then decide whether to keep, adjust or remove the piece for the next look. This is better than repairing several small issues at the final location. Time and light may be running out then.
Keep a short record of what worked. Write the look name, parting direction, attachment notes, lighting condition and any approved touch-up. Do not label a choice as universally best after one shoot. The value is in making the next decision easier for the same wearer and plan. A record explains why a later look uses a different solution. The switch need not seem like a mistake.
Finish with a calm removal and storage check. Follow the item-specific instructions you have confirmed, then place it in its designated container. Clean up the makeup station separately and leave borrowed surfaces clear. A careful wrap protects the next booking and reduces frantic searching after the shoot. It also lets the wearer mention discomfort or a scalp concern. That concern should not be ignored.
| Question | Evidence to use | Decision |
|---|---|---|
| Does it feel comfortable? | The wearer reports no pulling, stinging or pain. | Keep it, or remove and reassess the attachment. |
| Does the hairline read cleanly? | Mirror check and one image in the relevant light agree. | Make one targeted adjustment before the next frame. |
| Has makeup moved? | Check temples, brows and the perimeter without rubbing. | Use the planned touch-up, then stop handling the area. |
| Is the next change still realistic? | Compare the remaining schedule with the tested change time. | Keep the plan or move to the approved simpler look. |

Key takeaway
The useful changing-room question is not which fibre sounds best in general. It is whether the confirmed attachment, coverage, care and comfort suit this next look. Test the sequence, protect the finished complexion, and keep one simpler option ready. That gives a multi-look shoot room to stay creative without turning every transition into a risk.
Practical checklist
- Confirm the exact attachment, coverage and care information for each planned item.
- Practise every major change before shoot day and record the comfortable placement.
- Pack clean makeup tools separately from the topper case and hair-handling tools.
- Take a daylight or set-light reference image before the photographer starts each look.
- Prepare one simpler backup look that does not require unconfirmed styling steps.
- Stop the change when there is pain, stinging or scalp irritation.
Frequently asked questions
Should I decide on a topper before the makeup trial?
Yes, when possible. Bring the intended item or its confirmed specifications to the trial. The goal is not to promise a perfect camera result. It is to practise the order of placement, check the temples and hairline, and decide which makeup steps must happen before or after the hair change.
Can one topper serve every look in a multi-look shoot?
Sometimes, but do not assume it will. Each look may ask for a different parting, coverage area, accessory or level of movement. Test the actual sequence. If one option creates discomfort, uncertain care demands or slow changes, build a simpler alternate look rather than forcing it into every frame.
What should I do if the attachment feels tight?
Stop and reassess instead of tightening further. Pain, stinging or irritation are not normal details to hide for a photograph. Remove the item, check the placement and choose an approved alternative if needed. Speak with a clinician about persistent scalp symptoms or continuing hair-loss concerns.
May I use heat to restyle a synthetic option at the venue?
Only if the exact product instructions expressly permit the method you plan to use. Synthetic fibre labels do not establish universal heat tolerance. A changing room is a poor place for an untested heat experiment. Keep the supplied care directions with the look card and use the backup plan when clarification is missing.
How do I keep makeup tidy during a quick change?
Assign separate roles when possible. One person manages the hair change with clean hands. Another watches the temples, brows and base makeup. Place the item on a clean surface, complete the placement, then make one focused touch-up. Repeated touching is more likely to disturb a finished complexion than a planned pause.
Sources
| Source | What it supports |
|---|---|
| American Academy of Dermatology — How to clean your makeup brushes | Supports washing makeup brushes regularly, keeping tools clean, and not sharing brushes as part of changing-room hygiene. |
| American Academy of Dermatology — Hairstyles that pull can lead to hair loss | Supports stopping and changing a hairstyle when it causes pain, stinging or scalp irritation, and avoiding repeated pulling. |
Discuss your own makeup plans
Share your shoot schedule, number of looks and reference images with BigDeal Make Up before confirming the makeup plan.
Ask on WhatsApp +852 6918 3153