
At a glance
A useful plan separates complexion texture from colour and camera expectations. Sheer layers can preserve a fresh appearance, but selective setting protects areas that feel uncomfortable. Soft eye and cheek placement can support a luminous base without making every feature equally reflective. Test one variable at a time under daylight and the lighting you expect. Bring photographs, products and concise questions to a lesson. The aim is a routine you can recreate, not an identical copy of someone else’s image.
Build a glass skin makeup study plan around a finish
Define your glass skin makeup study plan outcome
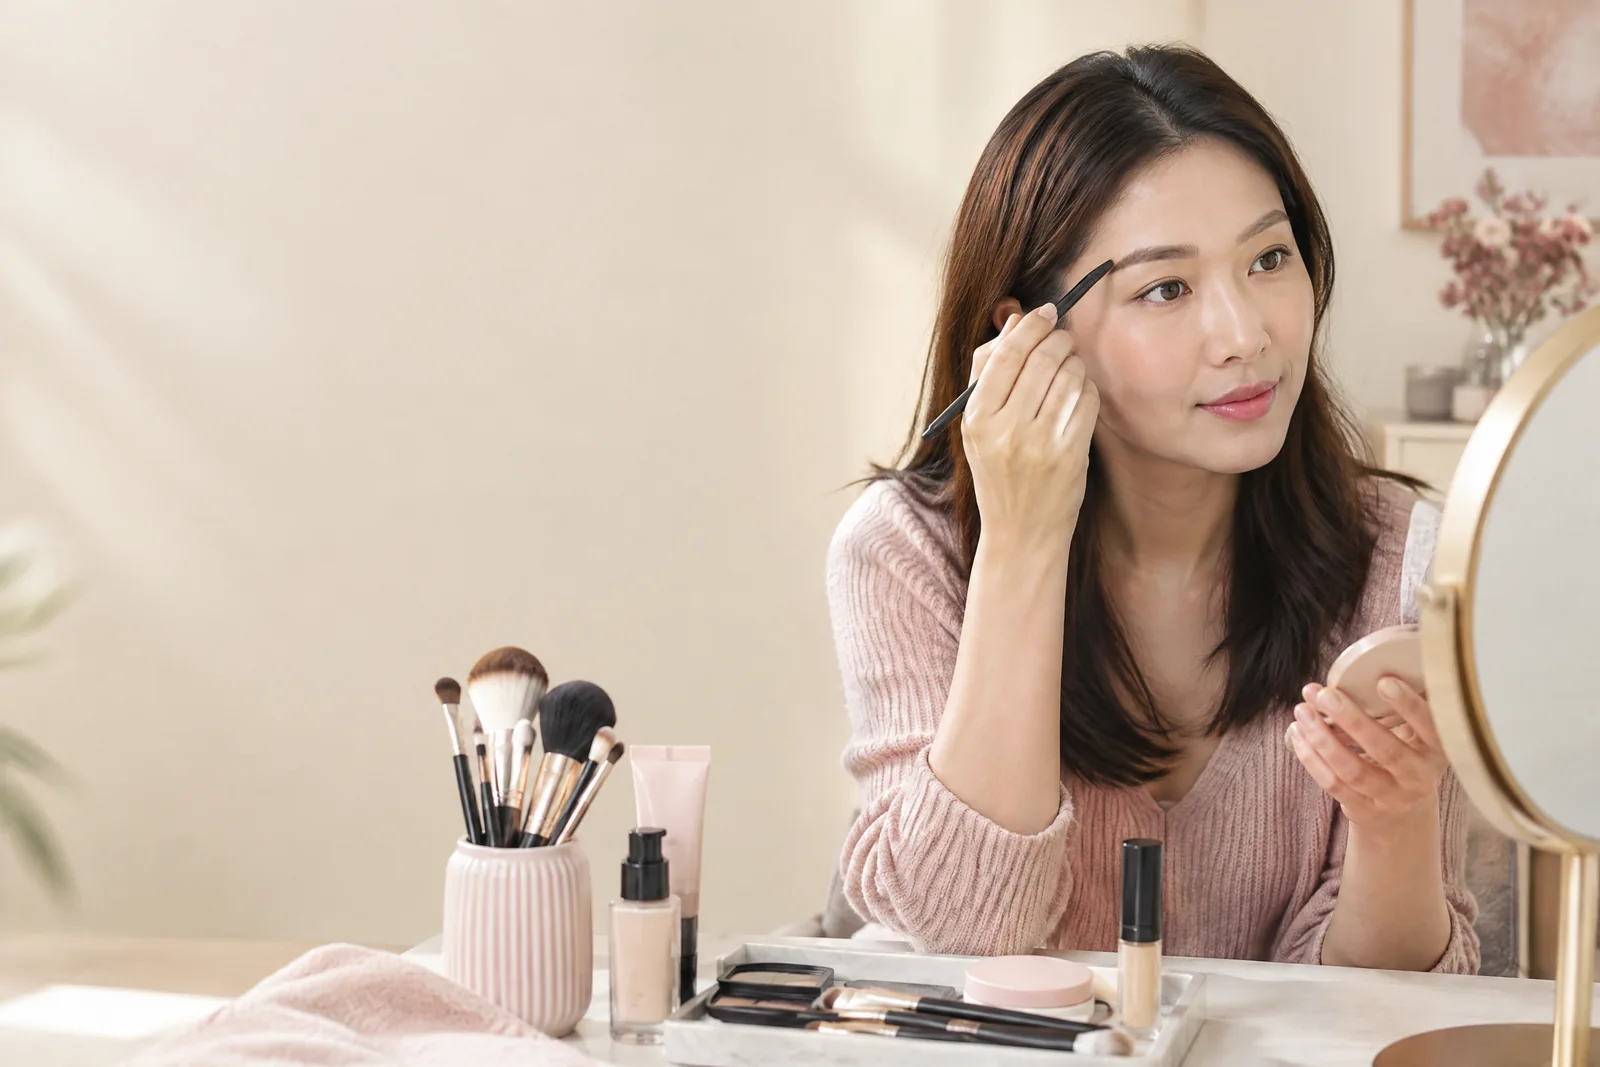
Start by describing the finish you want to recognise in a mirror. It may be soft reflection on the high points, a clearer cheek area, or an even-looking base. Readers wanting a focused complexion direction can compare it with a Korean dewy makeup class. It considers preparation, sheer coverage and controlled reflection. Do not begin with a long shopping list. Begin with the visual difference you want to practise. This keeps the first session specific and easier to assess.
Name the setting before deciding how much luminosity feels right. A daytime meeting, a dinner, a portrait and a phone video can make the same base appear different. Note the likely light, time away from home, and whether you can blot or refresh. Also decide which areas should remain quieter. The centre of the face, eyelids and chin often need separate choices. A plan becomes useful when it records these distinctions rather than treating glow as one uniform effect.
Separate comfort from the image you saved. A glossy reference may suit its own lighting, editing and viewing distance. Your practice can instead ask whether the finish feels balanced at conversational distance. Check how it looks beside your neck, hairline and clothing. Choose one feature to emphasise, such as skin texture or a sheer lip. Leave other elements simpler. This creates a deliberate look without demanding a flawless or permanently altered complexion.
Prepare skin and products for comfortable practice
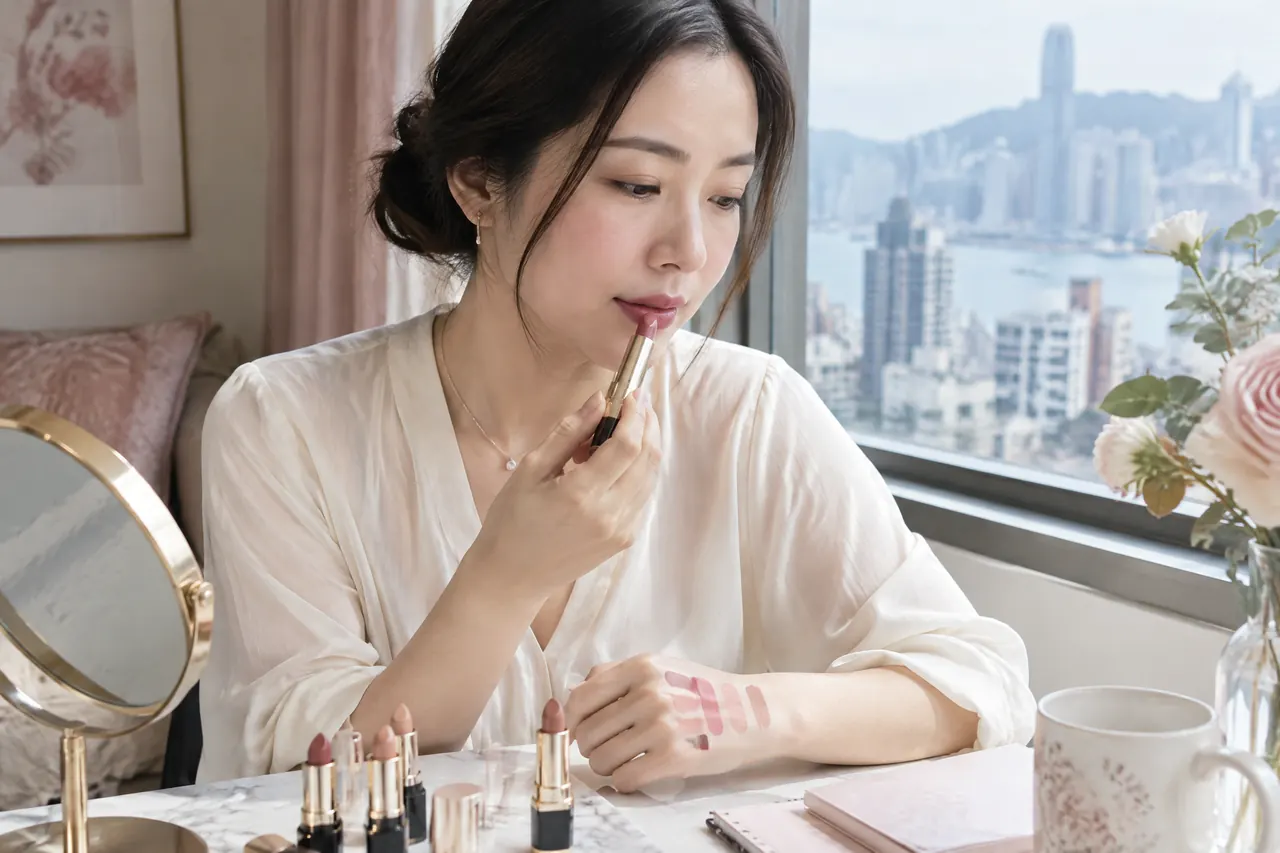
New skin-care choices deserve time before an important occasion. The American Academy of Dermatology advises testing a product on a small area twice daily for seven to ten days. It recommends stopping use if a reaction develops. That is sensible preparation, not a diagnosis or a promise of suitability. Record the product name and what felt comfortable. Avoid introducing several unfamiliar layers during the same practice session. If irritation concerns you, seek individual medical advice. [1] [1]
Decide whether your reference needs a fresh complexion, a softly defined eye, or a brighter lip. A K-pop makeup class Hong Kong reference can help separate these visual priorities. It may combine a luminous base with carefully placed colour, rather than making the whole face reflective. Bring one or two images and mark what you actually want to learn. For example, you may prefer the blush placement but not the heavy lash line. Clear preferences make practice more efficient.
Treat previous product reactions as an important part of preparation. The British Association of Dermatologists describes patch testing as a specialist dermatology procedure for investigating contact allergy. A home product trial is not the same thing. Keep packaging or ingredient information when it relates to an earlier reaction. Share relevant concerns before any arrangement is confirmed. If you have active irritation or uncertainty, pause experimentation and seek individual medical advice. [2] [2]
Study thin layers before adding more coverage
Use your glass skin makeup study plan to sequence layers
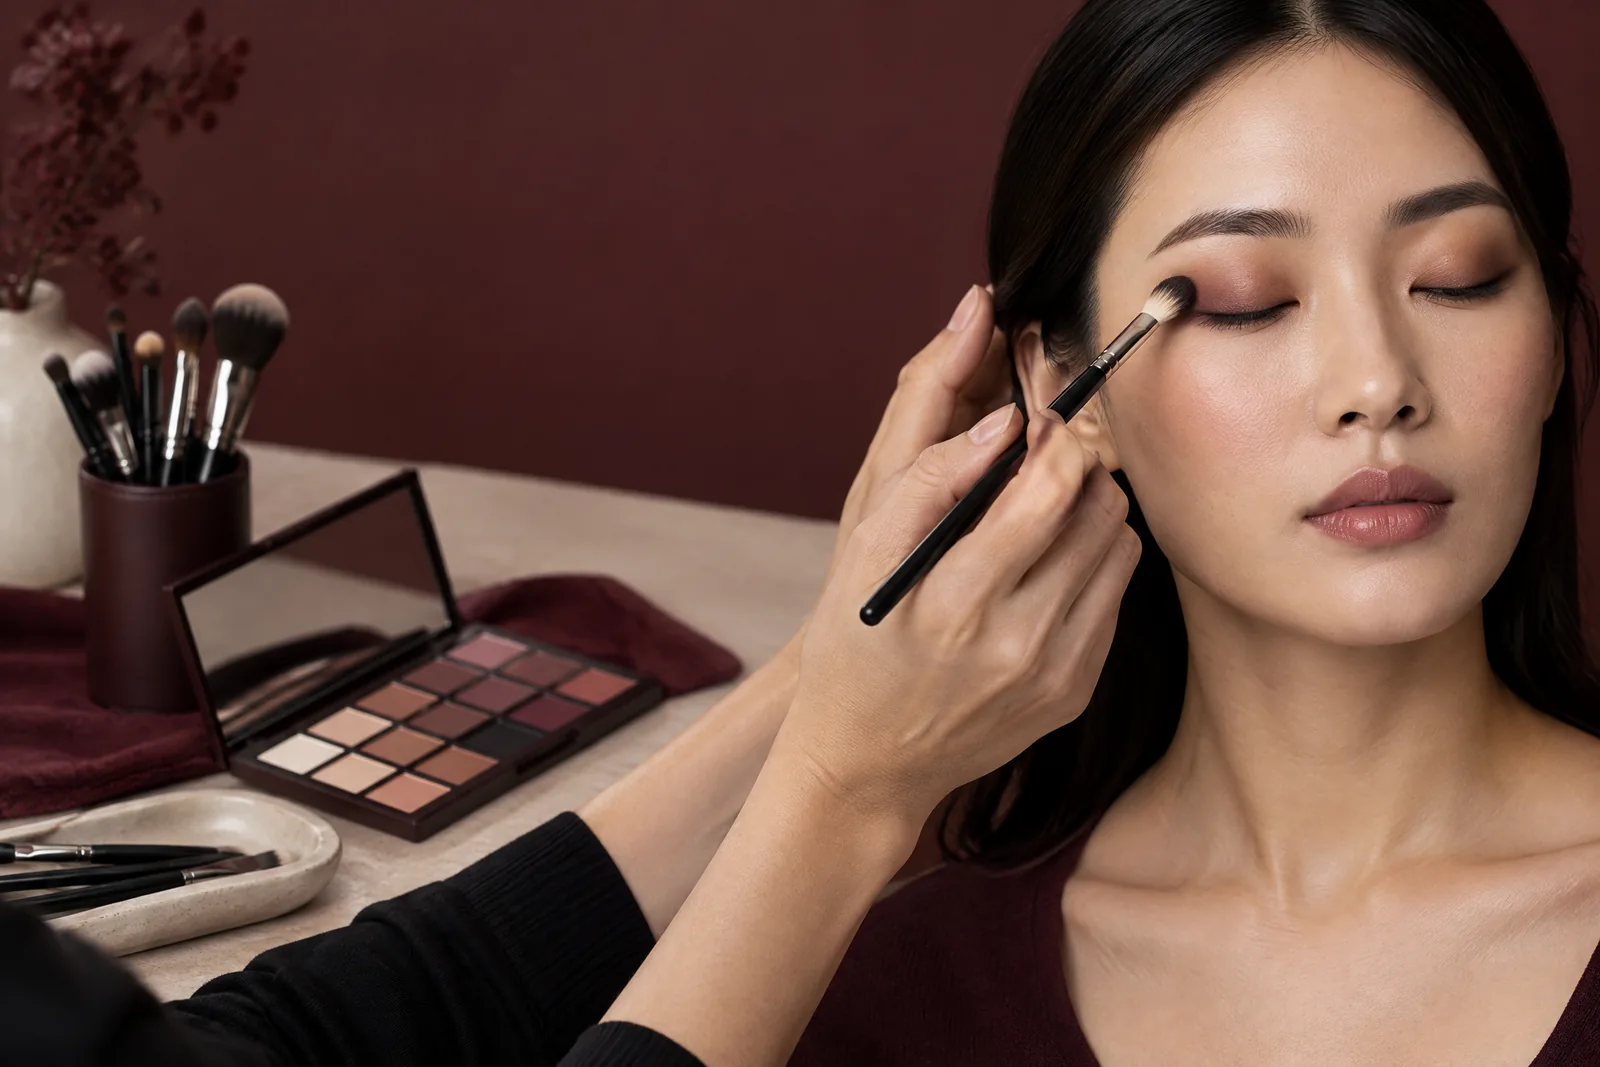
Practise one lean base sequence before changing several products. Start with the preparation steps you already tolerate, then observe how a small amount of base sits. Add concealer only where you want more evenness. Apply cream colour in a restrained area, then review the surface before setting. This order lets you see which layer changes texture or reflection. It also avoids confusing a coverage decision with a shade or colour-placement decision.
Divide the face into zones when reviewing shine. You may like a more luminous cheek, while preferring a quieter forehead or chin. Pressing product into selected areas can feel different from layering a similar amount everywhere. Make one adjustment per practice attempt. Then write down what happened after indoor light, movement and a few minutes of wear. The note can be brief, but it should name the product category, placement and finish. Those details support repeatable choices later.
Eye work should frame a luminous base without making it disappear. Korean eye makeup advanced training is useful when studying a soft gradient, liner placement or lash balance. Decide whether your eyes need definition for your own viewing distance or for photographs. Keep the first test to one eye emphasis and one base finish. This makes it easier to see whether the complexion and eye choices support each other.
Check lighting and colour balance before judging the finish
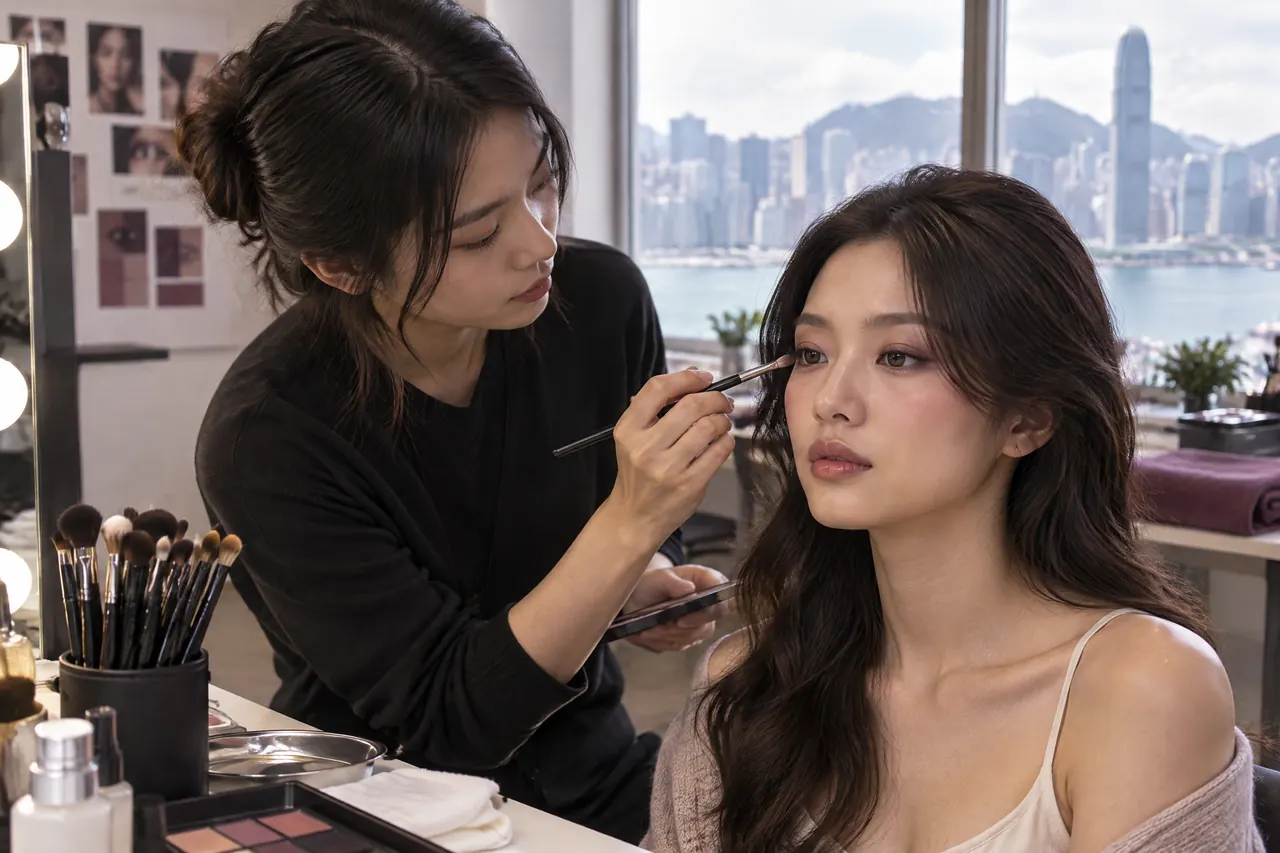
Lighting changes what you notice first. Window light can show texture clearly, while overhead lighting may concentrate reflection on different areas. Test your base near a window, then in the light you expect to face later. Take a straightforward photograph only as a comparison tool. Do not chase a filtered image. Instead, ask whether the face still looks like you and whether the colour remains balanced beside your clothing. A useful study note records the setting as well as the makeup.
Phone cameras can flatten some contrasts and intensify others. A Korean camera-ready makeup class comparison is relevant if photographs are part of your goal. It encourages a discussion about texture, colour placement and how a look reads through a lens. Keep that goal separate from everyday comfort. A base that suits short portraits may not be the version you prefer for a long commute. Testing both situations gives you a more honest decision.
Use the comparison below to choose the first thing to practise. It does not prescribe products or promise a fixed outcome. Select the column that matches your immediate concern, then make one modest adjustment. Bring the result and your notes to a lesson discussion. That approach gives a tutor something concrete to observe. It also prevents every practice session from becoming a full redesign of the whole face.
| Priority | What to observe | Useful next question |
|---|---|---|
| Comfort | Which areas feel overloaded or dry | Where can layers be reduced? |
| Reflection | Which planes catch light first | Which zones need selective setting? |
| Colour | Whether blush and lip compete with skin | What should be softened or moved? |
| Camera view | Whether the emphasis remains visible | What changes under expected lighting? |
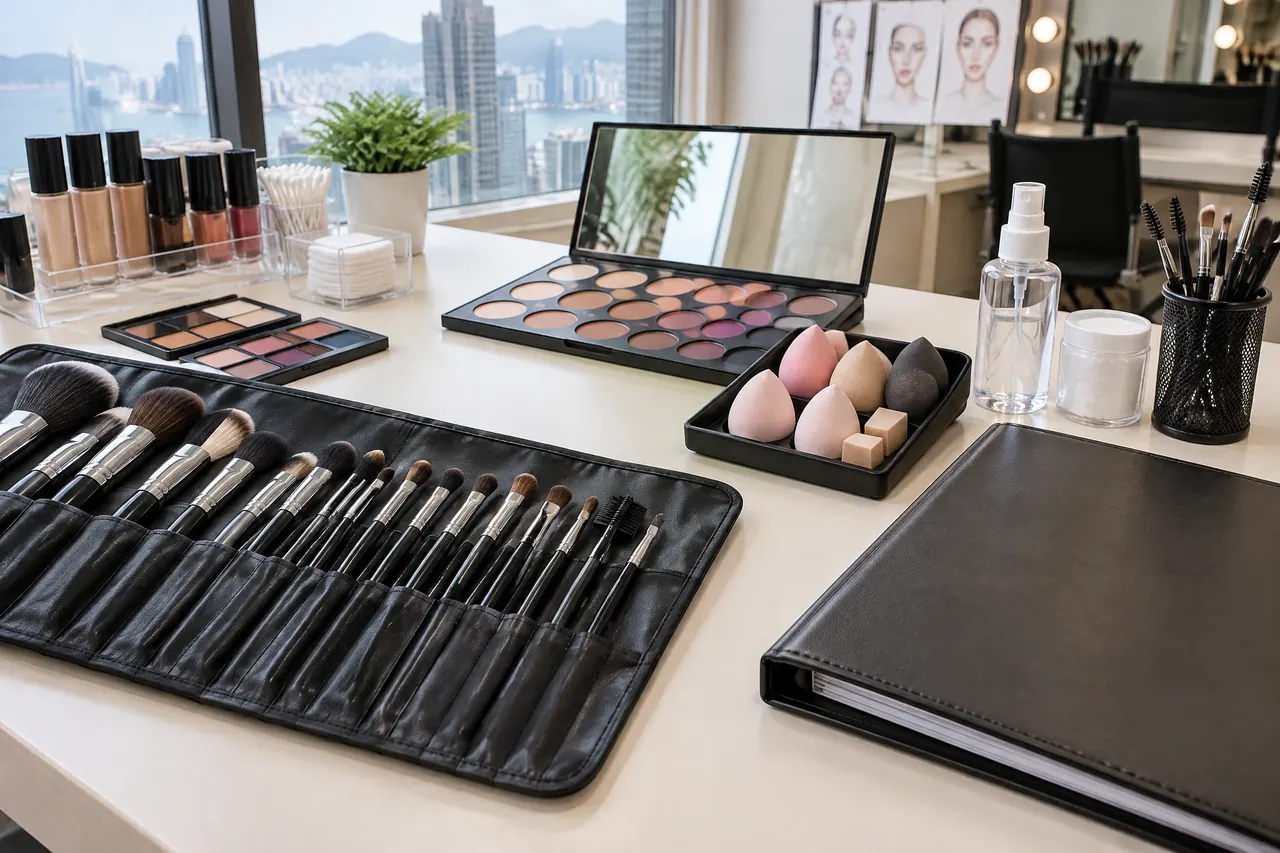
Practise observation instead of pursuing a perfect surface
Review the look at three distances: close to a mirror, during conversation, and in a simple photograph. Each view answers a different question. The mirror can reveal whether layers feel heavy. Conversation distance shows whether colour placement feels balanced. A photograph can show whether your chosen emphasis remains visible. Do not treat one view as the only verdict. Compare the same look under the conditions that matter most to you, then decide what you would change next time.
Keep the test controlled by changing one variable at a time. You might leave the base unchanged and move the blush slightly higher. On another day, keep the colour placement and reduce powder in selected zones. Small comparisons are more informative than replacing every product at once. They also build language for a future lesson. You can say a layer felt comfortable but looked too reflective. You can also say the eye shape worked but the lip seemed too strong.
A good review note includes what you liked, what felt uncomfortable, and what you could repeat alone. It should not demand that the skin look airbrushed. Temporary makeup can adjust colour, texture and visual balance, but it does not change skin permanently. Focus on techniques that suit your own proportions and daily routine. This protects the useful part of the trend: learning how light, placement and finish work together on your face.
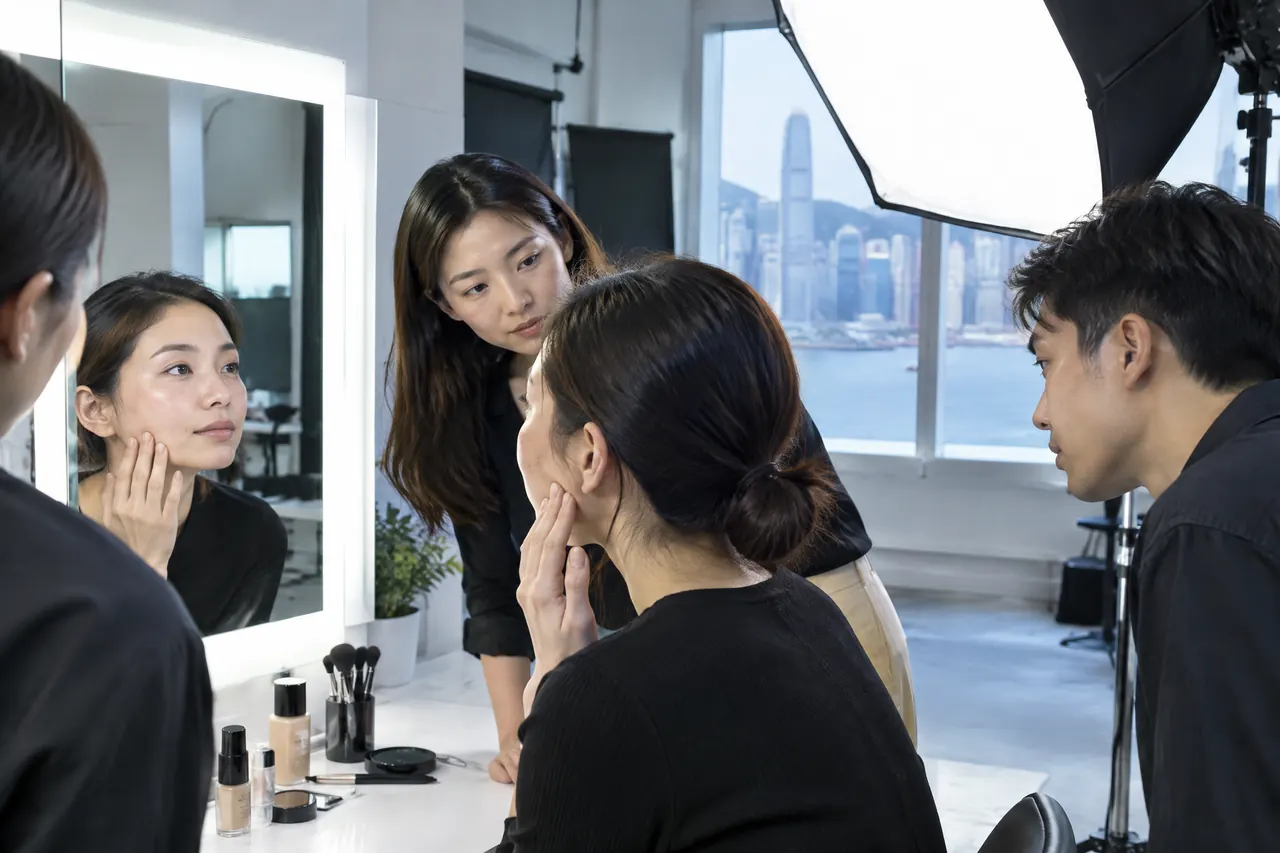
Turn practice notes into focused lesson questions
Bring a small edit of your practice material rather than every image you have saved. Two reference images, one unfiltered test photograph, and a list of three questions are enough. Explain where you expect to wear the look and how much time you have. Mention the products you already use and any relevant comfort concerns. This helps shape a practical conversation around placement, blending and sequence. It also avoids treating a lesson as a promise to duplicate another person’s complexion.
Ask questions that lead to decisions you can use at home. Ask where to keep reflection or how to build colour gradually. You can also ask how eye definition sits with a luminous base. Ask which step you should practise first during the following week. If you bring your own items, identify what each one currently does for you. The goal is not to collect replacements. It is to understand how to use a manageable edit of products with more intention.
A focused enquiry should include your preferred date, general area, learning goal and references. Customer service can then confirm the current arrangement, timing and any practical details. Do not assume that a particular product, format or theme is included. If lighting or camera practice matters, say so directly. If you are deciding between everyday use and an occasion look, explain that trade-off. Clear context supports a more useful answer before you commit to anything.
- Choose one base finish and one colour-placement question for your first practice.
- Bring two references that show the same visual direction, not competing trends.
- Note the lighting, clothing colour and distance used for each review.
- List products that felt comfortable and products that need further consideration.
- State whether your priority is daily wear, photographs or a particular occasion.
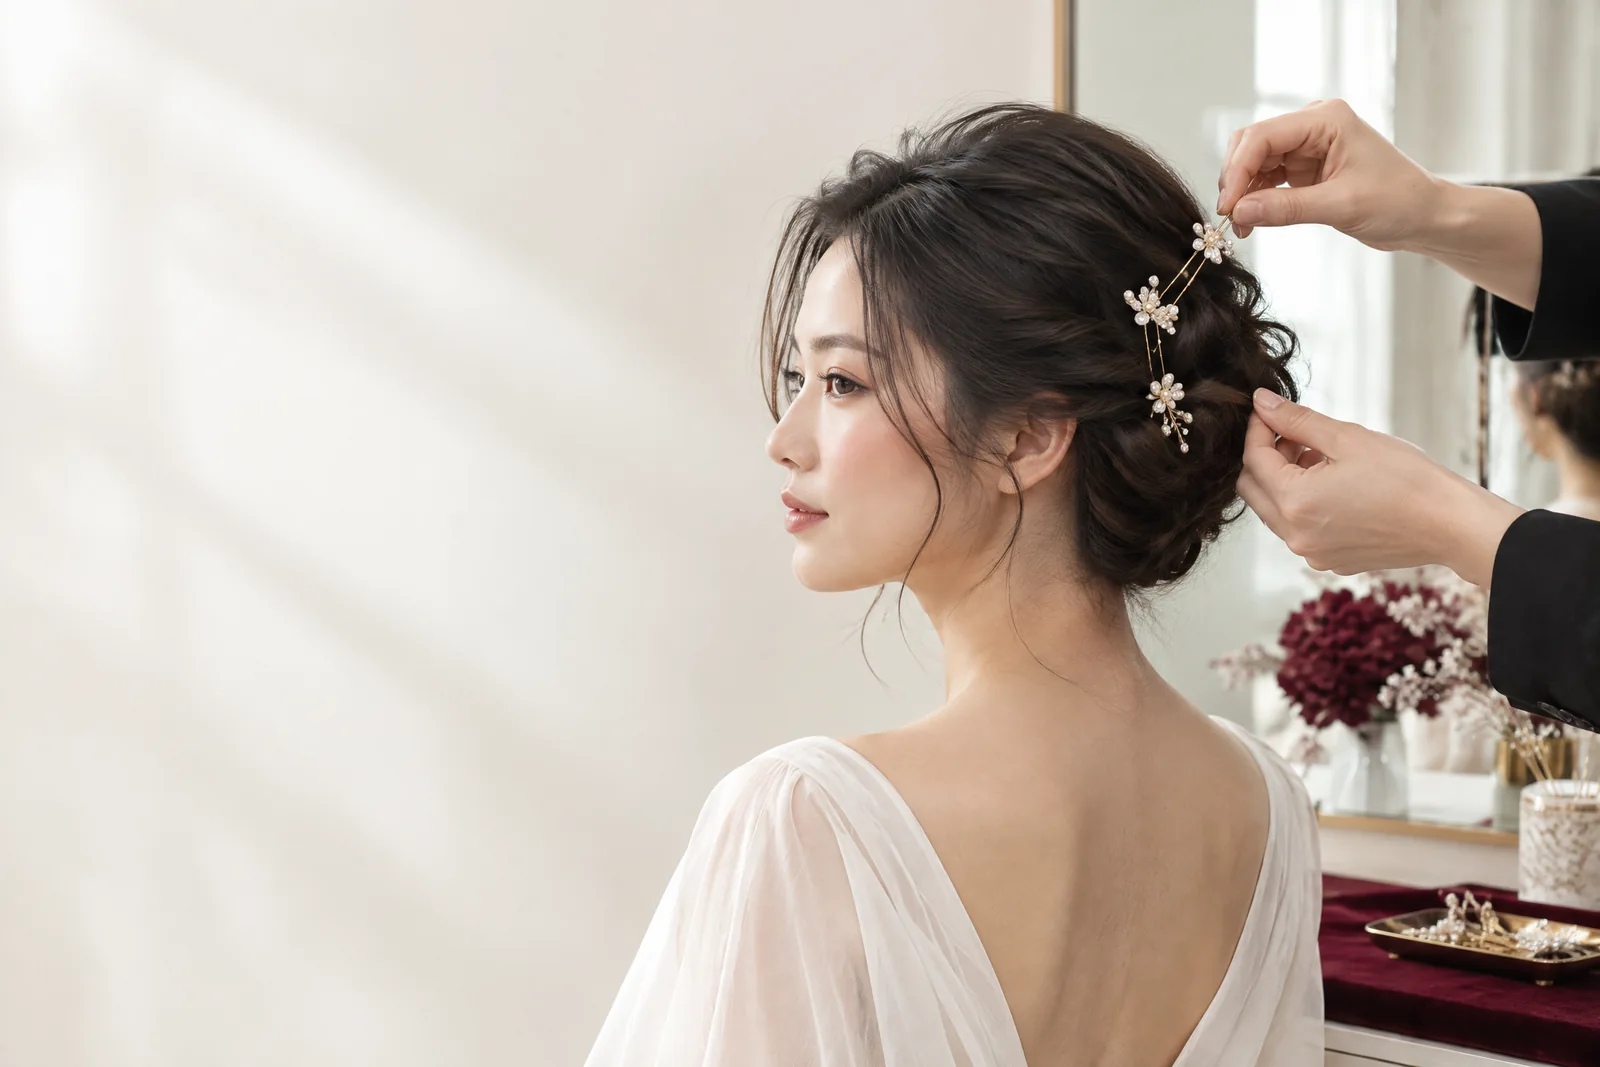
Make the plan repeatable after the first session
After the first practice, keep the parts that worked and simplify the rest. Repeat the same base sequence once before making another change. This shows whether the result was a useful technique or simply a fortunate moment. If one zone becomes uncomfortable, adjust that zone instead of abandoning the whole plan. A repeatable routine usually relies on fewer decisive steps. It gives you room to adapt colour or eye emphasis without losing the complexion balance you preferred.
Build a short preparation order that suits your actual morning. Include skin preparation, the base step, selected colour, eye definition and a final lighting check. Place products in that order when you practise. If the order feels too slow, remove a non-essential step before adding new items. This is especially helpful when you need to leave home soon after applying makeup. The best study plan is not the longest one. It is the one you can repeat calmly.
Keep expectations realistic when comparing your outcome with online imagery. Different lighting, cameras and post-production can change how reflective makeup appears. Your best version may be softer and still look considered. Decide whether you value comfort, visible glow or camera clarity most strongly. You may not maximise all three at once. Naming that trade-off helps you choose a finish for the actual day. It avoids pursuing a reference without its original conditions.
Key takeaway
The central trade-off is glow versus control. More reflective layers can look fresh and luminous. They may feel less comfortable or read differently under strong lighting. Selective placement and setting give you more control, yet can soften the glass-like effect. Practise both options in the situations that matter to you. Choose a version that remains comfortable and looks balanced beside your features. It should also fit the time you genuinely have to get ready.
Practical checklist
- Describe the desired reflection, colour emphasis and viewing situation in plain words.
- Test one base sequence before adding several unfamiliar products or techniques.
- Review the same look near a window and under your expected indoor lighting.
- Record one comfortable choice and one adjustment after each practice attempt.
- Prepare two references and three focused questions for a lesson enquiry.
- Confirm the current arrangement and practical details with customer service.
Frequently asked questions
What should I practise first for a luminous base?
Practise preparation, a small amount of base, and one selected area of colour. Review the finish under the lighting you expect to face. Keep eyes and lips simple during the first attempt. This makes it easier to identify whether texture, reflection or placement needs adjustment.
Do I need new products for a glass skin makeup study plan?
Not necessarily. Begin with products you already know feel comfortable. The first goal is to understand layer order, placement and selective setting. New products can add variables before you understand the technique. If you consider one, allow time for a cautious test before an important occasion. [1]
How can I stop glow from looking too shiny?
Decide where you want reflection instead of applying the same finish everywhere. Keep the cheek area more luminous if you like it. Then review the forehead, nose and chin separately. A small amount of selective setting can create contrast. Test the result under ordinary light before making further changes.
Should I copy a filtered reference image exactly?
Use a reference to identify a direction, not to set an impossible standard. Images may use different lighting, cameras, editing and viewing distance. Mark the features you actually want to study, such as blush position or a soft eye gradient. Then adapt those ideas to your comfort, proportions and daily setting.
What should I bring when asking about a makeup lesson?
Bring two focused references, a brief note about your expected lighting, and your three most useful questions. Include products you already use if you want to understand them better. Mention relevant previous reactions early. Confirm the current lesson arrangement, practical details and any product expectations with customer service before booking.
Sources
| Source | What it supports |
|---|---|
| How to Test Skin Care Products | The American Academy of Dermatology advises testing a new product on a small area twice daily for seven to ten days and stopping use if a reaction develops. |
| Patch Testing | The British Association of Dermatologists describes patch testing as a specialist dermatology procedure that investigates contact allergy. |
Discuss your own makeup plans
For Hong Kong lesson enquiries, WhatsApp BigDeal Make Up at +852 6918 3153 with your goal, references and practical questions.
Ask on WhatsApp +852 6918 3153