
BigDeal Make Up · Hong Kong
Monolid Eyes Makeup And Monolid Eye Makeup Tutorial
Monolid eyes makeup can be crisp, soft, natural or dramatic — without trying to imitate a double eyelid. This monolid eye makeup tutorial focuses first on the areas you actually see when your eye is open, then covers monolid eyeliner, shadow placement, tightlining and removable lash options. Use these techniques as choices to suit your comfort, eye shape and the occasion you’re preparing for.
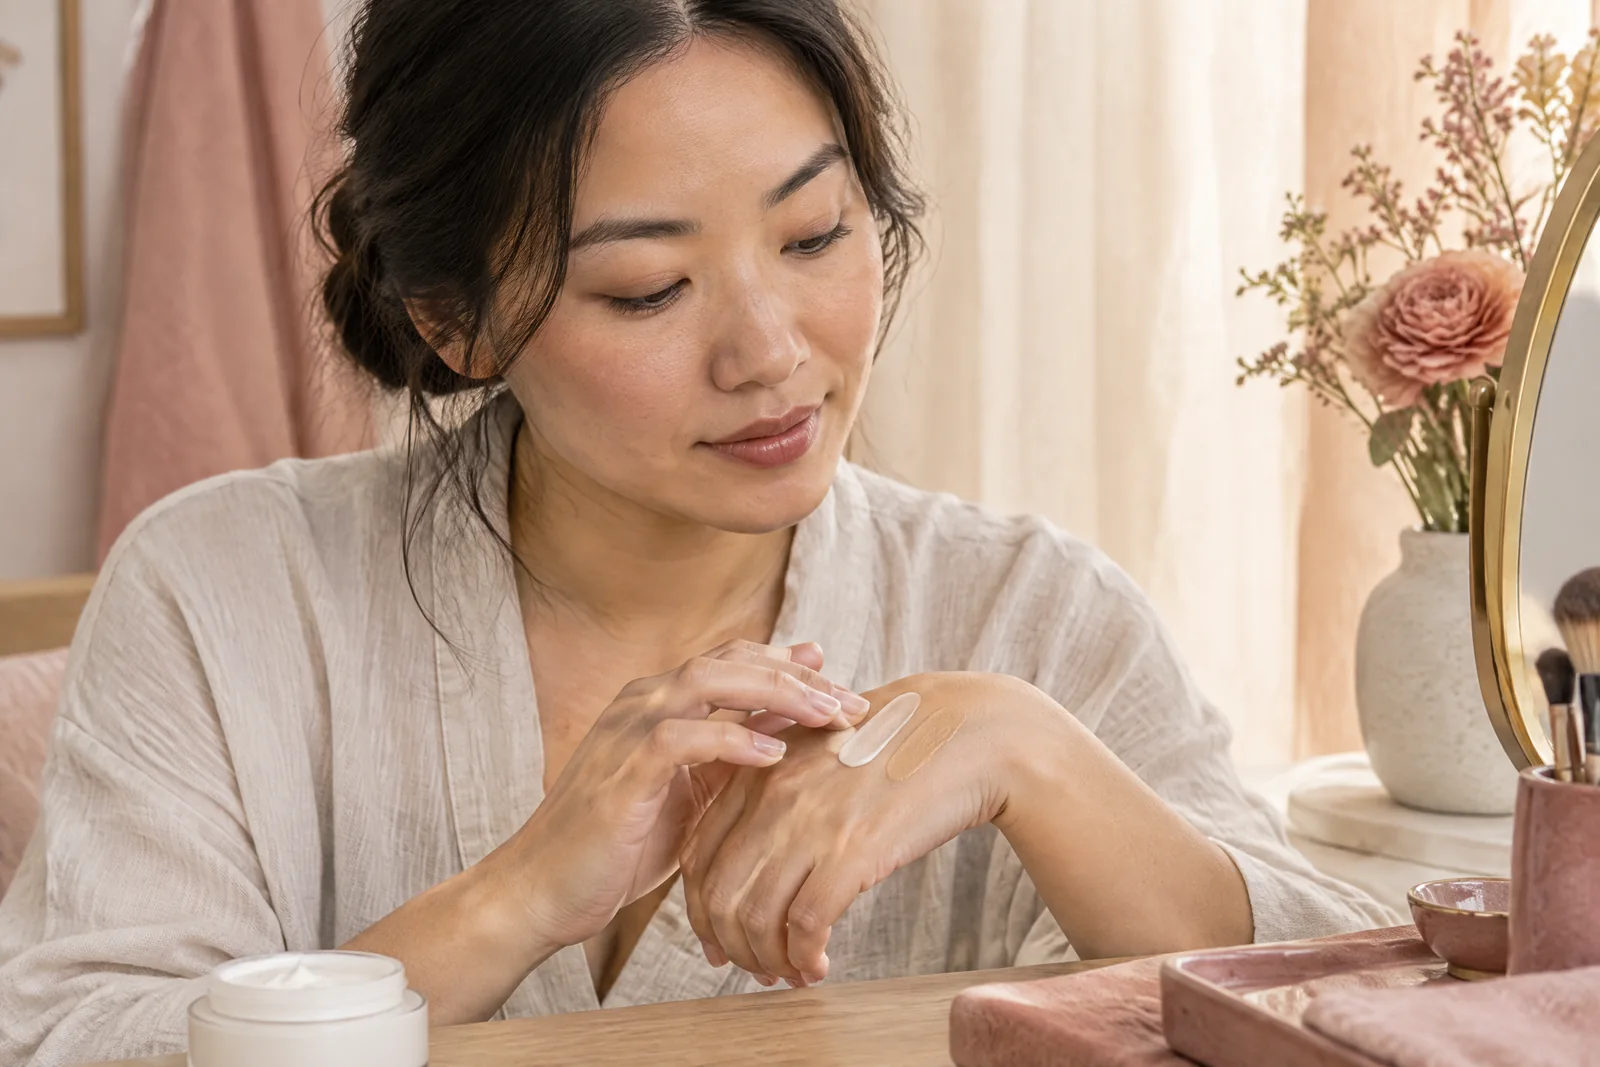
At a glance
monolid eyes makeup
This practical guide shows how to place colour so it stays visible with the eye open, how to use contrast and soft edges for depth, and how to choose between monolid eyeliner, tightlining and removable lashes. You’ll find realistic at‑home steps, what to bring to a lesson or service, and the key questions to confirm with customer service before booking a monolid makeup class or appointment.
01
A practical guide to monolid eyes makeup
Key considerations when planning monolid eyes makeup
Begin by understanding that monolid eyes present a flatter visible lid when open; the key is to plan colour placement on the area you actually see. With the eye open, the high point is usually near the lashline and the inner half of the mobile lid. For everyday looks, apply a neutral wash across that visible space, reserving stronger contrast for the outer third to avoid overwhelming the eye.
Texture matters: matte shades create defined depth while satins and subtle shimmer catch light at the centre without washing out the shape. Work in thin layers and blend edges horizontally rather than lifting the shadow too high; this keeps the effect readable when you look straight ahead. Use small, soft brushes designed for lid work rather than full-sized fluffy brushes, which can blur the visible placement.
Lighting and mirror distance affect what you see while you work—always check your placement in a full-length mirror or at arm’s length, not just a close-up. If you’re preparing for a photograph or evening event, bump up pigment or add a tiny bit of sheen at the centre of the lid so the colour reads on camera. For daytime, aim for softer edges and lower contrast so the makeup enhances without appearing heavy.
For a closer comparison, consider eyeliner for downturned eyes
02
A practical guide to monolid eye makeup tutorial
Step‑by‑step structure for this monolid eye makeup tutorial
This monolid eye makeup tutorial organises steps by visibility: start with base correction, then move to tightlining, lash definition and shadow placement. Base correction includes gentle priming to even lid texture and prevent creasing—choose a lightweight primer or sheer concealer rather than heavy creams that can shift the placement of shadow.
Tightlining comes early in this tutorial because it establishes lash-root density without changing lid shape. Use a waterproof, creamy pencil or a micro-angled brush with gel liner to press pigment between lashes; this is particularly effective on monolids, where a drawn lid line can disappear when the eye is open. Keep the pressure soft and build gradually to avoid a thick, heavy band.
Finish the tutorial with lashes and blending: apply lashes after tightlining if you’re using clusters or half lashes, or leave false lashes to last if full strips are planned. Blend shadow edges horizontally, and check the overall balance with brows and cheek colour—monolid looks succeed when the eye sits well within the face, not as an isolated feature.
Match your plans with hooded eyes makeup
03
A practical guide to monolid eyeliner
How to choose and apply monolid eyeliner effectively
Monolid eyeliner is a separate stylistic choice from tightlining; decide whether you want a visible wing, a smudged kohl effect or an invisible emphasis at the roots. For a visible wing on monolids, keep the line thin at the inner corner and gradually thicken only where it will show when the eye is open—often the outer quarter. Avoid extending the wing too high, which can look disconnected when the eyelid covers it.
For a soft, smoky approach, use a pencil or cream liner and blend immediately with a small brush so pigment sits within the visible lid zone. Liquid liners are best for crisp graphic looks but require a steady hand and a practice stroke in the outer corner to ensure the line reads when the eye is open. If you prefer subtlety, tightlining alone can create the illusion of thicker lashes without a drawn line.
Tools and technique make a difference: an angled brush with gel product gives more control on flatter lids, while a hardened pencil works well for smudging. Remember to work in thin layers and check your work at eye level; what looks bold in a close-up can be invisible at conversation distance. Remove any transfer under the brow by gently buffing with a clean brush rather than over-erasing the intended shape.
You may also find it useful to compare Asian bridal makeup
04
How to adapt the technique to your features and occasion
Assessing the finished look realistically
Adaptations start with scale: for small monolid eyes, keep contrast low and avoid heavy outer corners that can make the eye appear smaller. Use lighter mid-tones across the centre of the visible lid and slightly darker pigment near the outer lash line to suggest lift without adding bulk. For larger monolids, you can use deeper shades and a sharper outer edge to create drama.
Occasion dictates texture and longevity choices. Daytime or professional settings suit matte or satin finishes and discreet tightlining, while evening looks can use a touch of shimmer at the centre or a tiny sharp wing. For weddings or long events, prioritise long-wear products and set the base with a thin layer of translucent powder to reduce creasing; touch-up kits should include a smudge-proof pencil and clean spoolie.
Consider facial proportions: soft contrast near the lower lashline can balance heavier brows, while a cleaner upper lash definition works with minimal lower-line work for a lighter overall impression. If you want a more lifted look, a thin shadow sweep angled slightly upwards and outwards—kept within the visible lid—creates perceived lift without surgical illusion.
For another approach, explore brow design
05
Select removable lash options by comfort and intended effect
Practical considerations for lash and tape choices
False lashes for monolids require careful selection: clusters and half lashes are usually more comfortable and readable than full, heavy strips that can hide under the crease or feel bulky. Choose styles with shorter inner lengths and graduated outer lengths to avoid crowding the inner corner. Lightweight, flexible bands sit closer to the lashline and work better on flatter lids.
Eyelid tape is an optional removable tool to create temporary crease definition but should be treated as an accessory, not a structural fix. If you enquire about eyelid tape in a class or service, discuss fit and skin sensitivity first—some tapes hold better on certain skin types, and repeated use can irritate sensitive eyelids. In professional lessons, instructors will demonstrate correct placement and removal to minimise tension on the skin.
When testing lashes in a lesson or service, ask for a trial application before a full glue-up so you can assess comfort, vision obstruction and longevity. For daily wear, consider magnetic clusters or lightweight synthetic fibres; for events, well-applied strip lashes may give more drama but need rehearsal to avoid discomfort or lifting mid-event.
Before deciding, take a look at Makeup Techniques
06
Create natural and dramatic versions without imitating a double eyelid
Realistic assessment of your finished look
Natural monolid eyes makeup emphasises visible lid tone and lash definition: a soft neutral wash, tightlining at the root and a few mascara coats are often enough. Keep edges feathered and blend horizontally so the look reads as part of the face. Subtle highlight at the inner corner and centre of the visible lid brightens without suggesting a fold where none exists.
For dramatic looks, use layered contrast—matte depth near the outer lashline, a mid-tone across the centre and a subtle shimmer or metallic at the inner third to reflect light. Pair with thicker but well-placed lashes and slightly bolder tightlining. Avoid trying to create a fold-like line; instead, focus on shadow placement and lash architecture to produce drama that respects your natural lid anatomy.
Both approaches share a principle: make choices that work when the eye is open. Practically, that means checking your makeup at arm’s length, photographing from slightly above eye level and adjusting pigment so it is readable in conversation. This preserves the monolid identity of the eye while allowing a wide range of finishes.
07
Prepare a clear service or learning enquiry with reference images
What to include when you contact customer service
Before booking a monolid makeup class or artist appointment, prepare two reference images: one showing the desired open-eye finish and one in profile to indicate lash length and the amount of outer emphasis you prefer. Provide information about your usual products, any skin or eyelid sensitivities, and whether you sleep on your face or use oil-based products, as these affect product choice and longevity.
Confirm language and scheduling details with customer service: lessons may be conducted in English, but specific teaching language and class dates require enquiry and confirmation. No monolid-only course fees are listed here; service format, fee and scheduling need customer-service confirmation so the arrangement matches your needs and timing. Ask in advance whether the instructor demonstrates eyelid tape or lash application in the lesson or only discusses them.
Be explicit about what you want to learn—colour placement, tightlining, removable eyelashes or a combination—and whether you prefer a one-to-one lesson or a short group session. If you plan to use particular brands at home, mention them; the team frequently uses NARS, Dior Beauty, Giorgio Armani Beauty, Estée Lauder, Laura Mercier, Clé de Peau Beauté, Bobbi Brown and M·A·C where appropriate, and an instructor can explain comparable product characteristics if those exact items aren’t provided.
08
Choosing products and placement for everyday versus event looks
Practical product choices and placement rules explained
Asian monolid makeup benefits from deliberate product choices that respect a flatter visible lid while still letting you select how bold to go. For daily wear, opt for a natural eyeshadow for monolids — soft mattes or subtle satins in mid-tones that sit on the area you actually see. Apply colour in thin horizontal layers across the visible lid, concentrating slightly darker pigment at the outer quarter to suggest depth without adding bulk. Build gradually and check at conversation distance so the shade reads without appearing heavy.
For events, increase contrast and introduce texture selectively: a small patch of sheen at the centre of the visible lid lifts the eye on camera, and a deeper matte at the outer edge creates drama. When planning a look with an artist, discuss whether you prefer textured metallics or a velvet matte finish; the team commonly works with NARS, Dior Beauty, Giorgio Armani Beauty, Estée Lauder, Laura Mercier, Clé de Peau Beauté, Bobbi Brown and M·A·C to demonstrate comparable effects. If you ask about long-wear products, mention any oil-based skincare you use, because that affects product choice and setting methods.
Monolid eyeshadow placement determines how visible your work is when the eye is open. Aim to place the deepest tones within the outer visible lid rather than higher toward the brow, and blend edges horizontally. For smaller monolids, keep the value range narrower to avoid 'closing' the eye; for larger monolids you can introduce slightly stronger outer definition. These placement principles are what make both natural and dramatic looks readable while embracing the monolid shape.
09
Lash, liner and accessory options to try in a lesson or appointment
Comfort, technique and temporary tools to test in class
Tightlining monolid eyes is often the single most effective trick to increase lash-root density without altering lid shape. Use a creamy, waterproof pencil or a gel with a fine angled brush and press pigment into the lash gaps; build in soft layers and let each pass set. This keeps the effect natural but noticeable at close range, and it pairs well with lighter shadow work to maintain balance. If you’re booking instruction, request a demonstration of tightlining monolid eyes so you can practise hand position and pressure under supervision.
Monolid false lashes suit different needs: clusters or half lashes frequently outperform full strips in comfort and visibility for flatter lids. They allow you to add outer lift without heavy band bulk that hides beneath the lid. During a trial application in a lesson, discuss band flexibility and inner-length gradation — shorter inner fibres and a tapered outer edge are more flattering. Magnetic clusters and lightweight synthetic fibres are alternatives worth sampling if daily wear is your goal, while fuller strips can provide extra drama for events after rehearsal.
Eyelid tape monolids is a phrase that often comes up in consultations; it’s useful to think of tape as an optional styling tool rather than a permanent solution. An experienced instructor will show correct placement, adhesive differences and safe removal, and will advise on skin sensitivity. If you want to experiment with temporary crease definition for photos or a particular event, ask for a supervised trial so you can assess comfort, visibility and how the tape interacts with your chosen lashes and liner.
Style references
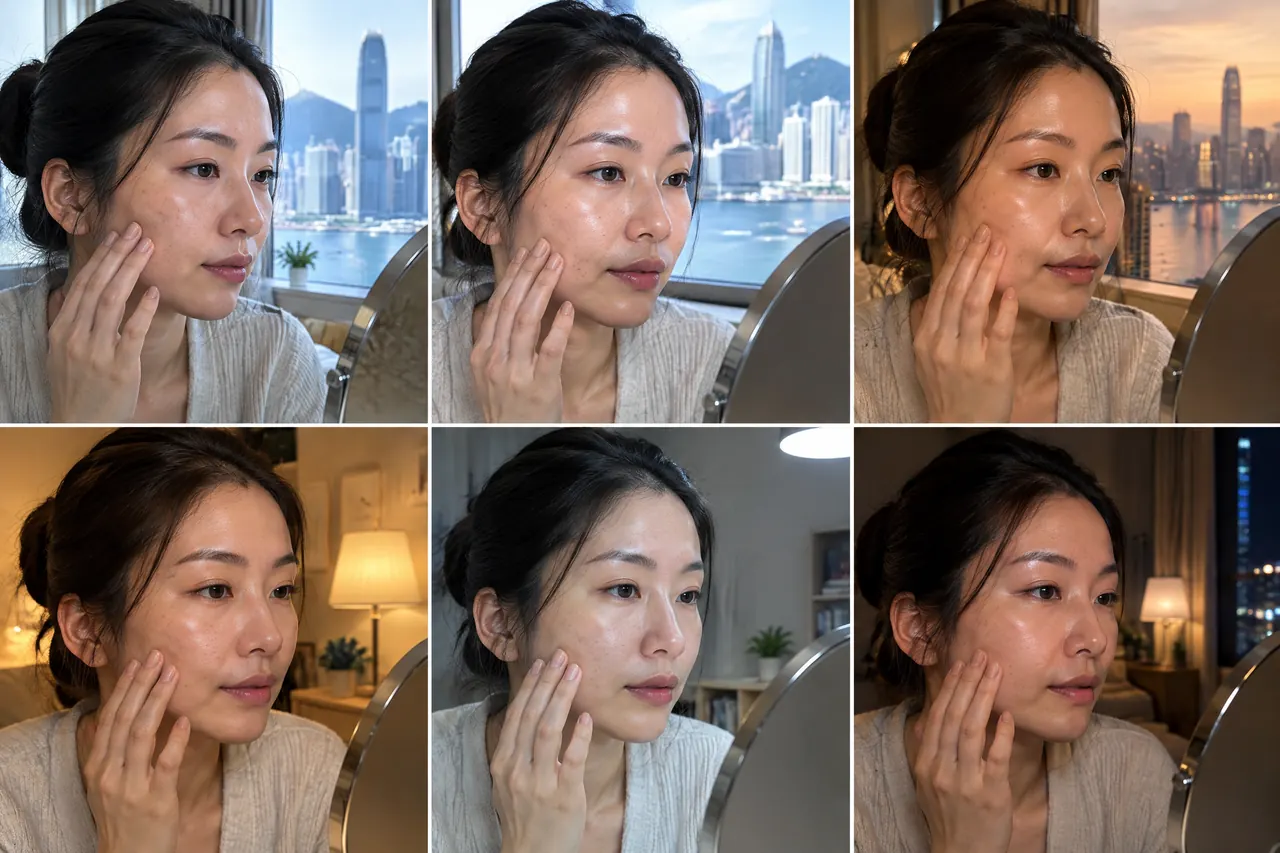
Related makeup style illustrations

Quick reference: monolid eye makeup choices and effect
| Technique | Best for | Comfort/notes |
|---|---|---|
| Tightlining with pencil or gel | Everyday natural lash emphasis | High comfort; low visibility change, stays discreet |
| Horizontal lid wash (matte) | Subtle depth without shimmer | Longwear mattes resist transfer; blend horizontally |
| Thin visible wing (liquid or gel) | Crisp, graphic evening looks | Requires practice; keep line thin near inner corner |
| Cluster or half lashes | Added drama with less bulk | More comfortable than full strips; try trial fit |
| Eyelid tape (temporary) | Temporary crease simulation for photos | Optional; check skin sensitivity and correct removal |
| Centre-lid shimmer/highlight | Photogenic brightness | Use sparingly to avoid halo effect on oily lids |
Helpful answers
Frequently asked questions
Will this monolid eye makeup tutorial create a double eyelid?
No. The techniques in this monolid eye makeup tutorial emphasise visible lid areas, lash roots and shadow placement; they do not create or promise a structural crease or permanent double eyelid. Eyelid tape can temporarily mimic a fold for certain looks but is an optional, removable accessory and may not suit every eye or skin type.
Can I learn these monolid eye makeup techniques in a lesson?
Yes—many clients book practical lessons to learn visible-capacity colour placement, tightlining and lash application. Specific teaching language, lesson dates and course format require enquiry and confirmation. There are no published monolid-only course fees here; customer service will confirm availability, duration and charges for one-to-one or small-group sessions.
Which false lashes suit monolid eyes best?
Clusters and half lashes are generally the most readable and comfortable on monolid eyes, because they avoid overcrowding the inner corner and reduce band bulk. Choose styles with shorter inner lengths and tapered outer lengths; lightweight bands and magnetic clusters are worth trialling if you have sensitive lids or want an easier daily routine.
How do I tightline monolid eyes without smudging?
Use a creamy, waterproof pencil or a gel applied with an angled brush and press pigment into the lash roots rather than drawing a heavy line. Work in thin layers and let each pass set briefly. If smudging occurs, gently pat a small fluffy brush over the lashes to push pigment back into the roots rather than rubbing the skin.
Where can I find a monolid makeup artist Hong Kong to practise these techniques?
Enquire with BigDeal Make Up for availability and demonstration lessons; specific teacher language and exact lesson dates require enquiry. The team offers one-to-one and small-group formats—customer service will confirm which option and fee apply to your requested session and whether the lesson includes a take-home practice plan.
What are the best makeup for monolids Hong Kong clients should consider buying?
Focus on a long-wear neutral palette, a creamy waterproof pencil for tightlining, a small angled brush and light-to-medium weight false lash options. If you prefer brand guidance in-person, ask in advance—lessons may use familiar names such as NARS, Dior Beauty and M·A·C where appropriate, and the instructor can suggest comparable choices if your preferred products differ.
Can eyelid tape monolids handle daily use and is it covered in lessons?
Eyelid tape can be used daily by some people but may irritate sensitive skin; it’s presented in lessons as an optional, removable accessory rather than a permanent change. Instructors will demonstrate correct placement and removal and discuss tape types so you can decide if it suits your routine and event needs.
Ready to discuss it?
Book a one-to-one trial application
Tell us what you are planning, and we will help clarify the service or lesson details that matter for your enquiry.
From the makeup blog