
BigDeal Make Up · Hong Kong
Dry Skin Makeup And Dry Skin Foundation
Dry skin makeup looks most even when preparation, texture and layering are treated as one workflow. This guide shows how to prioritise hydration, allow products to settle and build coverage in thin, flexible layers so foundation sits smoothly without emphasising flakes or dry patches. It also includes a clear bridal‑trial checklist so you can test timing, product choices and any sensitivities before an appointment.
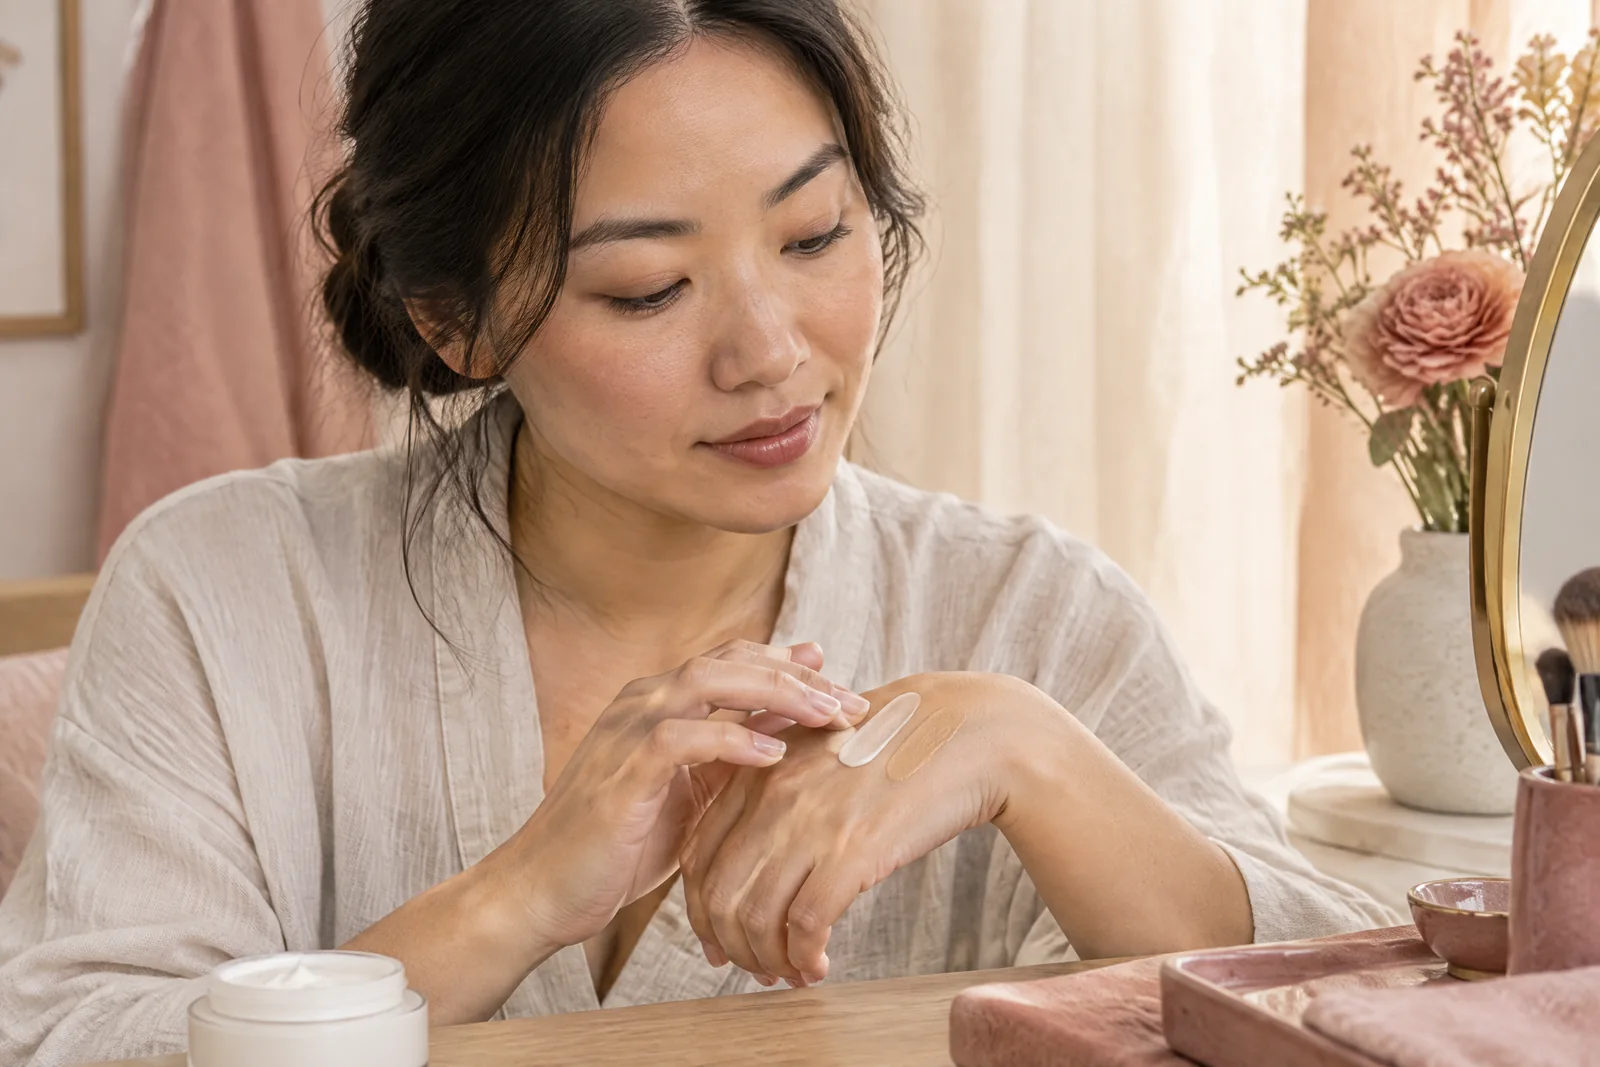
At a glance
dry skin makeup
Successful dry skin foundation begins with deliberate hydration, a primer chosen for the right balance of slip and grip, and thin, buildable layers that sit comfortably on the skin. Dewy makeup for dry skin is controlled by placing luminous products selectively and mattifying only where required. If you are planning dry‑skin bridal makeup, bring preferred products and use a trial to confirm timing, camera response and touch‑up expectations.
01
A practical guide to dry skin makeup
Practical considerations for dry skin makeup
Start by assessing the skin’s surface at least 30–60 minutes before you plan to apply any base. Dry skin can vary across the face: cheeks and brows are often drier while the T‑zone may feel balanced. Gently exfoliate only if the skin tolerates it; light, mechanical exfoliation removes flaky skin that would otherwise lift foundation. Avoid harsh chemical exfoliants immediately before makeup unless the client regularly uses them and knows how their skin reacts.
Hydration is not the same as overnight moisturiser. For immediate makeup, apply a water-based or hyaluronic acid serum to thirsty areas first, then a rich moisturiser where needed, allowing time for absorption. If a skin feels tight, work in an occlusive cream last on localised patches — thinly — to prevent foundation from clinging to dry scales. Products used should match your sensitivity profile; mention allergies or rosacea concerns before you test anything on the face.
When preparing for dry skin makeup, choose cotton or single-use soft towels and warm compresses rather than rubbing. Pat products in rather than dragging, and use damp sponges to help cream products blend without pulling the skin. These simple, tactile adjustments reduce mechanical irritation and help the base sit as a comfortable second skin rather than a mask.
For a closer comparison, consider foundation shade matching
02
A practical guide to dry skin foundation — Practical considerations for dry skin foundation
Let hydrating layers settle before dry skin foundation application
Give hydration a moment to settle. After serum and moisturiser, wait five to ten minutes while you organise tools or prepare other makeup steps. This short pause allows water‑based layers to bind into the skin so foundation won’t pill. If you feel an oily residue after moisturiser, blot lightly with tissue and re‑assess; too much surface oil can cause thin, dewy foundations to slide.
Choose a primer for dry skin foundation that balances slip and hydration. Many primers marketed for dry skin contain moisturising glycerin or squalane; these help foundation to glide and reduce patchiness. If you prefer a very dewy finish, a luminous primer is useful, but for mixed concerns pick a hydrating primer that doesn’t add excess shine to the T‑zone. Primer need not be applied everywhere — use it only where foundation tends to cling.
Application technique matters: apply foundation in small, thin layers and allow each to settle. A damp sponge sheers coverage for a skin‑like finish, while a low‑pile brush can give slightly more coverage without dragging. Press and bounce rather than swipe to avoid lifting settled moisturiser. Build coverage only in areas that need it, leaving surrounding skin light for a natural, flexible finish.
Match your plans with makeup for mature skin
03
A practical guide to dewy makeup for dry skin — Practical considerations for dewy makeup for dry skin
Build dry skin foundation in small, flexible layers
Dewy makeup for dry skin looks fresh when luminiser placement is considered alongside foundaion application. After base layers are settled, use a small amount of liquid or cream highlighter on high points rather than all over the face. This keeps a glow without turning the whole complexion overly reflective. If you want subtle radiance, mix a drop of illuminating serum with your foundation in small ratios to control intensity.
To avoid a cakey finish with dewy products, target concealer and heavier coverage only where needed. For fine lines or textured areas, choose a hydrating concealer formula and apply very sparingly; blend outwards to avoid sharp demarcation. Setting powder can still be part of a dewy look — use translucent powder very lightly only in places that crease or gather product, such as the under‑eye fold or around the nose.
If shine control is necessary, use blotting papers or a micro‑matte powder strictly on the spots that develop oil. This keeps the overall dewy effect intact while preventing the whole face from appearing greasy. A mattifying balm applied locally to the forehead or chin is an efficient way to retain the glow on cheeks while managing reflection where you prefer a cleaner look.
You may also find it useful to compare oily skin makeup
04
How to adapt the technique to your features and occasion — A realistic way to assess the finished look
Place concealer only where it improves the look for you
Assess facial features and texture before committing to coverage. If you have pronounced cheek dryness but a smoother forehead, place foundation and concealer where they genuinely improve appearance rather than evenly across the face. Asymmetrical eyes or brows should be balanced cosmetically — not permanently — with temporary techniques such as shading and targeted concealer. Always check the effect in natural light to judge harmony and colour match.
For occasion makeup, adjust coverage density to camera and lighting. Bridal or event photographs often flatten texture, but heavy powder can emphasise dryness on close inspection. If you’re planning dry-skin bridal makeup, request a trial to test the camera flash, reception lighting and the longevity of the dewy finish. Bring your preferred moisturisers or primers so we can replicate the exact products and timing you will use on the day.
Timing is part of the assessment. Allow time during a trial to observe the settled finish across different temperatures and movement. Take at least 45–60 minutes in a trial to test how the base responds to talking, smiling and environmental humidity. Discuss touch‑up expectations honestly — a bride or event client should know when and where touch‑ups are likely required rather than assume they are included automatically.
For another approach, explore sensitive skin makeup
05
Prepare dry-feeling areas before choosing the base texture — Control shine selectively while keeping a dewy finish available
Control shine selectively while keeping a dewy finish available
Treat shine as a local management issue, not a whole-face problem. If oiliness appears in the T‑zone, a micro‑mattifying primer or a tiny sweep of light powder there keeps shine down without killing radiance on the cheeks. Use a soft‑fibre brush to apply powder precisely so you avoid flattening the whole complexion. The goal is a skin finish that reads naturally luminous in photos and close‑up alike.
When controlling shine for dry skin makeup, layer products intentionally. Start with hydration, add a lightweight, hydrating foundation, then selectively place a mattifying product only where necessary. For dewy makeup for dry skin, keep luminous textures on the high points and cheeks and reserve mattifying steps for the nose, chin and forehead if needed. This hybrid approach gives control with a fresh finish.
If you develop flaking or pilling during the application, pause and reassess product thickness and sequence rather than layering more product. Lightly blot the offending area and reapply minimal product, or switch to a thinner formulation. These micro‑corrections keep the overall finish even and prevent a cakey result while allowing the dewy elements you want to remain visible.
Before deciding, take a look at Makeup Techniques
06
Take product-avoidance and timing questions to a bridal trial — A realistic way to assess the finished look
Take product-avoidance and timing questions to a bridal trial
A bridal trial is the practical moment to confirm product safety, timing and the final look. Never assume a particular primer or moisturiser is provided; discuss any product‑avoidance requests — for example, fragrance avoidance or specific ingredients — in advance. Bring your own moisturiser or hydrating primer if you prefer to use familiar products, and note any history of reactions so we can perform a small patch check during the trial.
Discuss the day‑of timeline at the trial: how long the base needs to set, when hair will be done relative to makeup and whether a touch‑up kit is required. Trials let you see how the dewy finish responds to different lights, to filming or flash photography, and to movement. They also create a shared reference for how long full application takes so you can schedule other suppliers appropriately.
Use the trial to confirm product safety, timing and the final look. Discuss any product‑avoidance requests — for example, fragrance avoidance or specific ingredients — in advance and bring your preferred moisturiser or hydrating primer if you want to use familiar items. Note any history of reactions so we can perform a small patch check during the trial. Discuss the day‑of timeline at the trial so you understand how long the base needs to set, when hair will be done relative to makeup and whether you should bring a touch‑up kit. Use the trial to confirm the agreed scope, timings and any extra fees before the event so there are no surprises on the day.
For a closer comparison, consider foundation makeup course Hong Kong
07
Practical choices to achieve dry skin no-cakey makeup
How to select and layer products so coverage looks natural
The phrase dry skin no-cakey makeup describes an outcome you get by controlling product weight and sequencing rather than by using a single “miracle” item. Start with a thinned hydrating layer—serum into moisturiser—applied with gentle pressing motions; this builds a base that foundation can sit on instead of clinging to flakes. Wait a short pause so serums and creams bind into the skin; too little wait makes products mix on the surface and encourages pilling.
For foundation selection, choose formulas described as lightweight or skin‑tint rather than full‑powder coverage. Work in very small amounts and build only where necessary, using a damp sponge to press product into the skin: that technique minimises streaking and gives the appearance of skin rather than a mask. Where extra coverage is essential, spot‑conceal with a hydrating formula and blend the edges outwards to avoid hard demarcations.
Finish with targeted mattifying and luminosity rather than global treatments. Use a micro‑matte powder only on the T‑zone or areas that crease; place cream or liquid luminiser sparingly on cheekbones. If shine appears later, blot before adding powder so you don’t overload the skin. These small, selective corrections are the practical route to dry skin no-cakey makeup for day‑to‑day wear or events.
08
Create a reliable hydrating makeup base for dry skin
Which products to layer and why timing matters for lasting comfort
Think of a hydrating makeup base as a short routine of products layered to give both slip and long‑term comfort. Start with a water‑based serum (hyaluronic acid or glycerin‑containing) on thirsty areas, follow with a lightweight but emollient moisturiser where the skin is tight, then add a primer that offers hydration and slight grip. This combination reduces friction during application and helps foundation adhere without settling into fine texture. If you prefer, bring your usual moisturiser to a trial to verify how it performs under makeup.
Timing between each step is practical: allow around five to ten minutes after serum and moisturiser so the skin surface feels settled, not tacky. Apply primer only where foundation tends to slip or cling; it’s not necessary everywhere. When you apply foundation over this hydrating makeup base, use thin layers and build only as required. The result is a more flexible finish that moves with your expression and photographs without emphasising dry patches.
For long days or special events, consider a lightweight setting spray applied as a final step to melt layers together, and pack blotting papers for quick midday touch‑ups. If you’re booking a bridal trial, bring the exact moisturisers and primers you intend to use on the day so the hydrating makeup base can be tested in the same sequence and timing; queries about English language, precise hours and exact addresses should be made during enquiry so we can confirm practical details.
Style references
Related makeup style illustrations
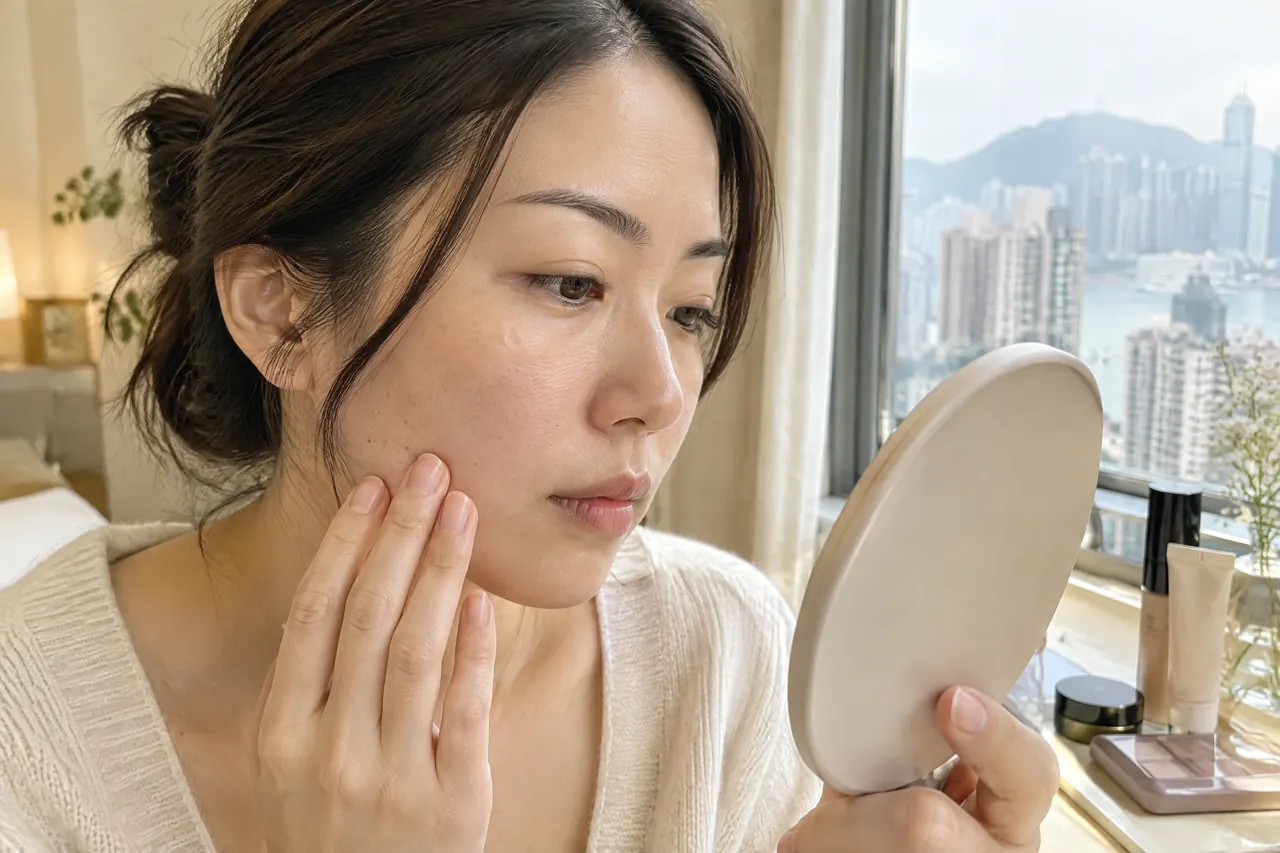
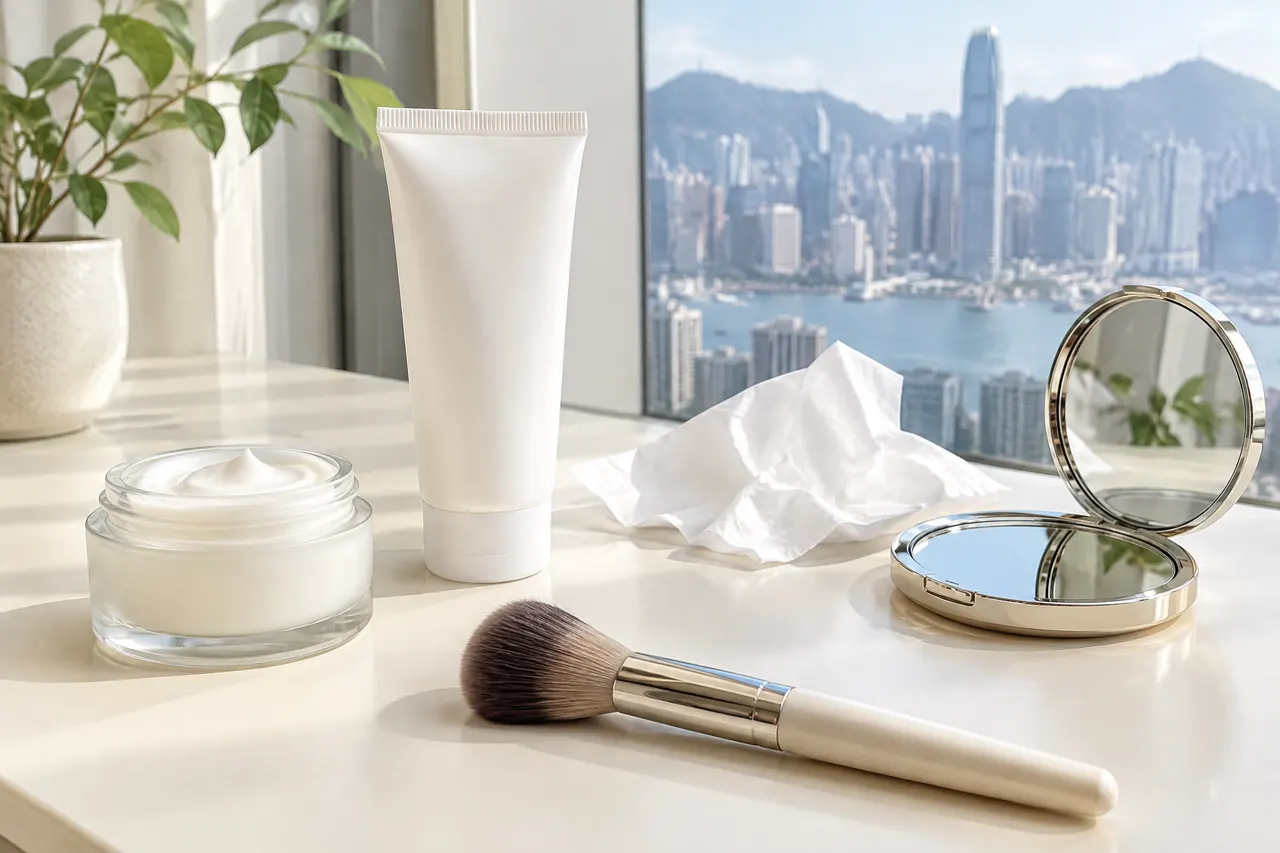
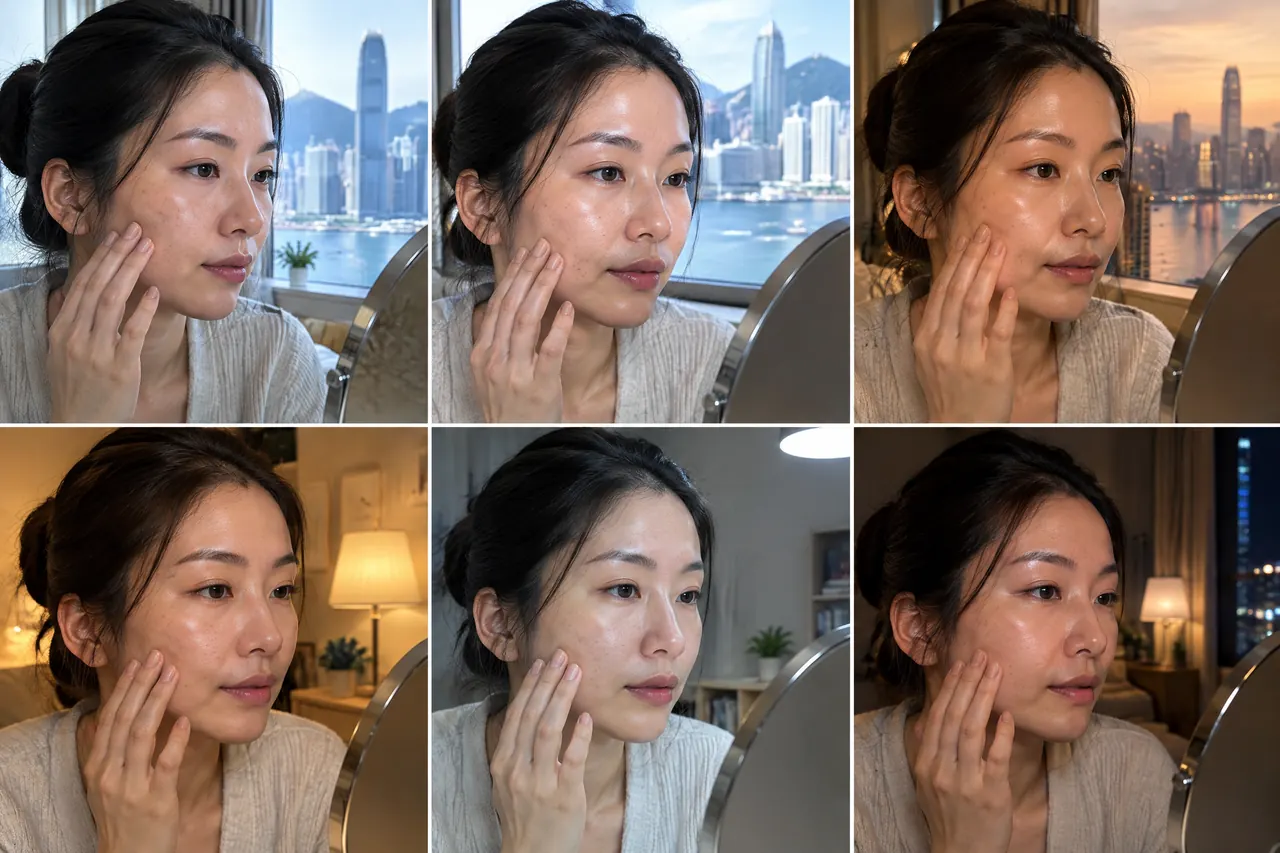


Quick product and technique checklist for dry skin foundation
| Step | Recommended product type | Technique notes |
|---|---|---|
| Prep (30–60 mins prior) | Hydrating serum + lightweight moisturiser | Apply serums first, wait 5–10 mins for absorption; pat, don’t rub |
| Primer | Hydrating/silicone hybrid primer | Use sparingly; apply only where foundation tends to cling |
| Foundation | Light to medium coverage liquid or tinted moisturiser | Build in thin layers with a damp sponge or low‑pile brush |
| Concealer & touch | Hydrating cream concealer | Use minimal amounts only on blemishes or shadows; blend out |
| Finish | Liquid luminiser & local translucent powder | Place glow on high points; powder only on oily spots |
Helpful answers
Frequently asked questions
What is the best primer for dry skin foundation?
A primer for dry skin should combine slip with hydration — think glycerin, squalane or lightweight silicone blends that help foundation glide and adhere without adding greasiness. If you prefer a luminous look, choose a primer with subtle light‑reflecting particles and apply only where you want glow. Bring your preferred primer to a trial to test compatibility with your moisturiser and chosen foundation.
How do I avoid cakey makeup with dry skin?
Avoid cakey results by layering thinly: hydrate first, wait for products to settle, then build foundation in small passes. Use a damp sponge to sheer and press product into the skin, and apply concealer sparingly. If you need powder, only dust a micro amount where creasing or oil occurs. Perform a full trial to check how products interact over several hours before an important event.
Can dry skin still have a dewy finish without looking greasy?
Yes. Control is achieved by placing luminous products strategically — on cheekbones and other high points — and managing shine locally with blotting papers or a tiny sweep of powder on the T‑zone. Mixing a drop of illuminating serum into foundation can provide an all‑over glow without excessive shine; always test ratios at a trial so you know how it photographs and wears.
What should I bring to a dry-skin bridal makeup trial?
Bring moisturisers, primers and any base products you plan to use on the wedding day, plus photos of the look you like. Note any product sensitivities and the timeline for the day. A trial should last around 45–60 minutes so you can assess settling, camera response and touch‑up needs. Confirm whether your stylist will supply touch‑up products or whether you should bring a kit.
How long should I wait between moisturiser and foundation?
Wait at least five to ten minutes to let hydrating layers absorb but not so long that surface moisture evaporates completely. The precise timing depends on the thickness of the moisturiser; richer creams may need a few extra minutes. During a trial we time these pauses so you see the finished look under real conditions and can adjust sequencing if products pill or feel heavy.
Does using a primer always help with dry skin no-cakey makeup?
A primer can help but it isn’t mandatory. For dry skin, a hydrating primer that adds slip and helps foundation glide will usually reduce patchiness. However, if the moisturiser and foundation are well matched, applying primer to every area can be unnecessary and sometimes adds surface build‑up. The most effective approach is selective primer use at a trial to see where it genuinely improves adhesion without increasing shine or thickness.
What is a hydrating makeup base and do I need one?
A hydrating makeup base is the intentional sequence of serum, moisturiser and, if needed, a hydrating primer applied to create a smooth, hydrated surface before foundation. It’s particularly useful for skin that flakes or feels tight because it prevents foundation from clinging to dry patches. If your skin is comfortable and foundations sit well for several hours, a simplified base may suffice; otherwise, a full hydrating makeup base tested at a trial will show clear benefits.
Ready to discuss it?
Enquire about dry skin bridal makeup
Tell us what you are planning, and we will help clarify the service or lesson details that matter for your enquiry.
From the makeup blog