
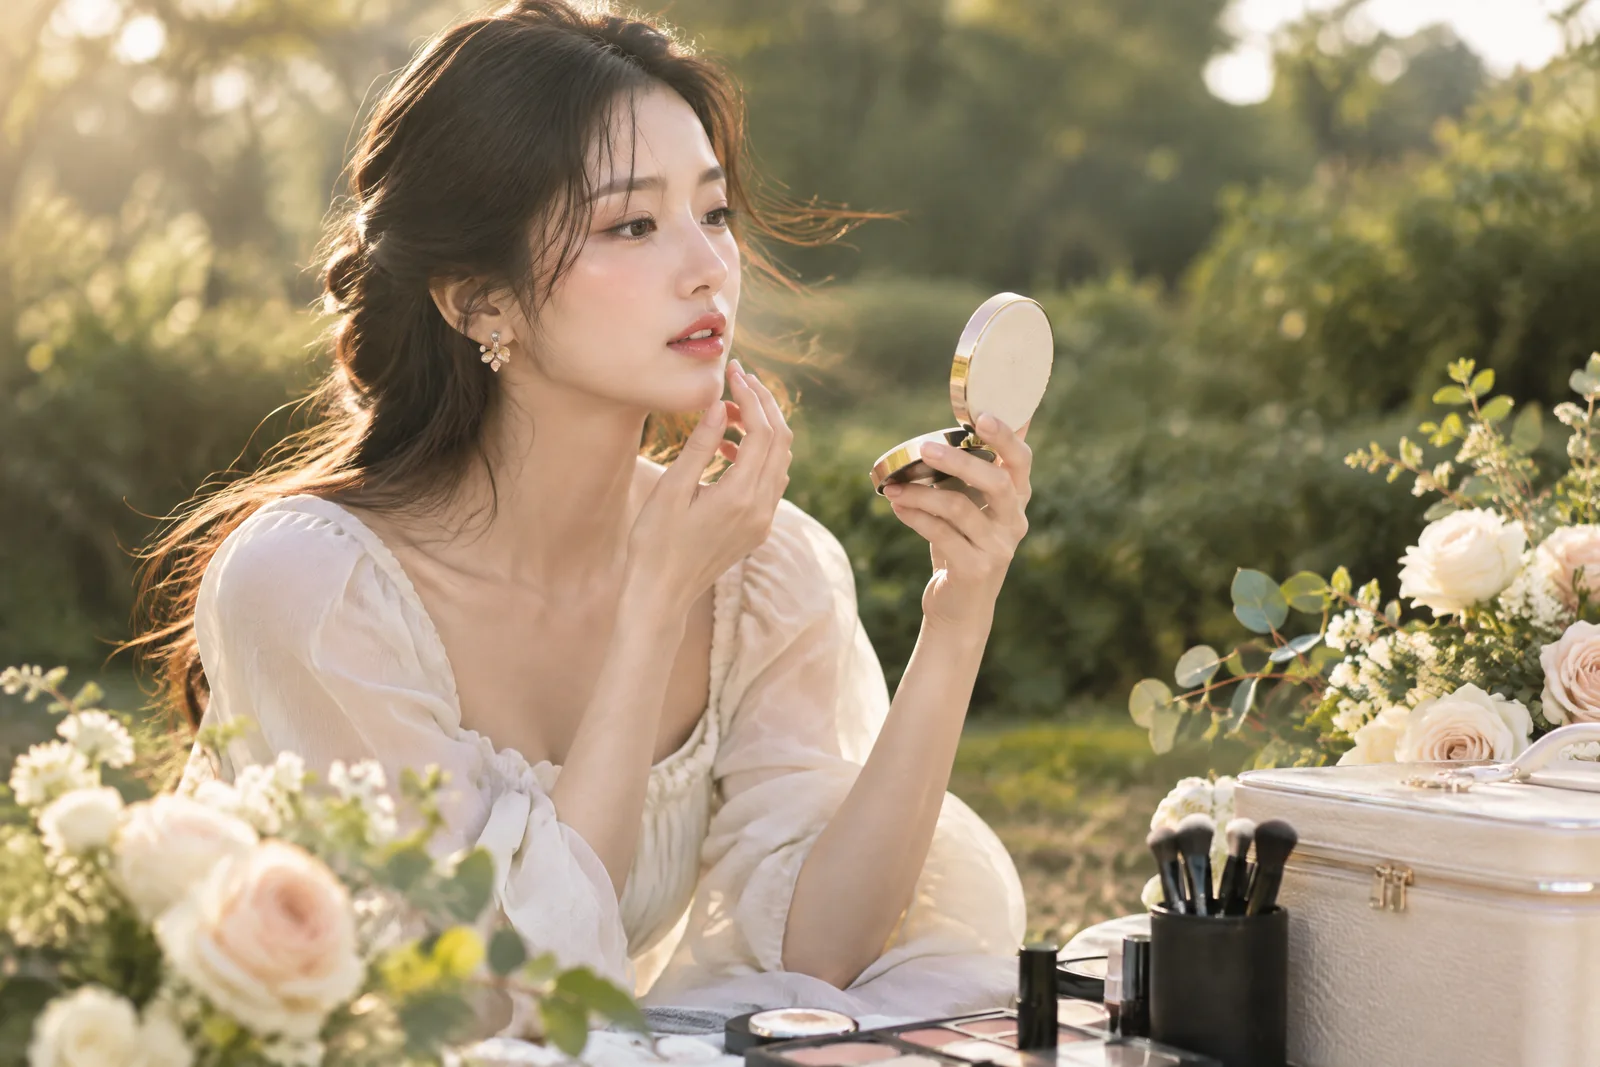
At a glance
Treat hair, glasses, makeup, and lighting as connected decisions. Compare the front, profile, and seated view; then make a simple brief that names your preferred parting, forehead coverage, and facial emphasis. Ask about exact wig details separately from the makeup arrangement. A calm test photograph is more useful than chasing a universally flattering cut.
Set the portrait priority before choosing a hairstyle
Name the facial feature that should lead the frame
Begin with the reason for the portrait. A LinkedIn photograph, graduation picture, pre-wedding session, and creative shoot ask for different energy. Stand a few steps from a mirror. Notice whether viewers meet your eyes, brows, glasses, lips, or hair first. That observation gives the makeup artist a useful starting point. It prevents a fringe or a strong straight line from becoming an accidental distraction.
Lighting matters because it changes where shadows fall across a face. Professional Photographers of America describes lighting patterns through their shadow placement. Its guide notes that loop lighting uses a main light just above eye level. It is generally pleasing for many people. A photographer can still choose another pattern when the desired mood or face framing calls for it. [1]
Make one small priority statement before sending reference images. For example, say that your eyes should remain visible behind the frames. Or say that you want a clean forehead line with quiet lips. This is not a rule about face shape. It is a practical instruction that helps the team compare hair, brows, and light without guessing your visual intention.
- Choose one visual priority: eyes, brows, cheekbones, lips, or hair outline.
- Bring one front image and one three-quarter image that show your usual glasses.
- Describe the desired mood with plain words, such as polished, soft, graphic, or relaxed.
Use a pixie outline to open or contain the face
Compare fringe, crown, temples, and nape as one silhouette
A pixie changes the portrait through its outline. The front can expose more forehead or settle into a short fringe. The crown can add lift. The sides can show the ears or sit nearer the temples. The nape can make the neck feel more open. Look at the complete shape from front, profile, and back before deciding what makeup should do around it.
If you are comparing pixie wigs, use the guide as a question list rather than a promise about a result. It suggests checking fringe length, side coverage, crown volume, nape outline, fit details, and care for the exact option. It also raises a useful glasses question: where will the side sections meet the frame arms? Confirm individual details directly before you commit to a style.
For a close crop, soften only the feature that needs room. A fuller brow can hold its place beside a short fringe. A controlled cheek colour can add warmth if the ears and jaw are exposed. Avoid adding intensity everywhere at once. Take a phone image from the same height as the planned camera. The photo will show whether the crown and makeup are competing.
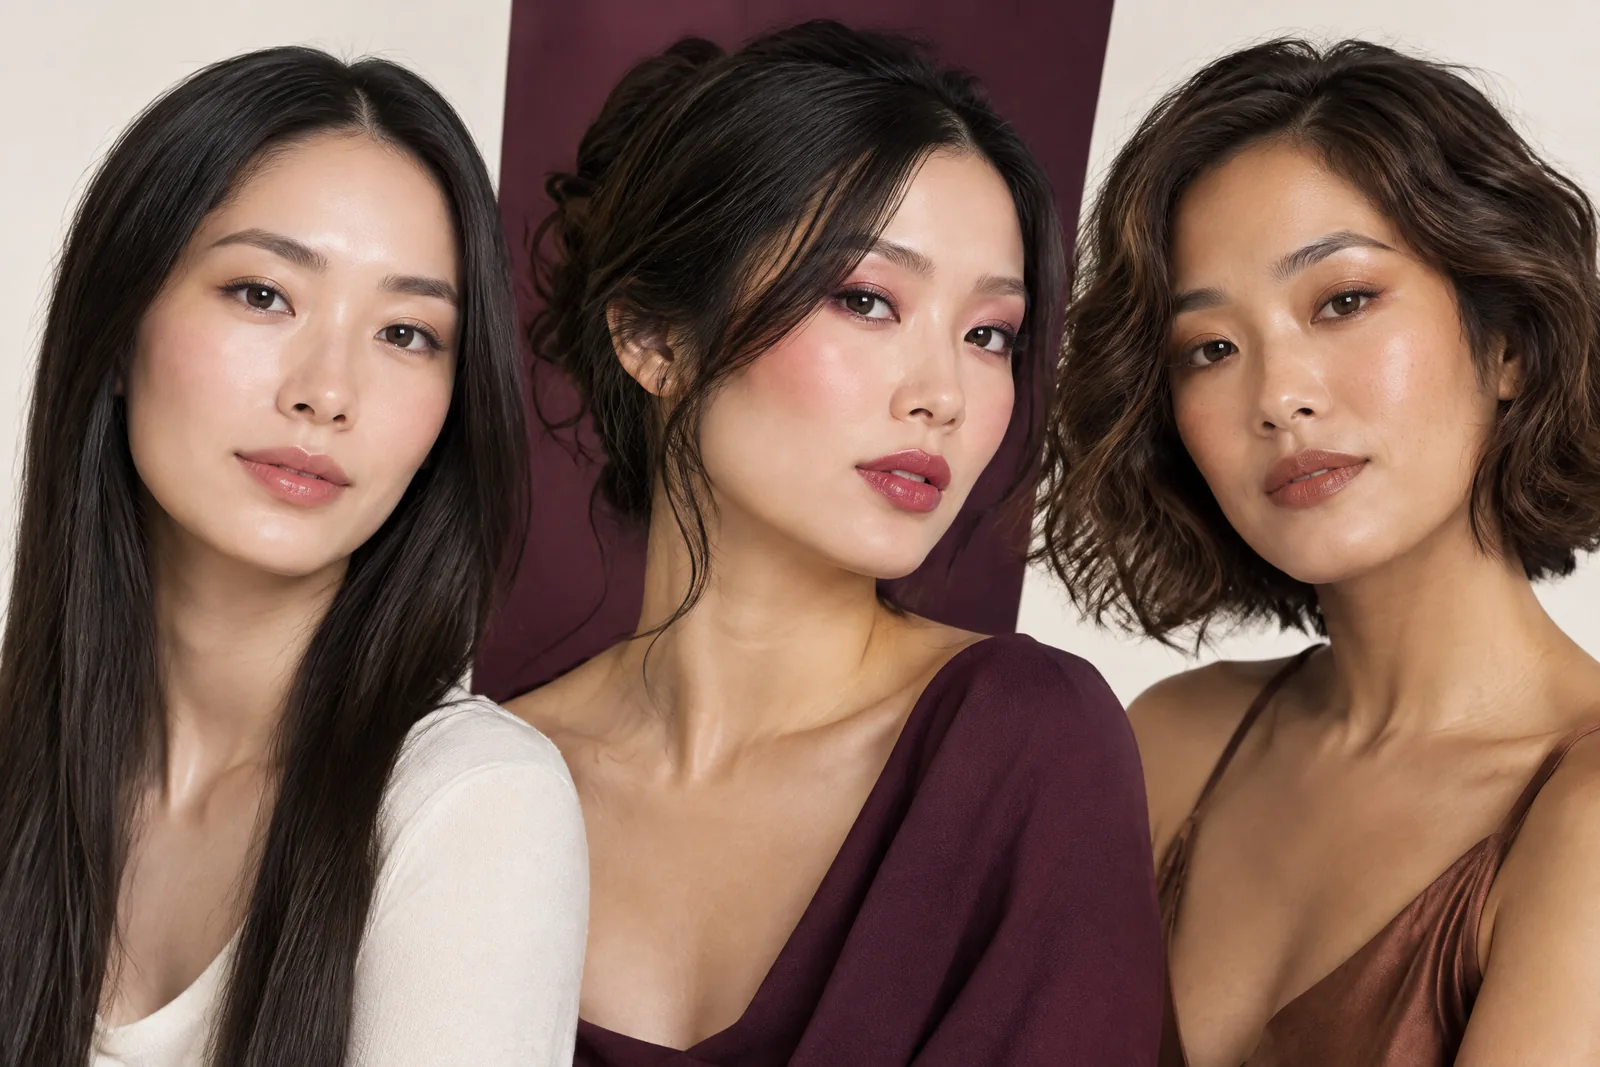
Build fringe wig portrait balance around glasses and eye contact
Keep the fringe wig portrait balance brief specific to your frames
Glasses are part of the portrait composition, not an obstacle to hide. Clean lenses before a test image. Check whether the top rim meets the brow. Notice whether the temples disappear into hair. Then check whether a fringe creates an unwanted horizontal line. A slightly open centre or a side-directed front may reveal the eyes more clearly. Choose the direction because you like the proportion, not because a trend demands it.
When browsing wigs with bangs, distinguish an integrated full-wig fringe from a separate clip-in fringe. The category guide recommends comparing the complete outline, fringe direction, parting, and temple connection. It also advises against assuming that the front can be restyled into every direction. Bring a photograph of your frames and describe how much forehead you want visible. Ask about the exact style, rather than relying on a category image.
Reflections need a photography adjustment, not a rushed change of makeup. Westcott University's lighting guide explains that glare can be managed by changing the light angle, subject position, or camera position. It recommends moving one factor at a time. If a reflection appears, let the photographer test a small head turn or light change first. Do not tilt the frames or change the fringe until you know what caused it. [2]
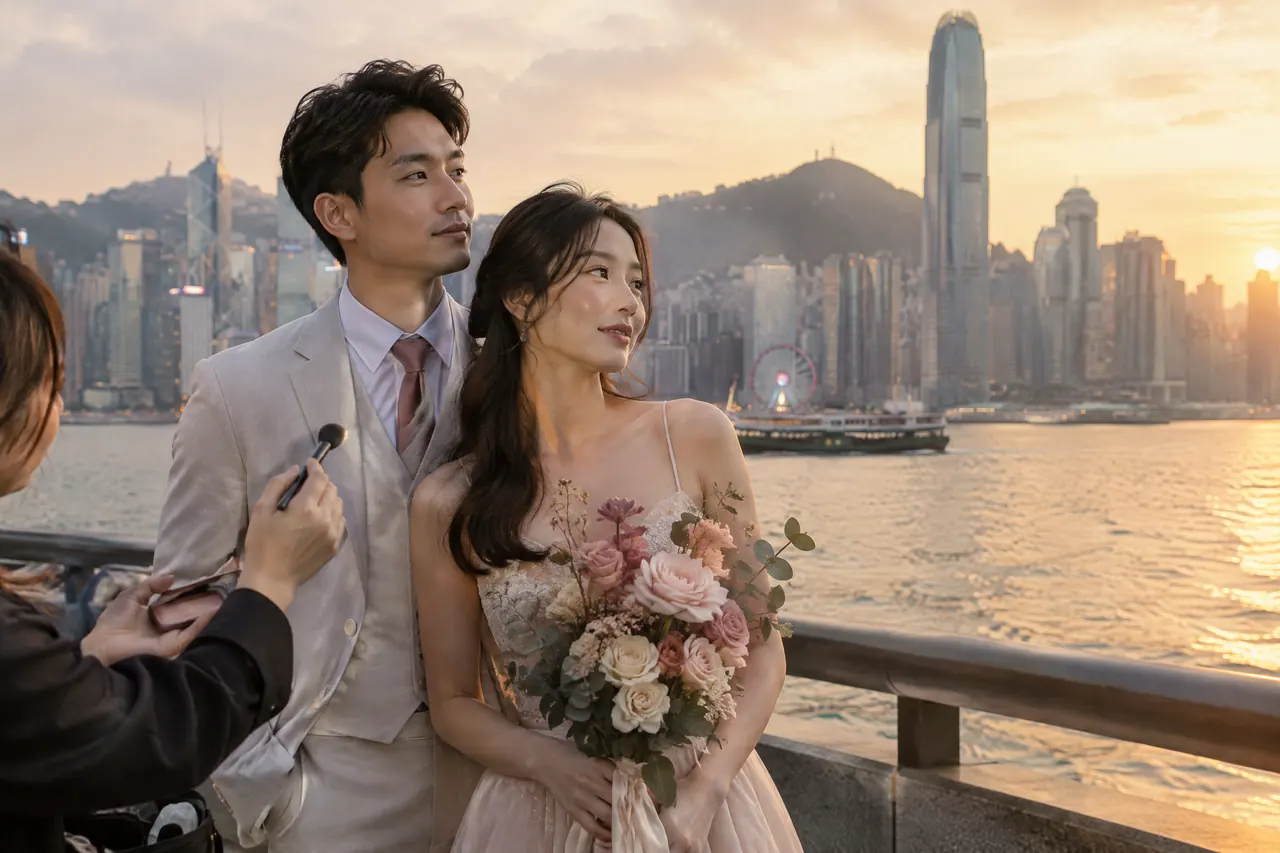
Use straight finishes to create a deliberate edge
Match a clean line with calm makeup placement
Straight hair makes length and ending points easy to see in a photograph. Start by noting where the front pieces finish beside the cheek, jaw, collarbone, or shoulders. Next, decide whether the ends should look blunt, lightly layered, or tucked behind the ears. These positions matter more than calling the look sleek. A simple line can feel soft when the makeup edges remain diffused.
For straight wigs, compare the written length, end placement, layering, material, care information, and cap details of the individual style. The guide correctly separates a straight finish from a fibre claim. It says that a smooth-looking result does not identify the material or guarantee performance. Treat any missing specification as a question for the supplier. Do not infer supply, heat use, or fit from a photograph.
Pair a precise straight outline with one intentionally softened makeup area. A sheer cheek can keep a blunt edge from feeling severe. A muted lip can leave room for a strong eye. Conversely, a graphic lip may work when the hair is tucked back and the complexion is quiet. Make the decision after testing the glasses. Frame thickness and lens reflections can change the balance quickly.
Turn your portrait observations into a usable makeup brief
Share decisions before the chair, not during the first camera test
For a business portrait makeup artist, bring your usual glasses and two reference images with similar camera distance. Say whether the key objective is clear eyes, a softer jawline, a visible hairline, or a polished but low-contrast finish. Mention any fringe direction you plan to wear. This lets the makeup briefing support the photograph. It avoids solving hair questions after the base makeup is complete.
A business headshot makeup conversation should include the background and likely lighting where known. Ask for a look that still feels like you in daylight, office light, and a simple flash photograph. Explain whether you will wear a pixie, an integrated fringe, or straight hair tucked behind one ear. The face framing can then be checked with the chosen glasses before the final details are applied.
A fashion makeup artist Hong Kong brief can be more expressive, yet it still benefits from a clear hierarchy. Identify the feature that may become graphic: a fringe edge, liner, lip colour, cheek shape, or the frame itself. Keep the other choices supportive. Photograph one front-facing and one turned pose during the trial. This reveals whether the intended drama reads as a considered frame or as visual clutter.
| What you notice | Useful styling response | What to test |
|---|---|---|
| The fringe meets the top of the frames. | Open a small centre or direct the front slightly sideways. | Photograph the direct and three-quarter view with your usual glasses. |
| A short pixie exposes ears and jaw. | Let brows or cheek colour provide measured structure. | Check the profile before intensifying every makeup feature. |
| Straight ends create a strong perimeter. | Soften one makeup area while retaining the clean hair line. | Compare a diffused cheek with a crisp lip, not both changes together. |
| Reflections cover the eyes. | Ask the photographer to adjust angle, light, or position. | Alter one variable at a time and identify the source. |
| The look feels busy in the photograph. | Remove one competing accent before adding anything new. | Retake the same pose at the intended camera distance. |
Rehearse the complete frame before the portrait session
Check movement, profile, and camera distance without overcorrecting
Wear the planned hairstyle, glasses, neckline, and earrings for a short rehearsal. Take a direct image, a three-quarter image, and a seated image. Smile and look down as you normally would. Check that a fringe separates cleanly from the lenses. Notice whether side sections catch on the arms. Then check whether your makeup remains visible. Make one alteration, then take the same three images again.
Keep the rehearsal brief in your phone. Include the preferred parting, fringe width, crown height, glasses, brow strength, cheek placement, lip finish, and any pose you liked. This helps you recreate the result on a busy morning. It also makes a change easier to explain. A practical brief records what you saw. It does not promise that every room, lens, or light will produce an identical picture.
Use a fallback that protects comfort and confidence. It may be a clearer side part. It may be removing a hair accessory. It may be a turned pose that reduces reflections. Do not keep adding powder, clips, or tension once the image looks busy. A calm outline, visible eyes, and comfortable glasses often serve a professional or celebratory portrait better than a complicated rescue.
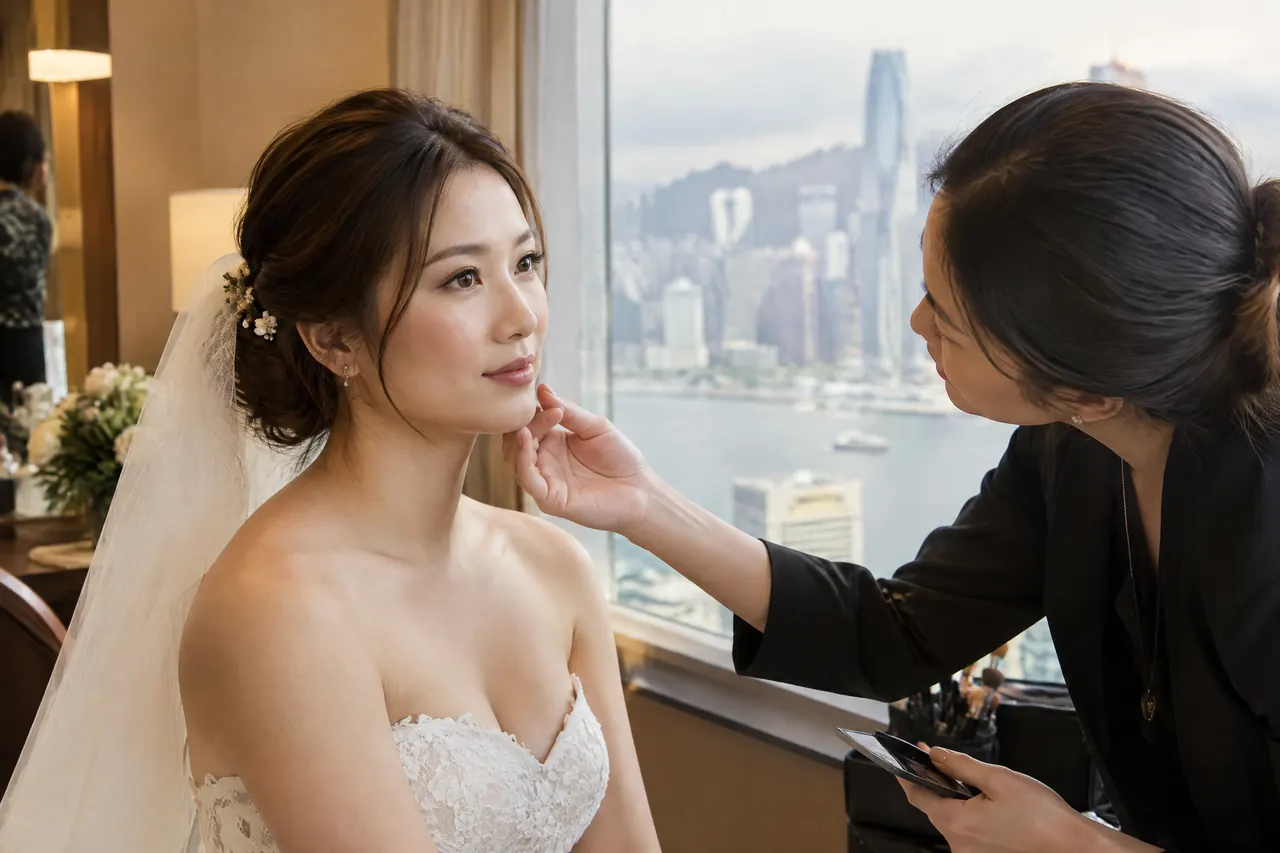
Key takeaway
Portrait balance is not about finding a universally flattering fringe. It is about deciding what the camera should notice first, then letting the hairstyle, glasses, makeup, and light support that choice. A specific brief and three honest test photos will tell you more than a trend label.
Practical checklist
- Choose the facial feature that should lead the photograph before collecting reference images.
- Bring your own glasses to every makeup or hair rehearsal.
- Test front, profile, and seated views at the intended camera distance.
- Change one lighting, pose, hair, or makeup variable at a time.
- Save a short written brief and one comfortable fallback for the session day.
Frequently asked questions
How do I choose between a pixie, fringe, and straight finish for a portrait?
Choose the outline that supports the feature you want viewers to notice first. A pixie can expose the jaw and ears. A fringe can create or soften a forehead line. Straight hair can make the ends and face-framing pieces more graphic. Test each direction with your usual glasses, makeup, neckline, and camera distance. The best choice is the one you can describe clearly and wear comfortably.
Should I avoid a fringe if I wear glasses?
No. A fringe can work well with glasses when its width, direction, and relation to the top rim feel intentional. Check whether hair catches on the frame arms and whether the fringe blocks your eyes in a direct photograph. Bring your glasses to the trial. If glare appears, test lighting and position before changing the haircut or makeup.
What should I tell a makeup artist before a portrait session?
Bring the glasses, hairstyle reference, outfit neckline, and two images showing your preferred camera mood. Say which feature should lead the frame and how much forehead or temple you want visible. Mention the parting, fringe direction, and hair accessory. This gives the artist usable choices without asking them to guess how the intended hair will sit.
Why do my glasses look reflective in some photographs?
Glare depends on the relationship between the light, lenses, camera, and your head position. It is often solved by changing one of those angles. Clean lenses help avoid smudges that catch light. Ask the photographer to test one small adjustment at a time. Avoid changing several things together, because that makes the source difficult to identify.
Do straight-looking wigs tell me what the fibre or care routine will be?
No. Straight describes a visible finish, not the fibre, cap construction, exact length, heat tolerance, or care routine. Read the product-specific description and ask about missing information for the exact option. A category image can help you compare shape. It cannot confirm stock, fit, styling limits, or how a particular item will perform.
Sources
| Source | What it supports |
|---|---|
| 9 Types of Portrait Lighting | Professional Photographers of America | Lighting patterns describe where shadows fall. The guide describes loop lighting as a main light just above eye level and says it is generally pleasing for most people. |
| Portrait Lighting Tips to Avoiding Glare in Glasses | Westcott University | Glasses glare can be addressed by changing the light angle, subject position, or camera position, with one factor adjusted at a time. |
Discuss your own makeup plans
Bring your glasses, outfit reference, and preferred portrait examples to a makeup consultation. Confirm all wig specifications, wear guidance, and availability directly with the relevant supplier before your session.
Ask on WhatsApp +852 6918 3153