
BigDeal Make Up · Hong Kong
Eyeliner For Downturned Eyes And Eyeliner For Small Eyes
Eyeliner can alter how your eyes read — their direction, emphasis and perceived lift — but assess lines with the eye open. This guide compares approaches for eyeliner for downturned eyes, eyeliner for small eyes and upturned eyes, focusing on where the line begins, how it tapers and how much lid space it uses. The aim is to help you make deliberate choices that support the expression and style you prefer.

At a glance
eyeliner for downturned eyes
Plan eyeliner for downturned eyes and eyeliner for small eyes with the eye open, noting start point, taper and outer endpoint. Small changes to angle, thickness and visible lid coverage create effects that lift, level or soften the eye’s appearance. Use these practical checks and simple tests at a mirror to choose an approach that suits your features and the look you want to present.
01
A practical guide to eyeliner for downturned eyes
Practical considerations for eyeliner for downturned eyes
Start with the eye open and relaxed on a neutral face. For eyeliner for downturned eyes, the outer corner often sits slightly lower; drawing the outer line with the eye closed hides how the line will sit when you are looking ahead. Instead, look straight into a mirror and mark a barely-there dot where you want the line to end while your gaze is level. That point determines whether the line will create a lift or preserve a softer fall.
Once that endpoint is set with the eye open, connect it to a controlled mid-lid line rather than dragging a single sweeping stroke. On downturned eyes, an anchored mid-lid keeps the line from collapsing at the outer corner and makes any taper feel intentional. Use short, feathery strokes from the mid-lid toward the outside so you can adjust angle and thickness without committing to a dramatic wing.
Practical considerations for eyeliner for downturned eyes include balancing the lower lash line and avoiding heavy outer-bottom weight. If you choose a slightly upward endpoint, keep the lift subtle — too steep a wing can look disconnected from the natural eye line. Softening the outer endpoint with a small smudge of eyeshadow or a pencil diffuses the edge and preserves a flattering contour for many face types.
For a closer comparison, consider hooded eyes makeup
02
A practical guide to eyeliner for small eyes
Eyeliner for small eyes: set liner thickness according to visible lid space
Eyeliner for small eyes benefits from attention to visible lid space. A heavy line across a tiny visible lid can close the eye; instead, measure how much lid is visible with your eye open and use a fine-to-medium line across the centre of that space. Begin slightly thinner at the inner corner and build outward, keeping the highest point of pigment close to the lashes to preserve lid openness.
If visible lid space is brief, avoid a heavy, solid block of liner. Try a tapered line that increases gently toward the outer third of the eye and ends with a narrow, softened tip. For clients who want noticeable definition, a white or nude pencil on the lower waterline combined with a careful upper-line taper can create the illusion of a larger aperture without over-lining the lid.
Practical considerations for eyeliner for small eyes extend to inner-corner clarity and lash enhancement. Tightlining — applying liner between upper lashes — adds depth without taking up lid space, but it must be done with clean technique to avoid irritation. Tools such as a fine-tipped liquid pen and a compact angled brush for smudging help create an exact, controlled line suited to smaller eyes.
Match your plans with monolid eyes makeup
03
A practical guide to eyeliner for upturned eyes
Use a tapered endpoint instead of an automatic dramatic wing
Upturned eyes often appear to lift naturally at the outer corner; the aim with eyeliner for upturned eyes is to highlight that shape without exaggerating it. Rather than defaulting to a long, dramatic wing, focus on a tapered endpoint that follows the natural eye line. Keep the highest visual point of the liner aligned with the outer third of the pupil when the eye is open to accentuate the upturn with balance.
A tapered endpoint that aligns with the natural upturn feels harmonious and flattering. Draw a thin-to-medium line from inner to outer lid and finish with a small, precise taper that does not overextend beyond the eye’s natural pull. This avoids a theatrical look and is especially appropriate for daytime wear or for clients who prefer cleaner, more wearable definition.
Practical considerations for eyeliner for upturned eyes include managing lower-lash contrast and deciding whether the outer endpoint should sit slightly higher, level with, or slightly lower than the natural lash line. Minor adjustments of a few millimetres have a noticeable effect when the eye is open, so plan those changes in front of a mirror rather than relying on template wings.
You may also find it useful to compare Asian bridal makeup
04
How to adapt the technique to your features and occasion
Adapt inner-corner detail for small-eye preferences
Decide how much inner-corner detail you want before starting. For eyeliner for small eyes, a lightly softened inner corner or a tiny point saves lid space and brightens the eye; for downturned eyes, a softer inner corner can balance the outer weight. Use a small angled brush to diffuse any harsh starts so the eye reads open rather than boxed in by line.
Consider occasion and lighting: evening and editorial looks tolerate denser pigment and stronger endpoints, while daytime or work-appropriate makeup usually favours thinner lines and a subtle taper. For portable techniques, practise a basic tightline and a short tapered endpoint that you can intensify by adding shadow smudges for evening without changing the fundamental line direction.
A realistic way to assess the finished look is to check your work in a neutral, well-lit mirror with your face relaxed and smiling. Facial expression shifts can alter perceived liner direction; if a smile makes the wing appear too high, soften the taper. Balance is not about symmetry alone but about how the line supports the eye’s natural action and the overall look you want to present.
For another approach, explore brow design
05
Find the outer-line direction with the eye open
Compare lifted, level and softer effects without ranking eye shapes
When finding the outer-line direction, test three endpoints while looking straight ahead: slightly lifted (a millimetre or two above the natural fold line), level (continuing the eye’s natural angle), and softer (ending gently following the lower lash line). Photograph or note which option reads most like your intended expression — lifted for alertness, level for classic, softer for natural — and choose consistently for the right balance.
Avoid ranking shapes; describe the effect you want instead. For eyeliner for downturned eyes, a subtle lift can counter a heavy outer droop without erasing the eye’s character. For eyeliner for small eyes, a level or softer endpoint often preserves aperture; for upturned eyes, a level endpoint maintains the natural grace while a tiny lift enhances it.
After choosing an outer-line direction, finesse the taper and thickness while the eye is open. If the endpoint creates tension in the eyelid, relax the angle and reduce thickness near the outermost millimetres. Remember: small changes to direction and taper produce significant perceptual shifts once the face moves, so always finalise by checking the line during natural expressions.
Before deciding, take a look at Makeup Techniques
06
Set liner thickness according to visible lid space
Confirm lesson format and supplies with customer service before booking
Set liner thickness to the visible lid area and the look’s purpose: conservative daytime looks use a thinner, lash-hugging line; evening or creative makeup can carry slightly thicker strokes. For both eyeliner for small eyes and eyeliner for downturned eyes, begin with a fine liner and add pigment in layers rather than drawing a full-thickness stroke immediately — this gives control and prevents overlining that closes the eye.
If you are considering a class to master these techniques, please confirm the lesson format, language and whether products are supplied before booking. No separately priced eyeliner lesson is published here; product inclusion and exact tool lists require confirmation from customer service. That enquiry ensures the session matches your skill level and preferred outcomes without assumptions.
Practical set-up questions to ask include whether the lesson uses the team’s standard professional tools — examples include pencils, fine-tipped liquids and smudgers from brands such as NARS, Giorgio Armani Beauty and M·A·C — and whether you should bring your own products. Clear expectations about supplies help you practise safely within cosmetic, not medical, boundaries.
For a closer comparison, consider asymmetric eyes makeup
Style references
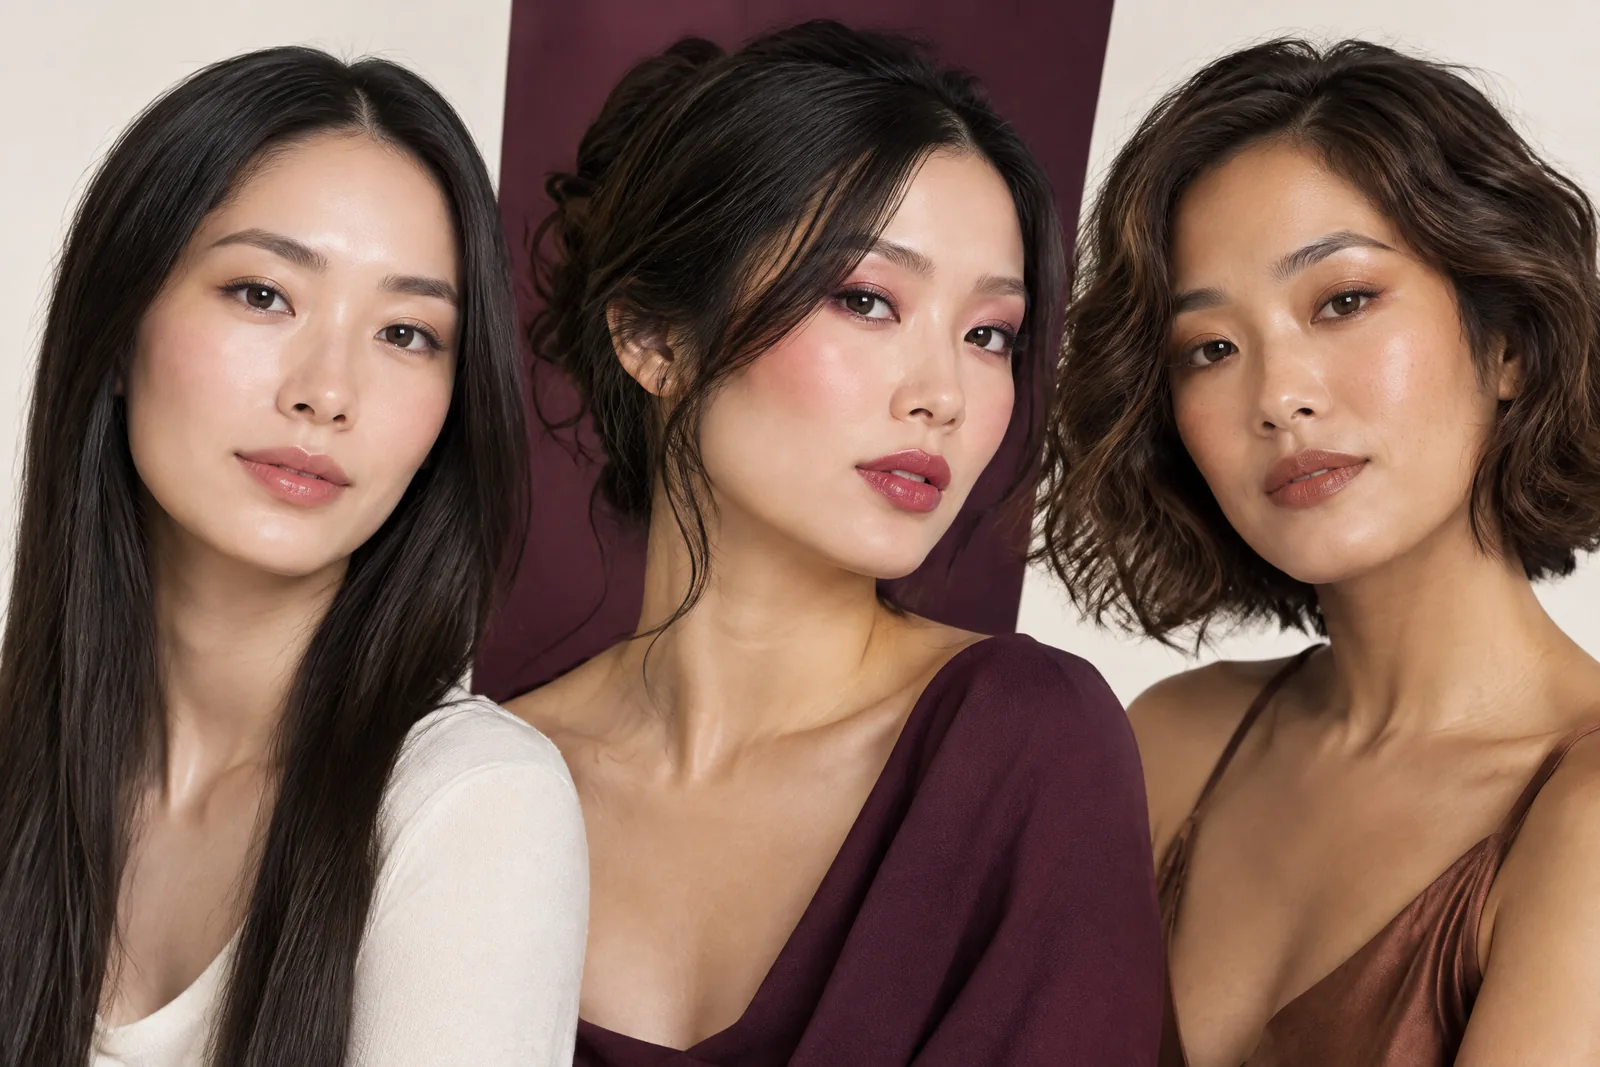
Related makeup style illustrations
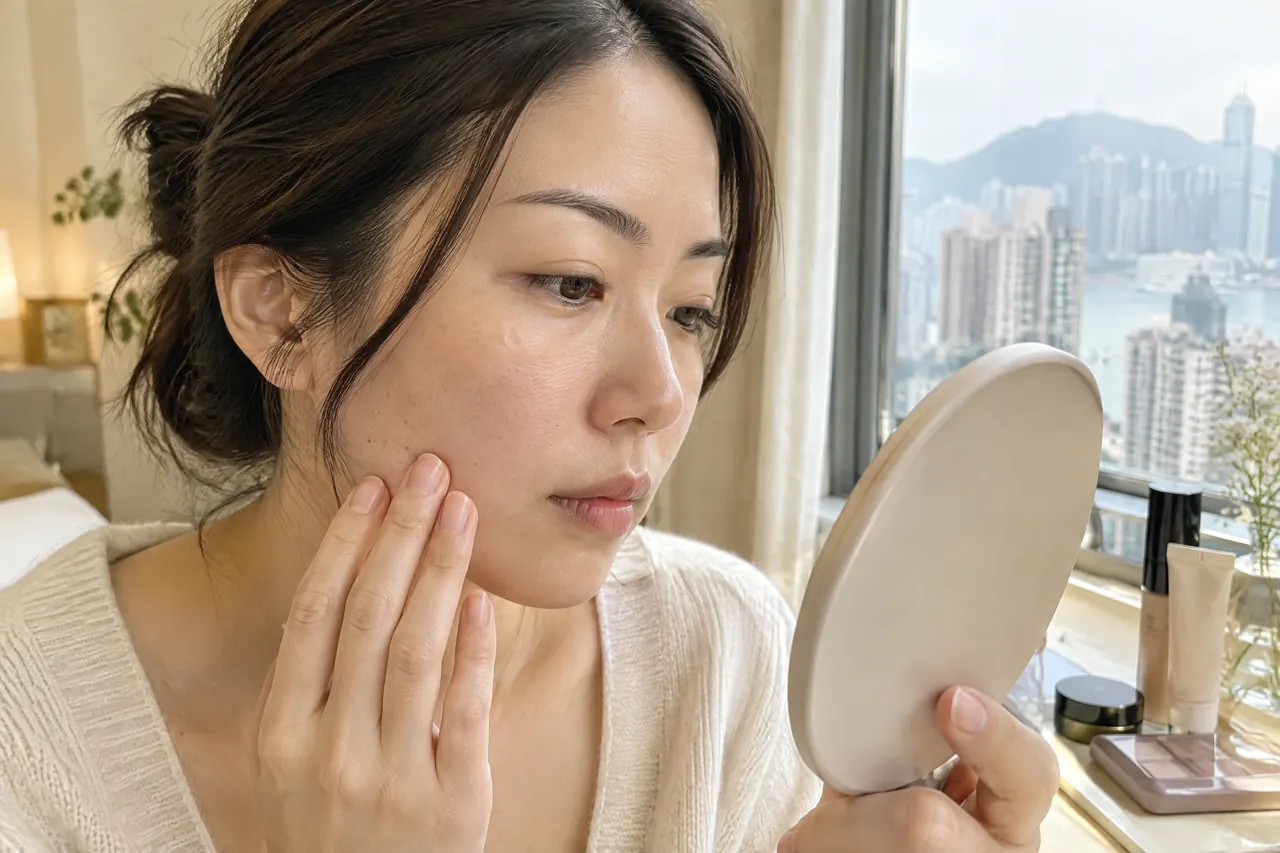
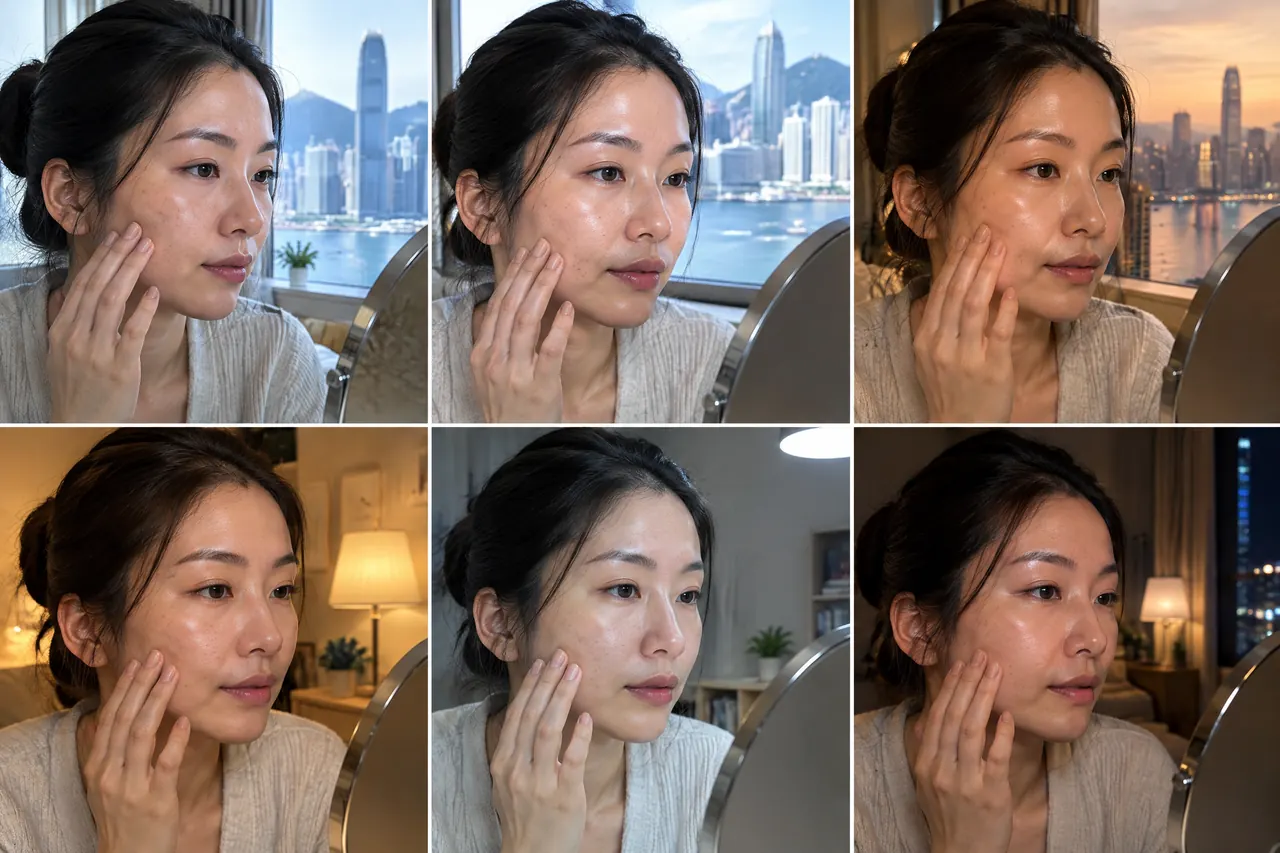
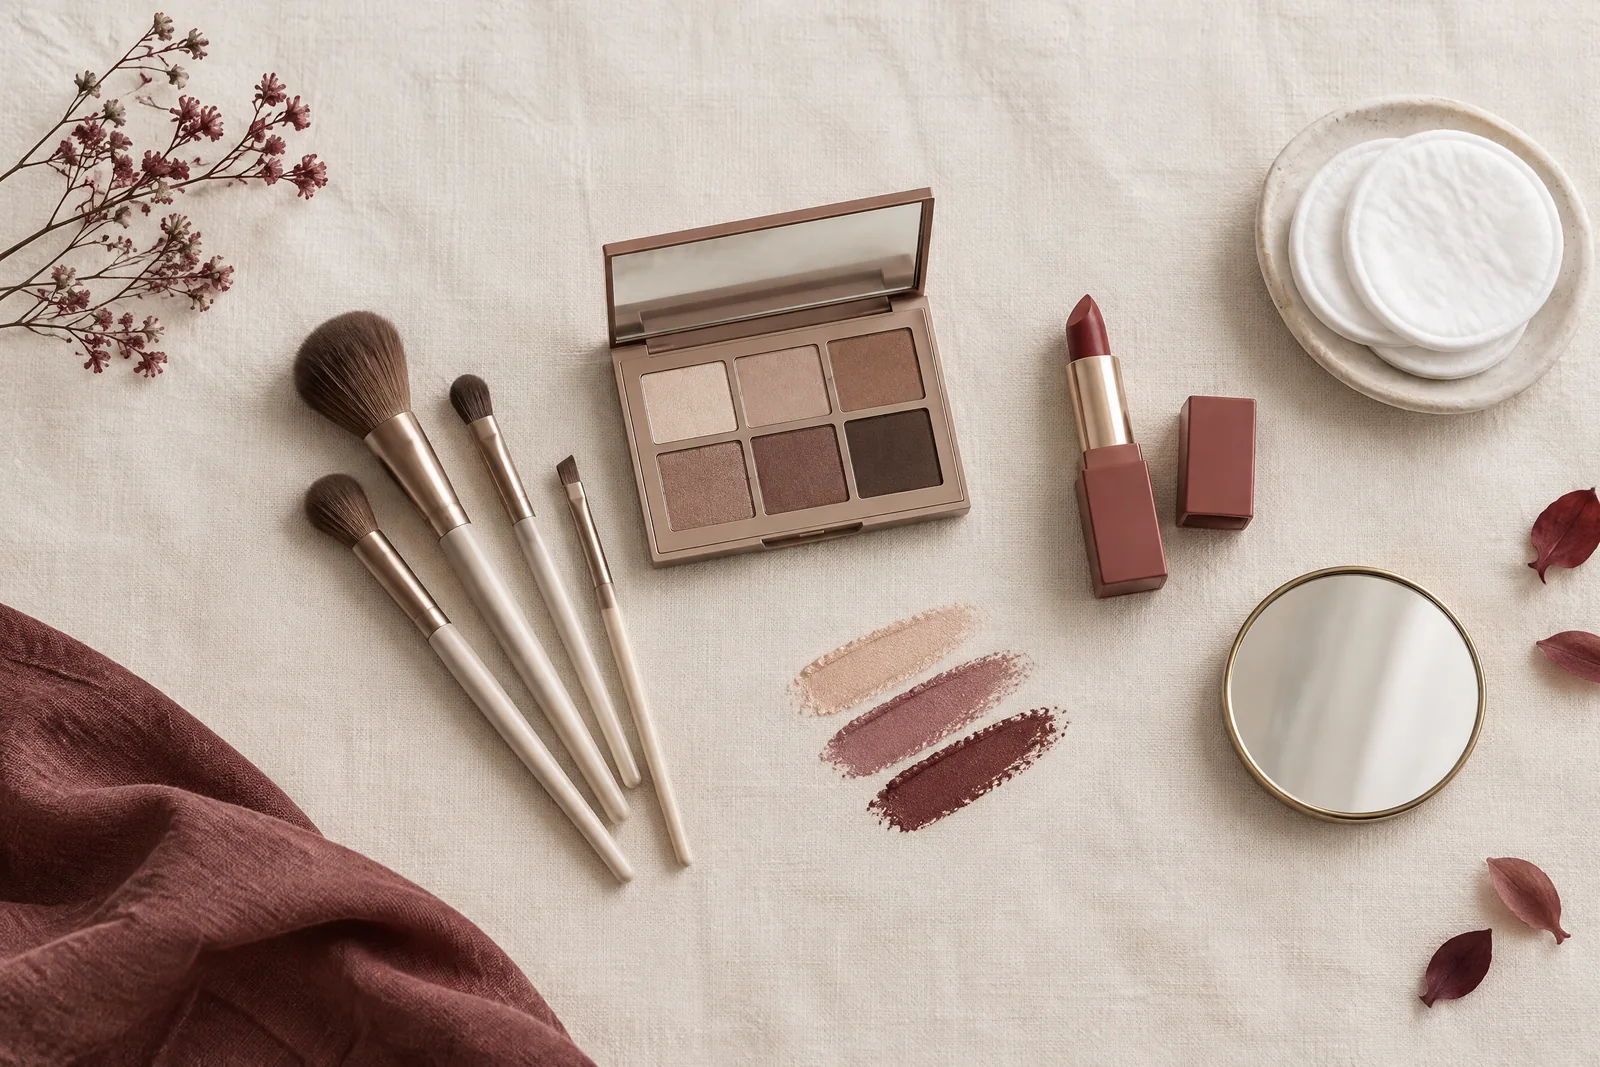

Quick technique checks for eyeliner for downturned eyes and eyeliner for small eyes
| Step | Downturned eyes — practical check | Small eyes — practical check |
|---|---|---|
| Start point | Begin a hair’s breadth from inner lashline; avoid heavy inner blocks that pull the eye downward | Start very close to upper lashes to keep inner lid unobstructed |
| Visible lid space | Anchor midpoint on the visible lid before extending outward | Measure centre lid space and keep most pigment there |
| Outer endpoint | Test slightly lifted, level and softer endpoints while looking straight ahead | Prefer shorter, softened endpoints to avoid closing the eye |
| Thickness | Build in thin layers; moderate thickness near outer third for a subtle lift | Keep line fine; thicken only at outer third if more definition is needed |
| Finishing | Soften outer tip with shadow or smudge for a cohesive lift | Tightline and a touch of inner highlight open the eye without heavy liner |
Helpful answers
Frequently asked questions
Is there a single best eyeliner shape for downturned eyes?
There isn’t a single best shape; choices depend on the expression you want. For downturned eyes many prefer a subtle upward endpoint to counteract outer droop, but a level or softer endpoint can feel more natural. Test endpoints with the eye open and adjust thickness and taper until the line looks intentional and comfortable in movement.
How can I make eyeliner for small eyes appear bigger without false lashes?
Tightline the upper waterline and keep the visible upper-line fine and close to the lashes. Use a nude or white lower-waterline pencil sparingly to brighten, and concentrate any thicker pigment on the outer third with a tapered tip. These steps give the illusion of a larger aperture without adding length or weight that reduces visible lid space.
Can I use a dramatic wing on upturned eyes?
Yes, but you don’t have to. Upturned eyes already have natural lift, so a dramatic wing can be striking but may appear theatrical. Many prefer a tapered endpoint that follows the natural upturn for a refined look. If you want drama, extend the wing conservatively and balance with softening underneath to avoid an overly sharp contrast.
Do technique classes include the products used in demonstrations?
Course arrangements vary; no separately priced eyeliner lesson is published here, so product inclusion and exact tool lists need confirmation from customer service. The team typically uses professional items where appropriate — brands such as NARS, Dior Beauty and M·A·C are examples — but you should check whether you must bring particular pencils or liners for hands-on practice.
Ready to discuss it?
Book a makeup technique session — confirm format and language
Tell us what you are planning, and we will help clarify the service or lesson details that matter for your enquiry.
From the makeup blog